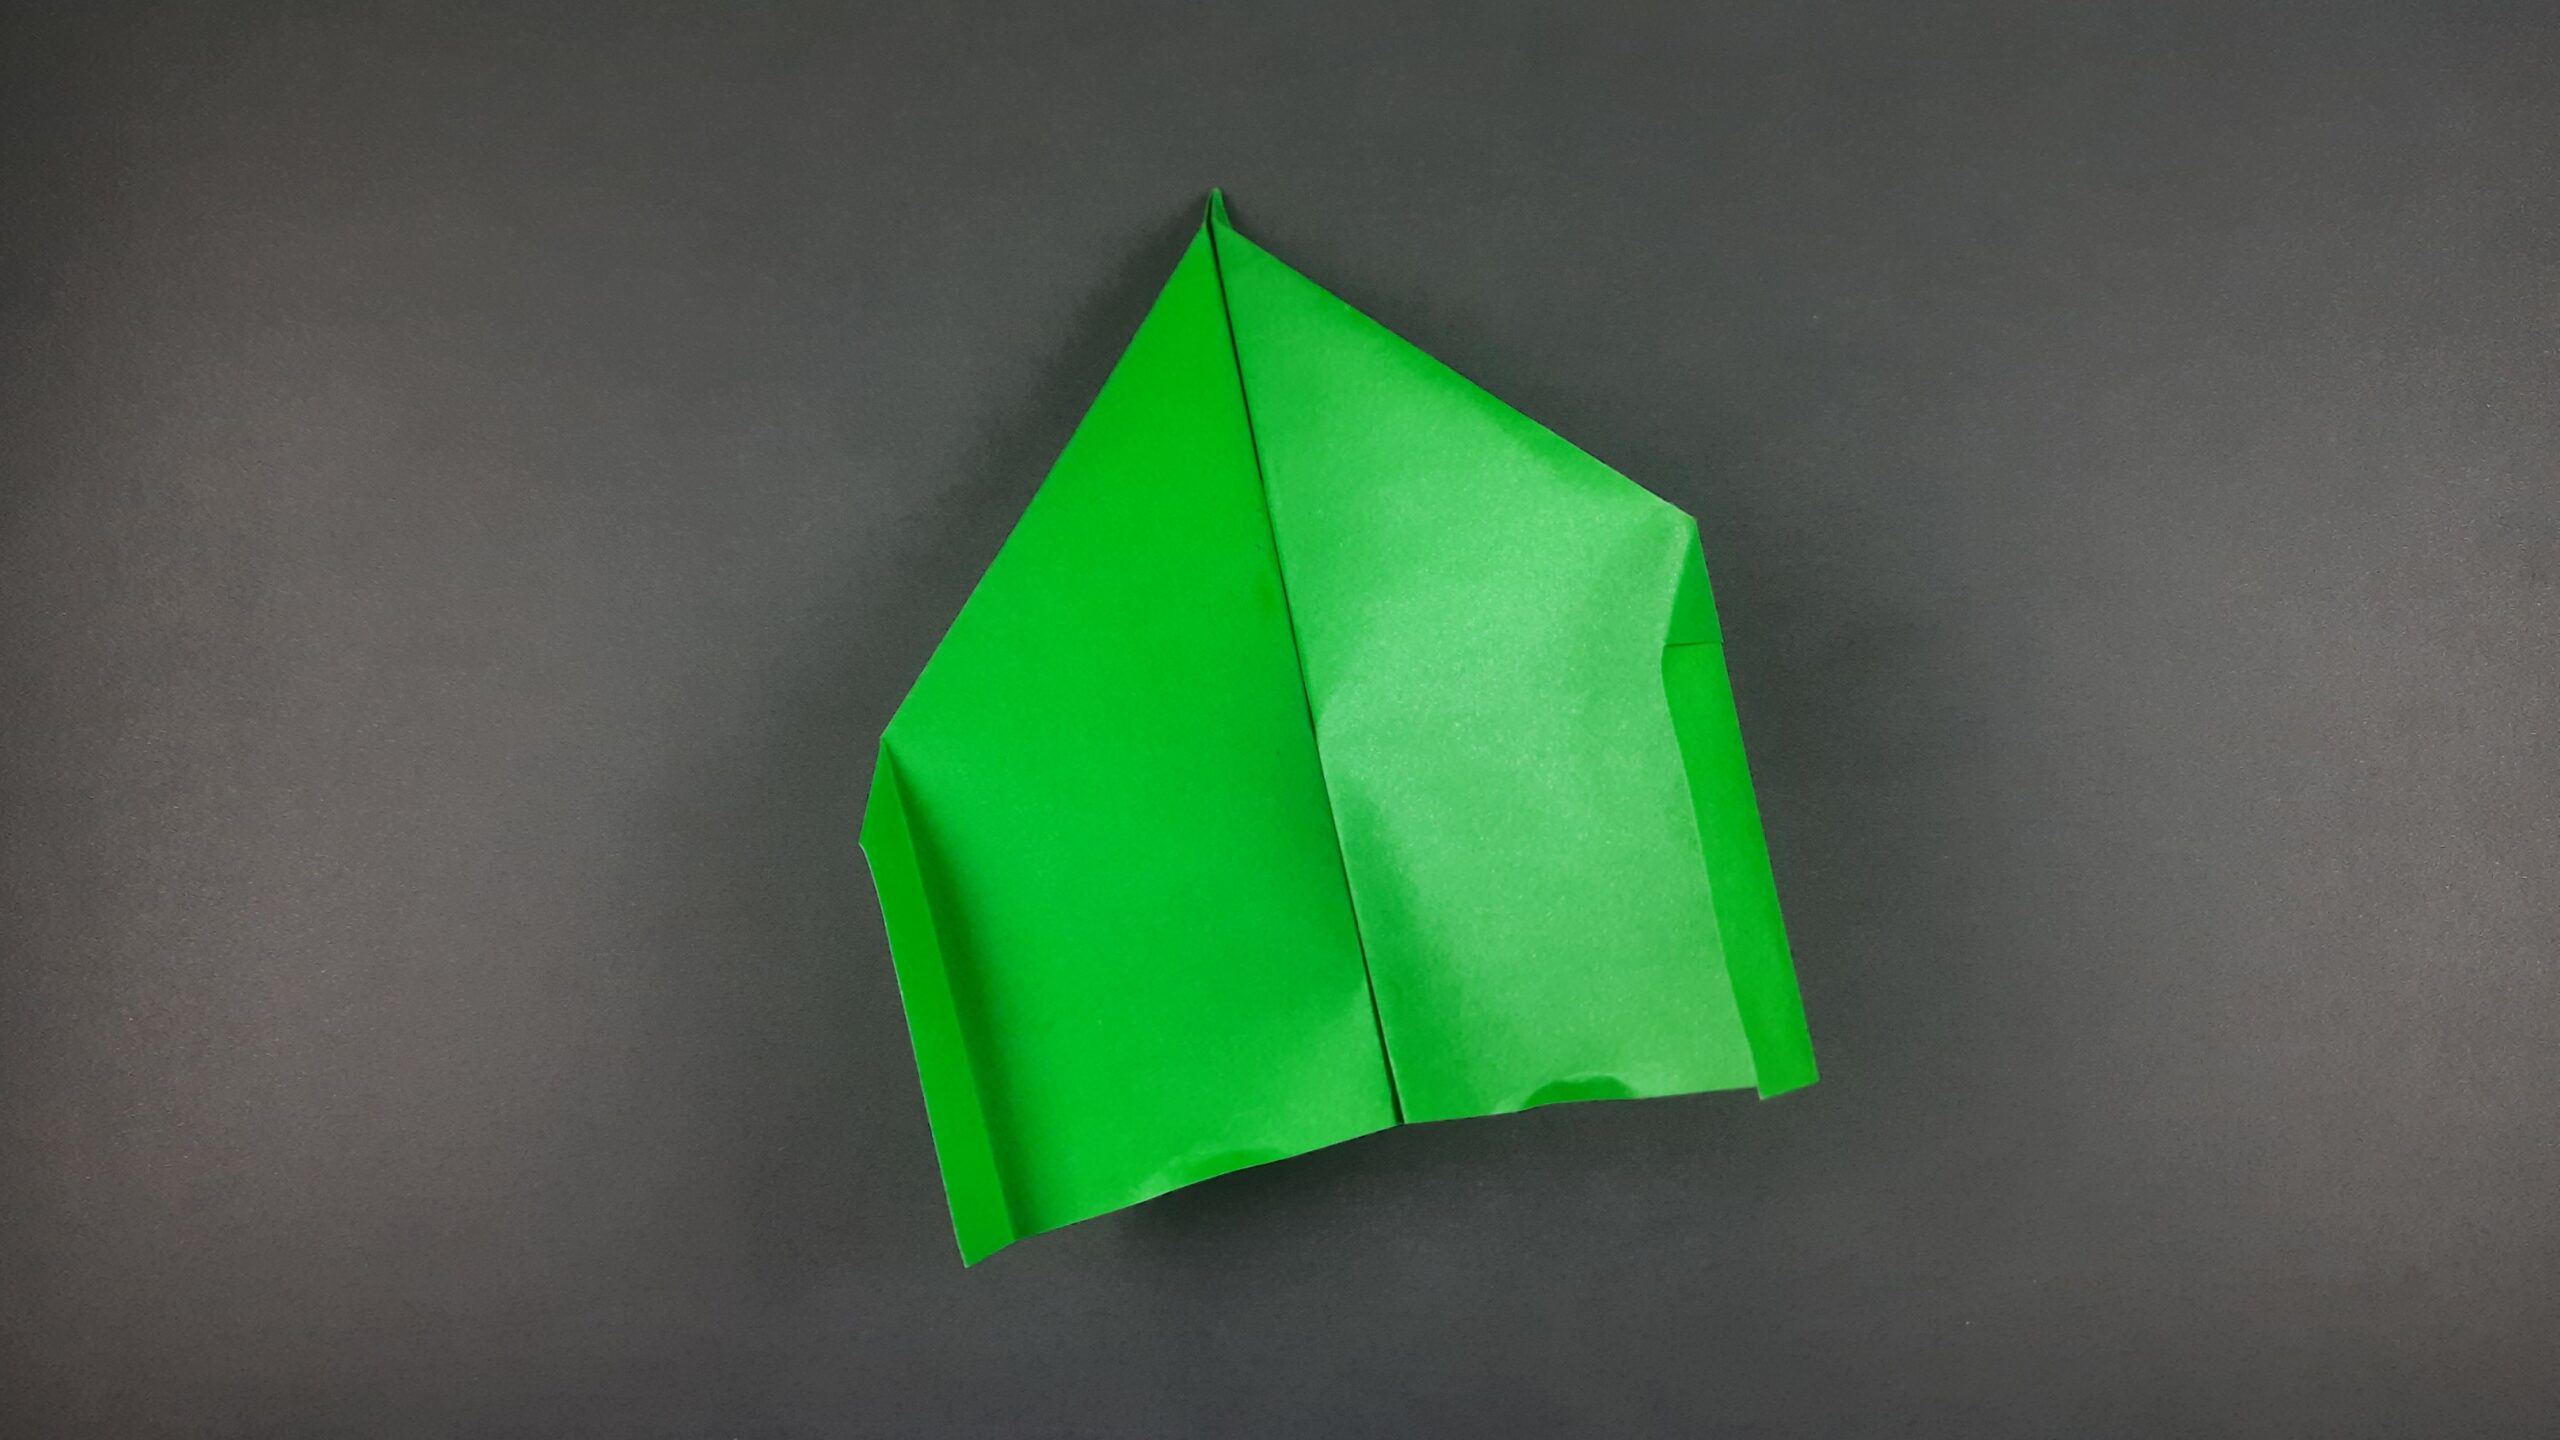
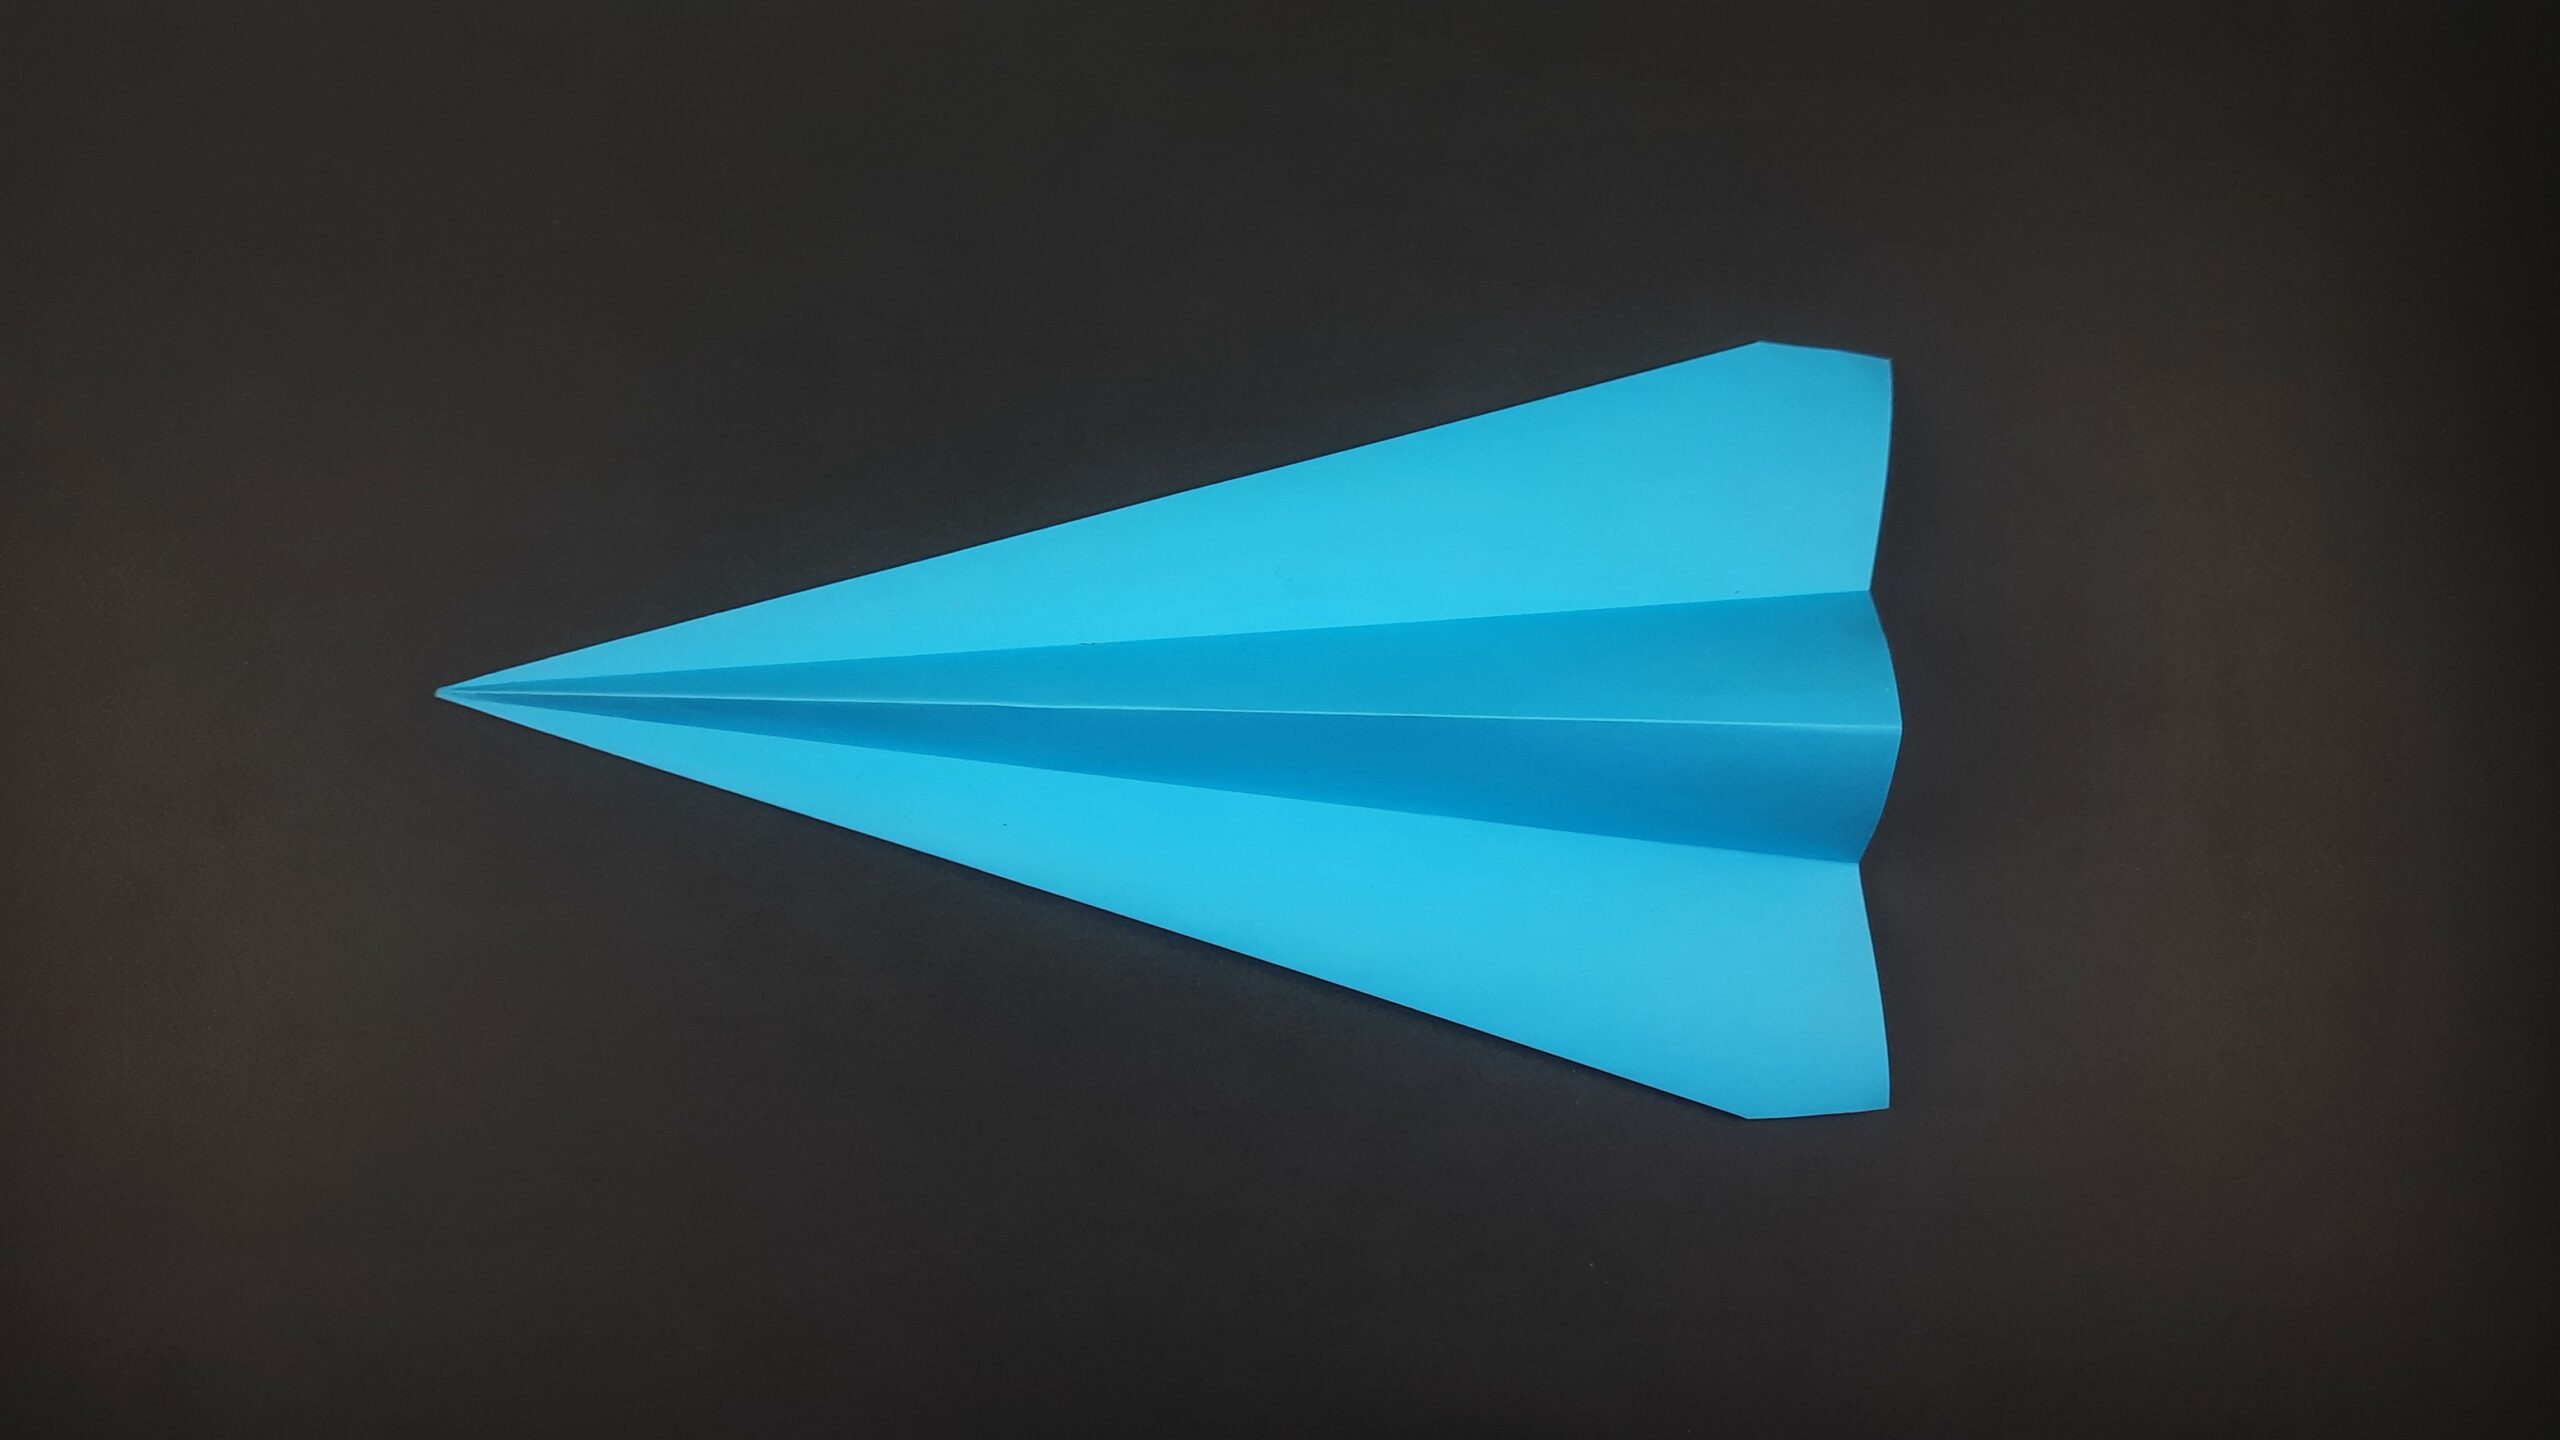
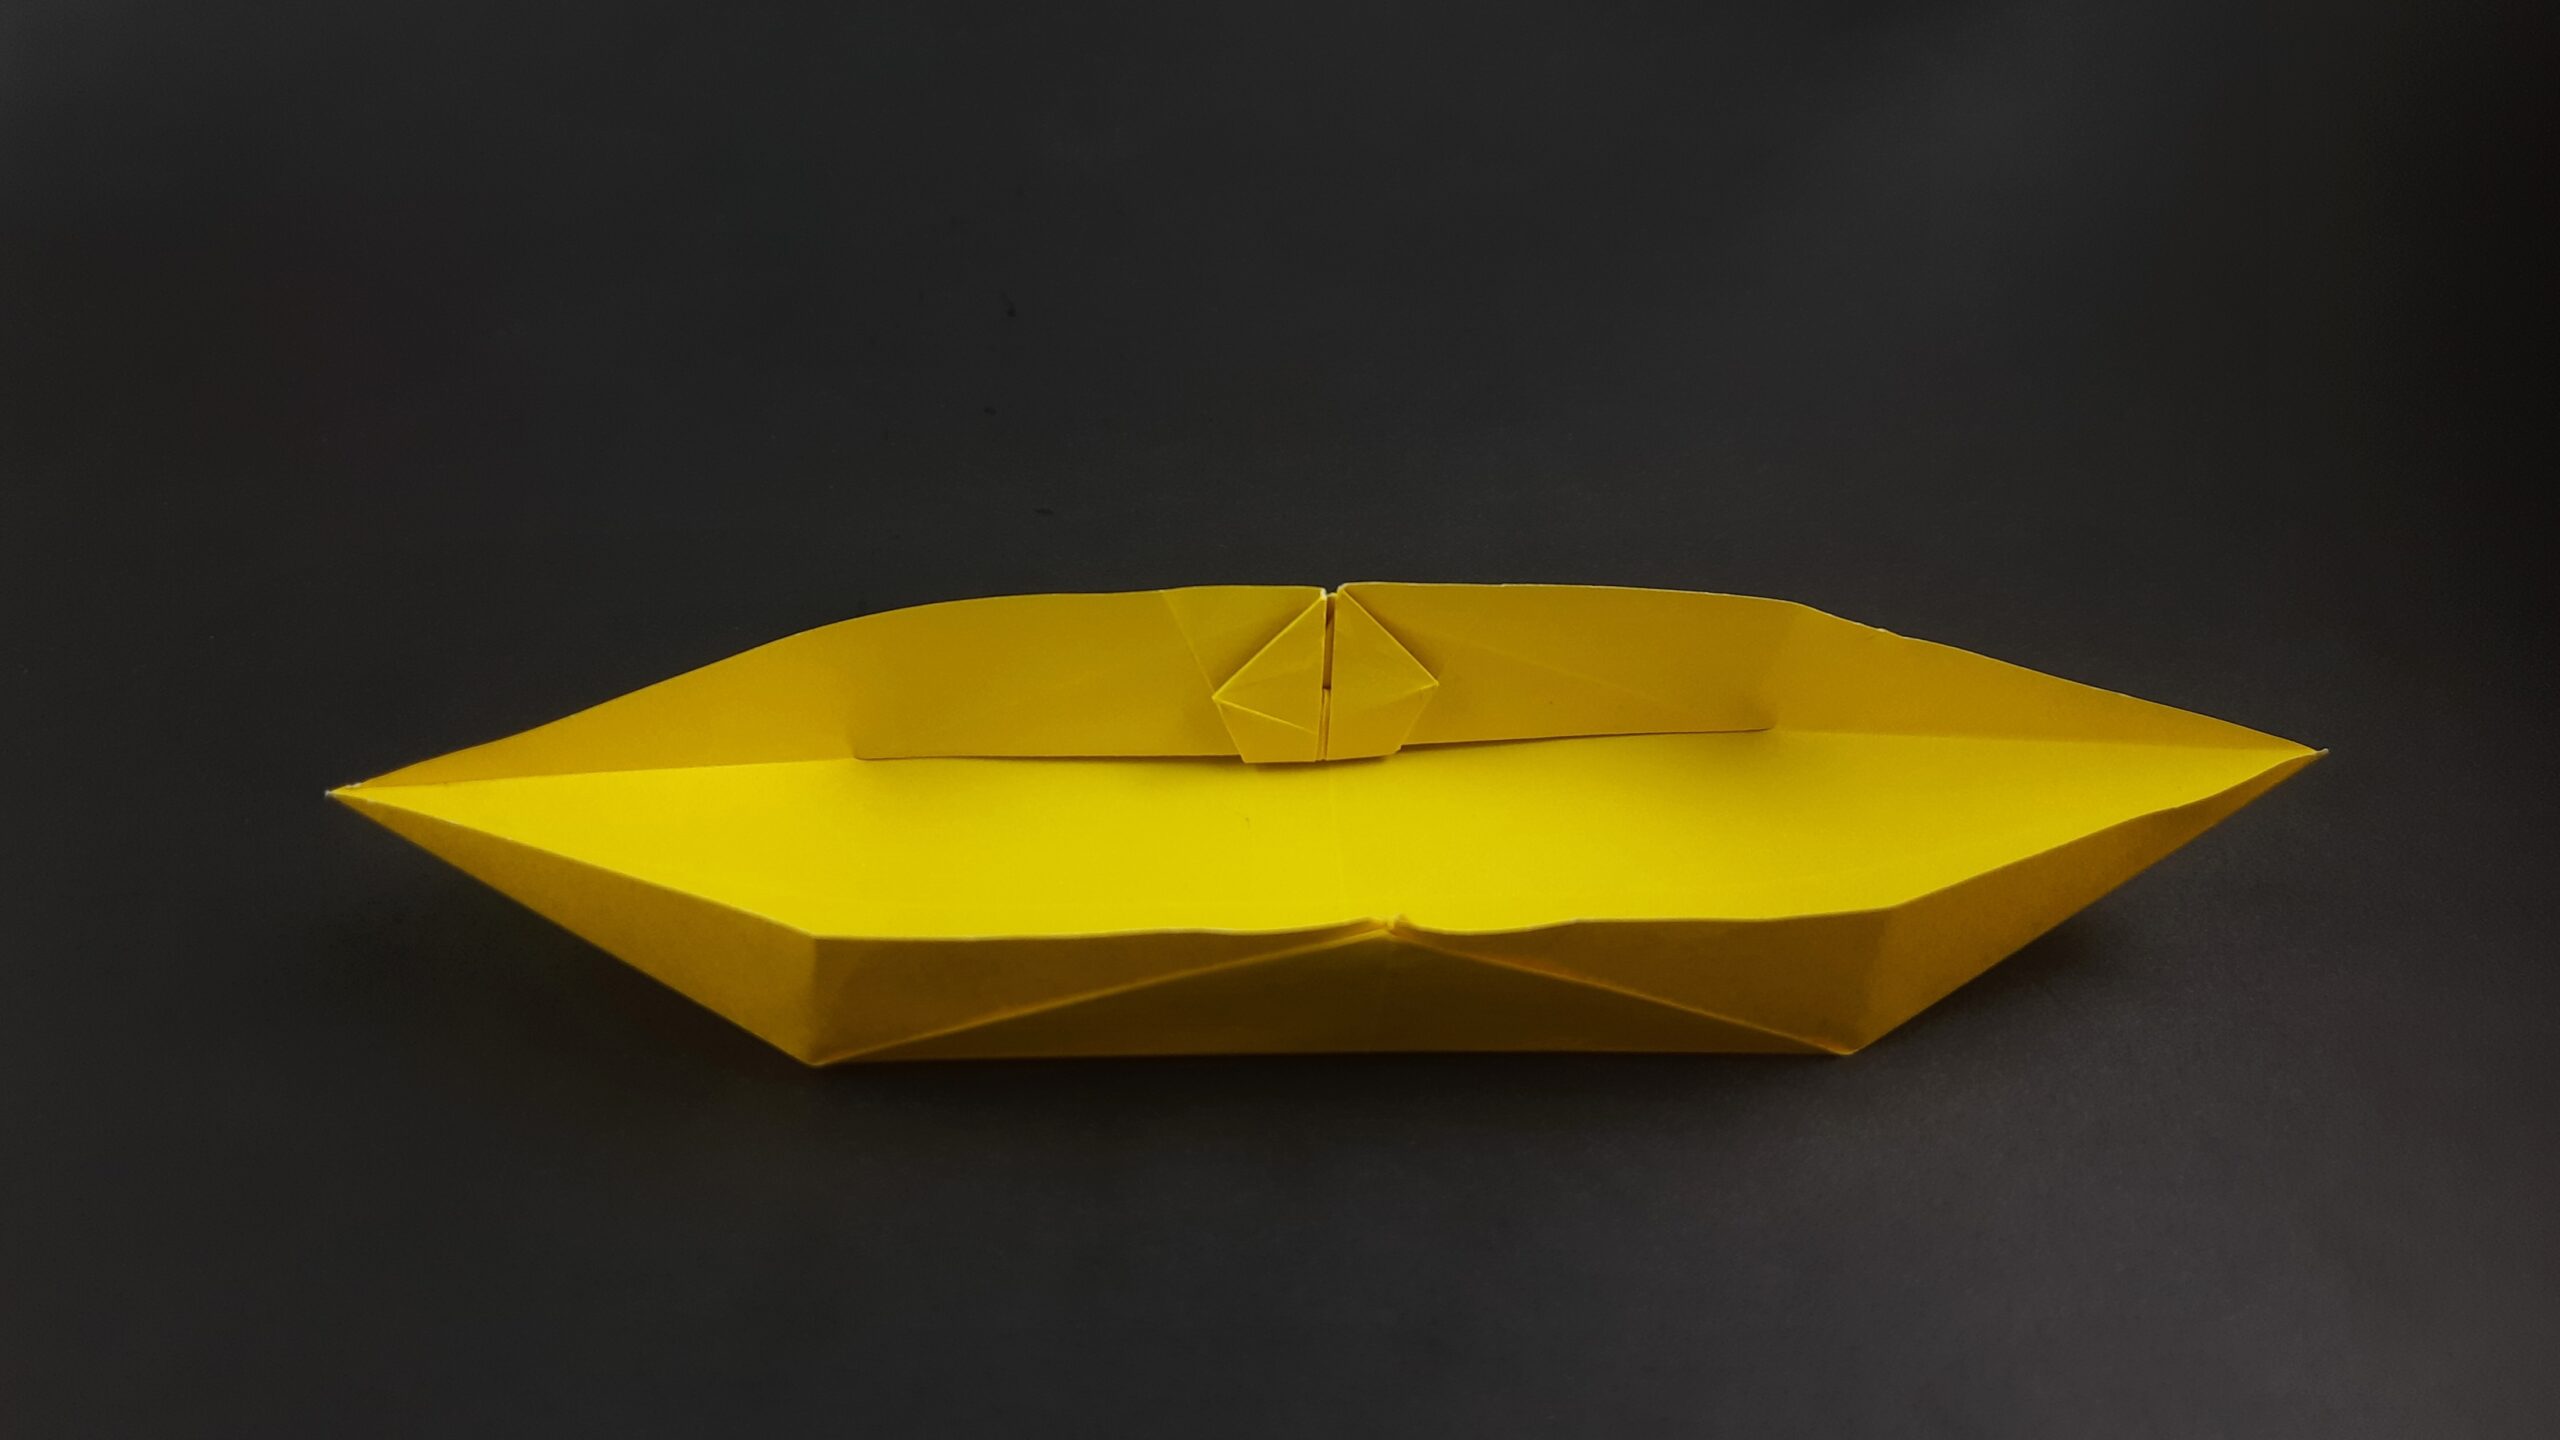
Who doesn’t love paper planes!? There is something just so entertaining and awesome about folding a piece of paper into something that can literally fly through the air!
There are many different types of paper airplanes and today I am going to cover a very special one! Today you are going to learn how to make a paper plane that returns right to you! If that sound awesome then just keep scrolling and let’s get started!
How To Make A Paper Plane That Returns Video Walkthrough
There you have it! After watching this video you should have easily been able to follow along and have a sweet new paper plane in front of you! As always get as creative as you would like with this. Use any colored paper you want and make your paper plane unique. You can draw on your plane but I’ll warn you that it could affect the plane’s performance if you do.
That’s why I recommend making a few of them! Make a couple just to decorate and make them look awesome and a few more for taking flight! Now, if you prefer learning a different way other than through a video, I have also prepared some easy-to-follow illustrated instructions on how to make a paper plane that returns down below!
If you enjoyed this design, make sure to check out all my other Origami Vehicles!
How To Make A Paper Plane That Returns Step-By-Step Instructions
1. Creating the Initial Triangle
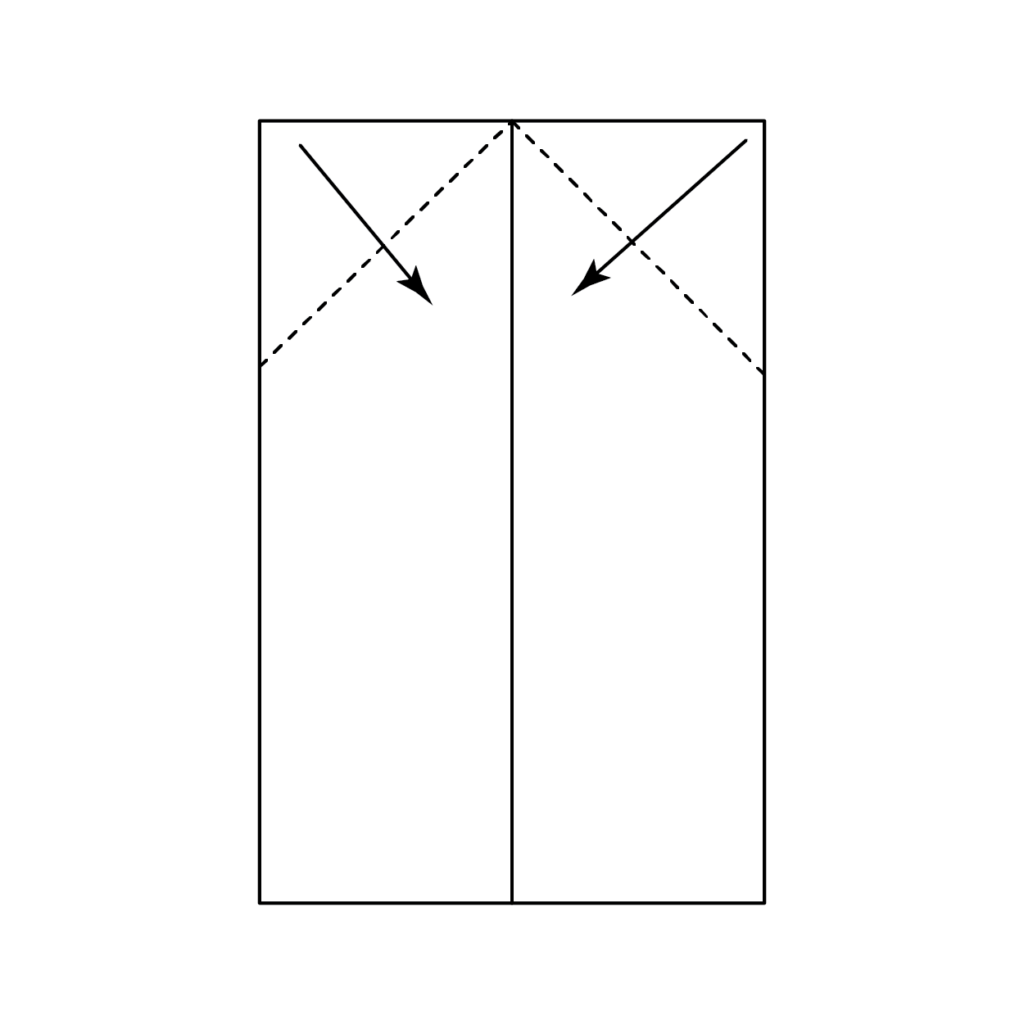
Take a full-sized sheet of printer paper and lay it vertically. Take the top two corners of the paper and fold them down to meet in the middle of the page, creating a triangle. This will initiate the formation of the paper plane’s front.
2. Folding the Top Point Downward
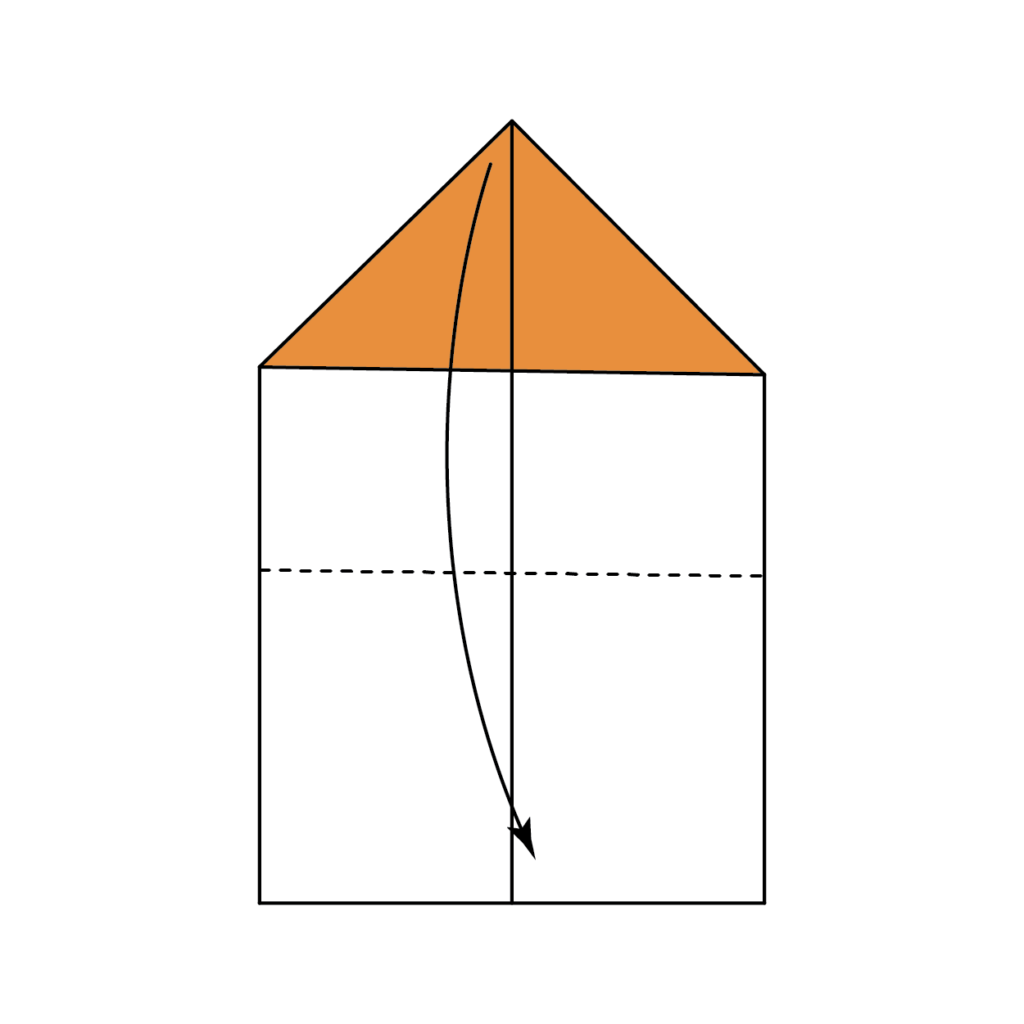
Take the top point of the paper and fold it all the way down to meet the bottom of the page. Use the dotted line in the image above as a reference.
3. Unfolding to Reveal a Crease
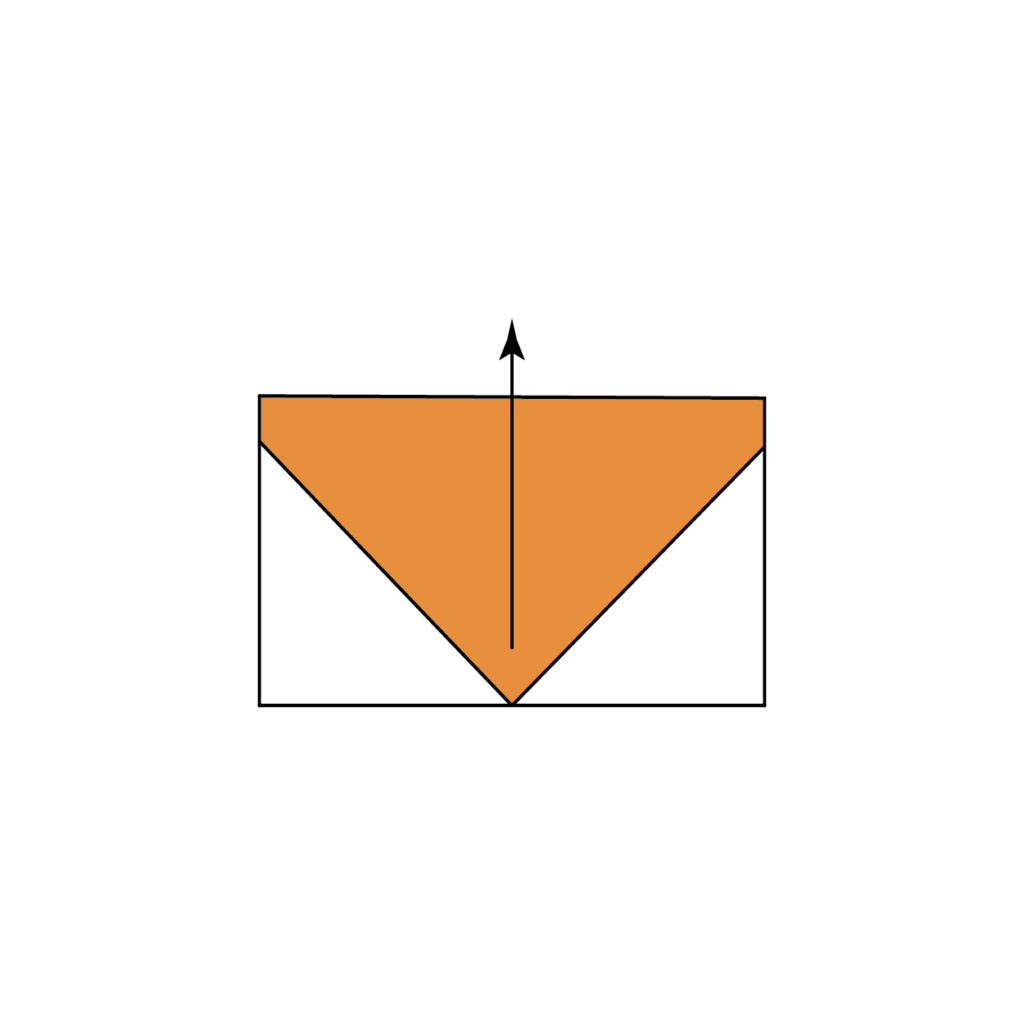
At this stage, your paper should resemble the image in the image above. Now, undo the last fold so that you have a clean crease remaining.
4. Aligning the Top Point with the Crease
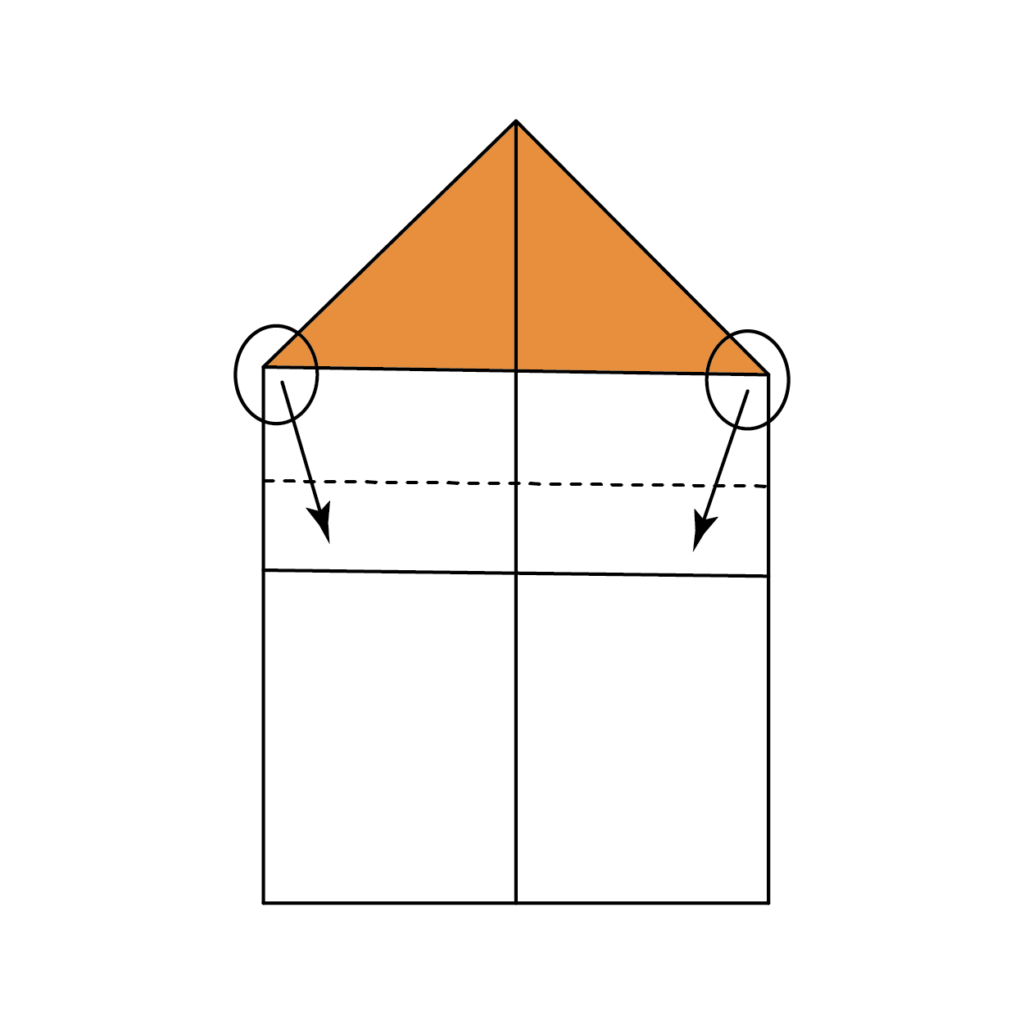
Repeat the previous step, but this time fold the top point down so that the two corners, as circled in the image above, line up directly with the crease made in step 3.
5. Folding Top Corners Inward
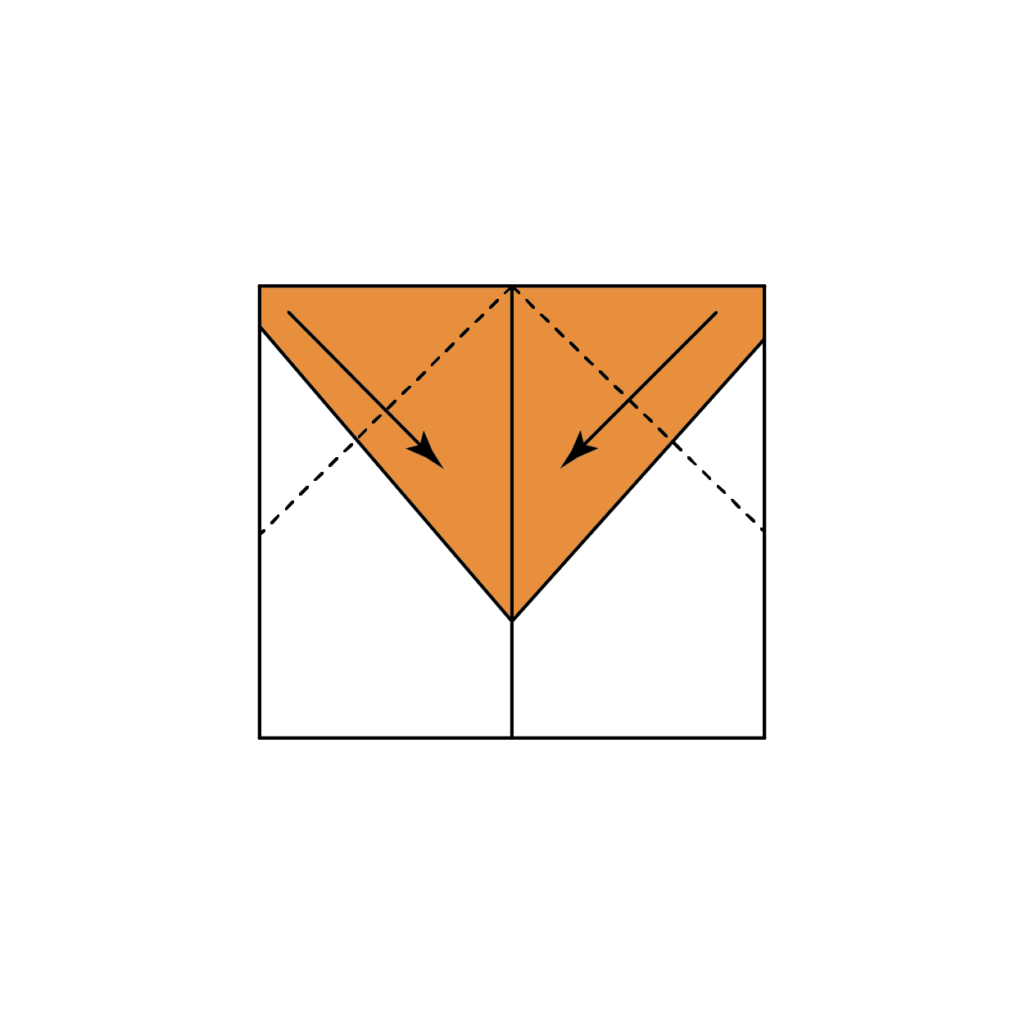
This is what it should look like. Now take both of the top corners and fold them down to meet in the middle as you did in the first step.
6. Securing the Folds with the Point
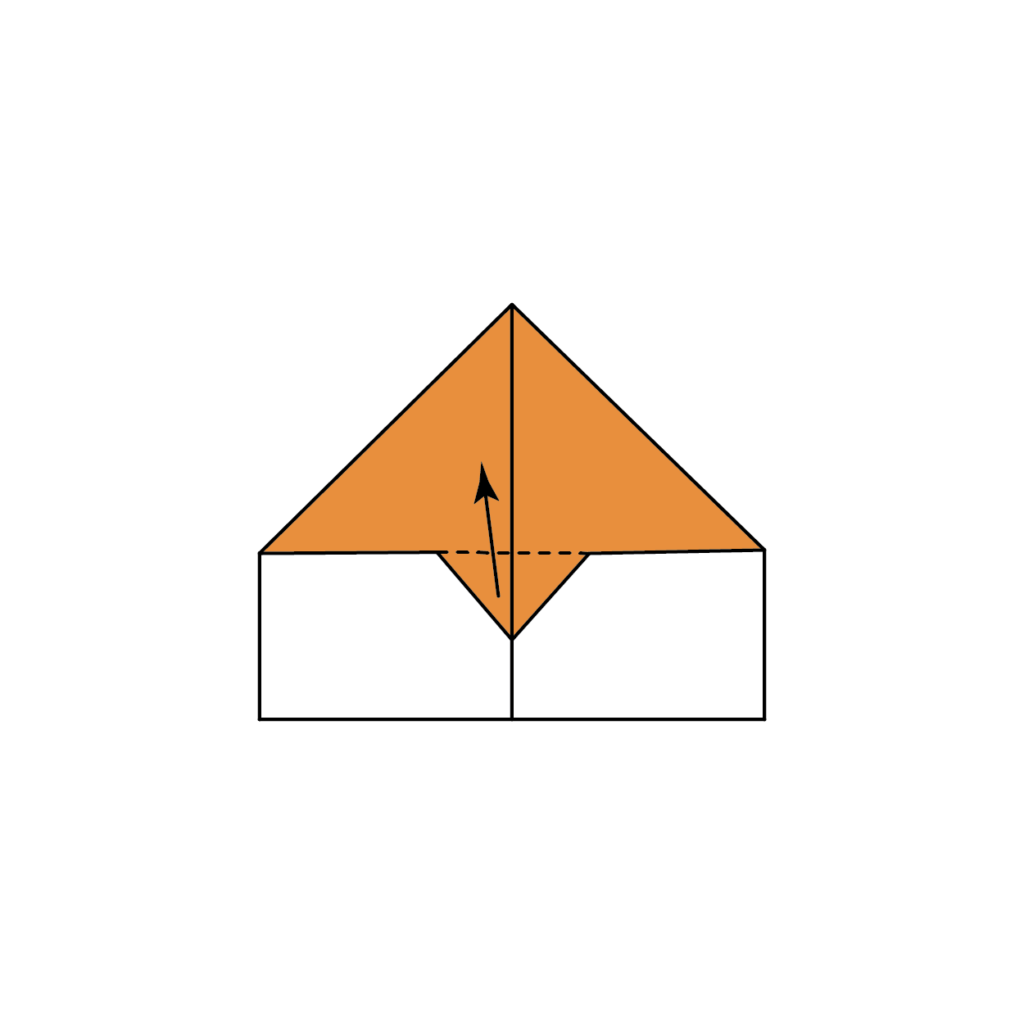
Now take the little point that is sticking out from under your last fold and fold it upwards over the dotted line as shown above. This should hold down the folds you made in the previous step.
7. Flipping the Paper Over
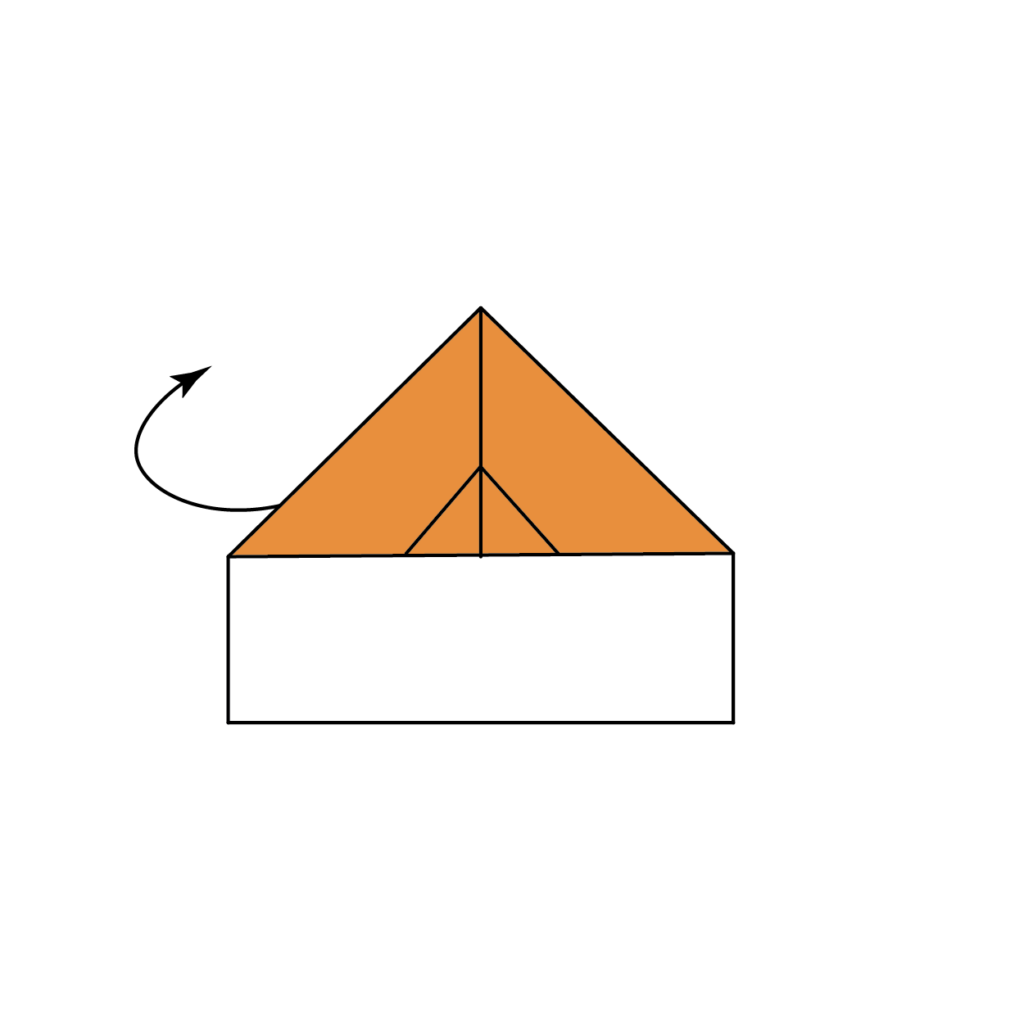
Carefully flip the paper over.
8. Folding the Paper Plane in Half
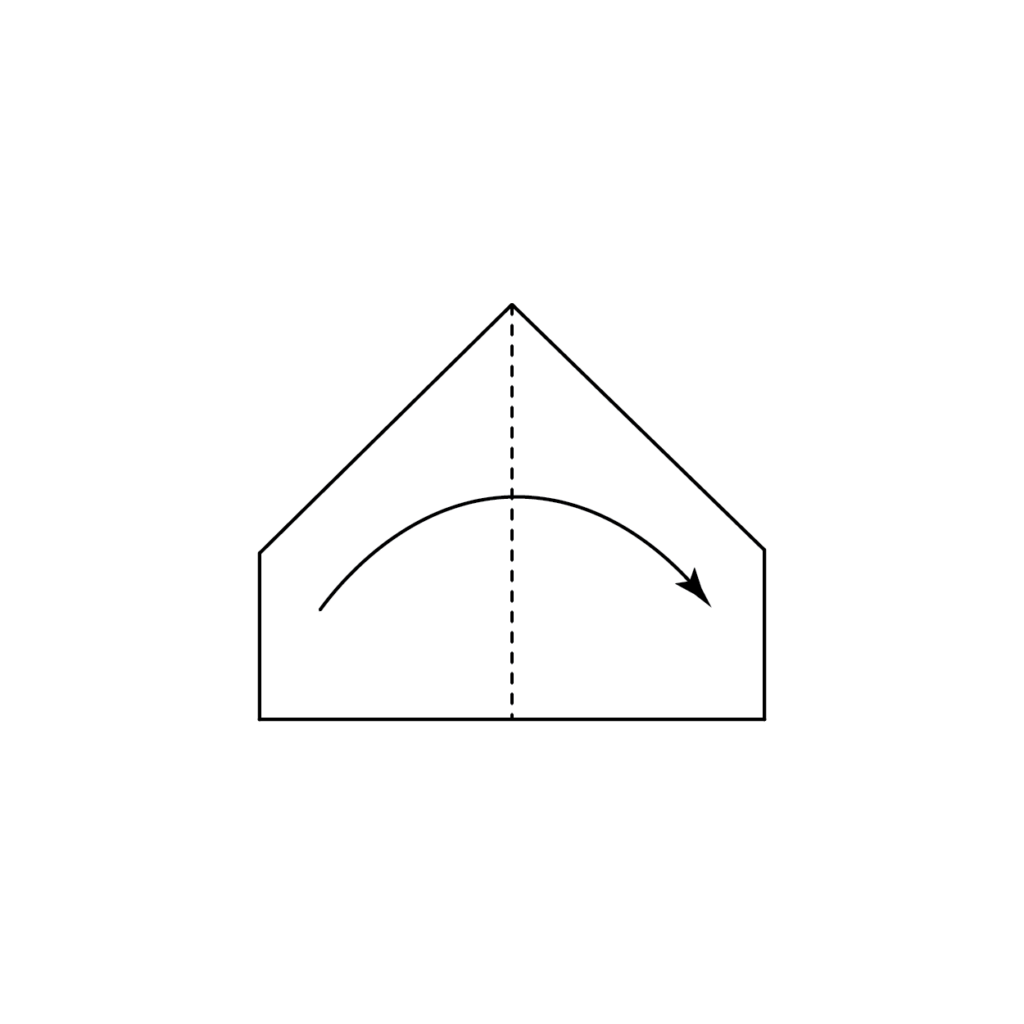
You should now see the back of your paper plane. Fold it in half by taking the left side and folding it over to the right side, as shown above.
9. Creating the First Wing
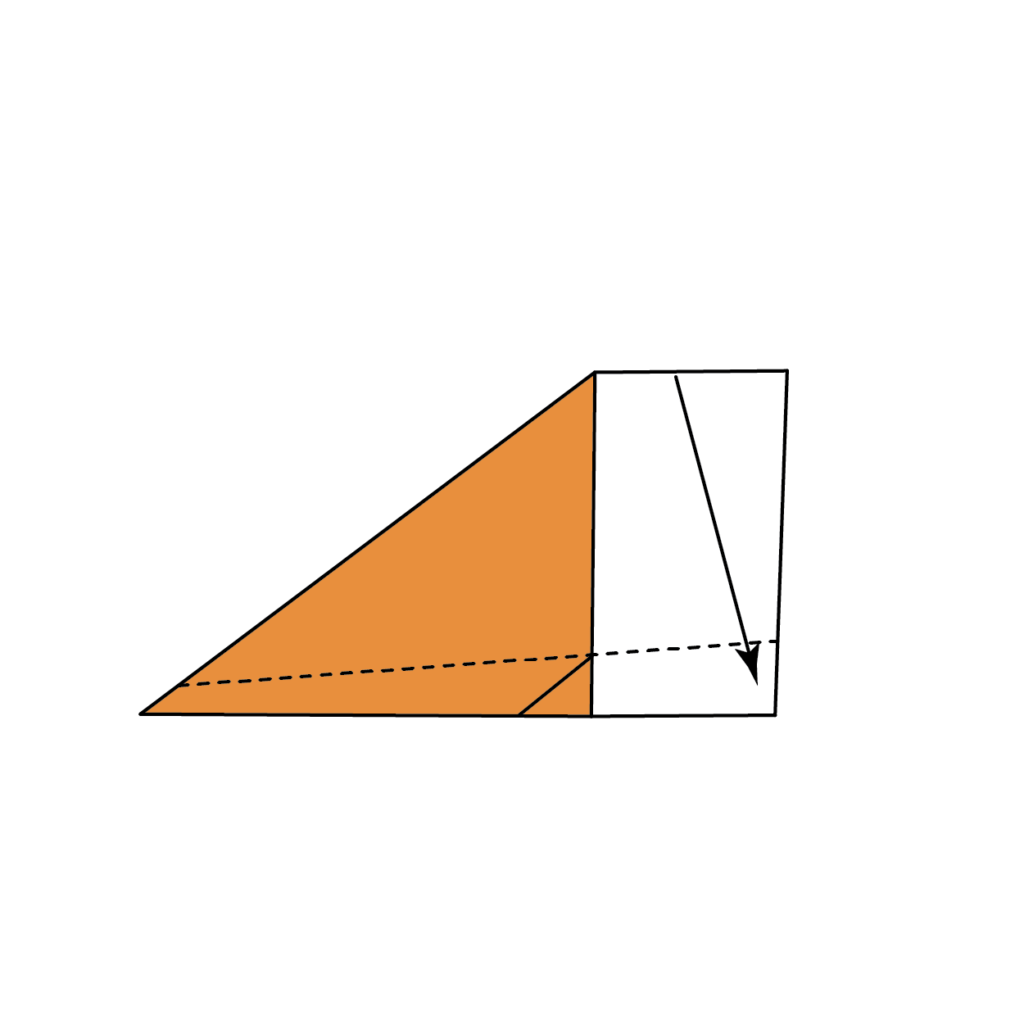
Turn the plane to where the longest edge is closest to you. Use the image above to copy what it should look like. Now take the top flap and fold it down lining it up with the top corner of the small fold you made in step 6. Use the dotted line above as a reference to create the first wing.
10. Creating the Second Wing
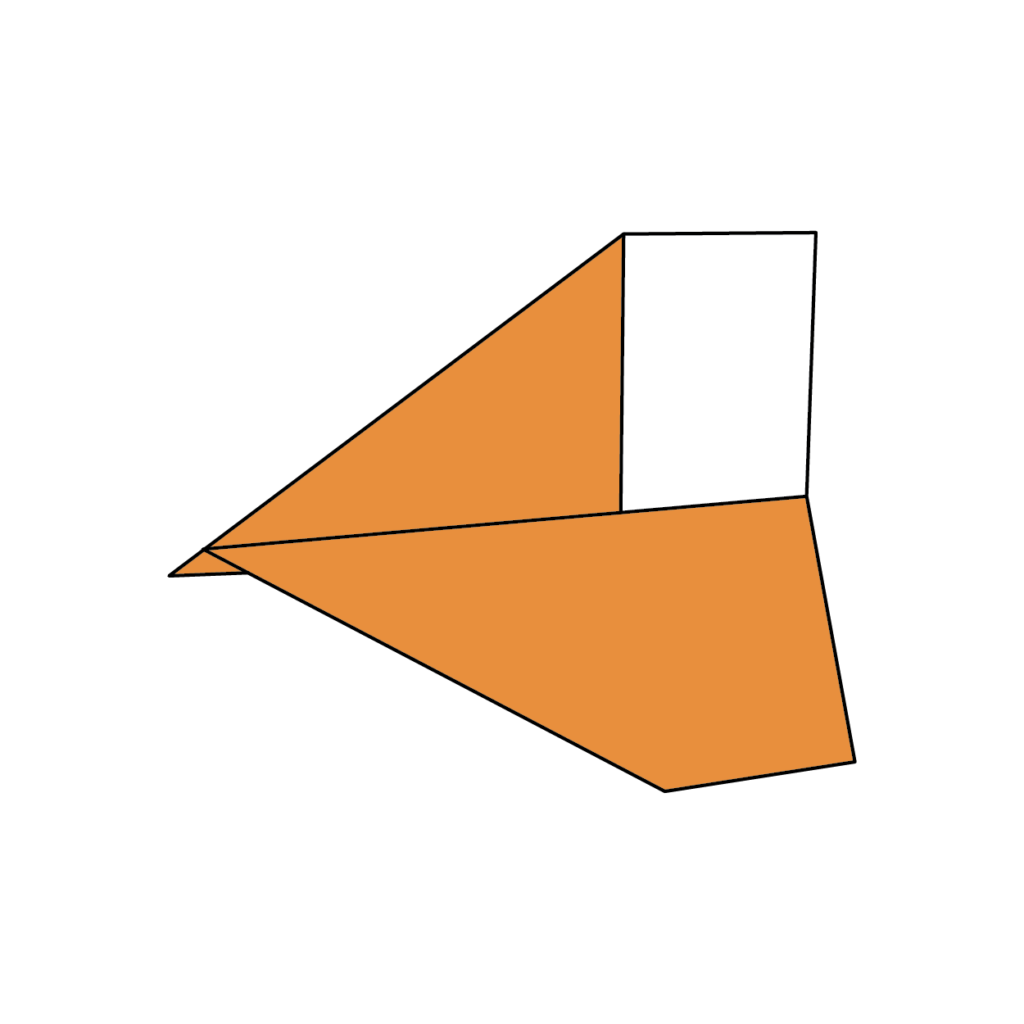
Repeat the same fold on the other side to create the second plane wing. Ensure that the wings are aligned with each other.
11. Adding Flaps to the Wings
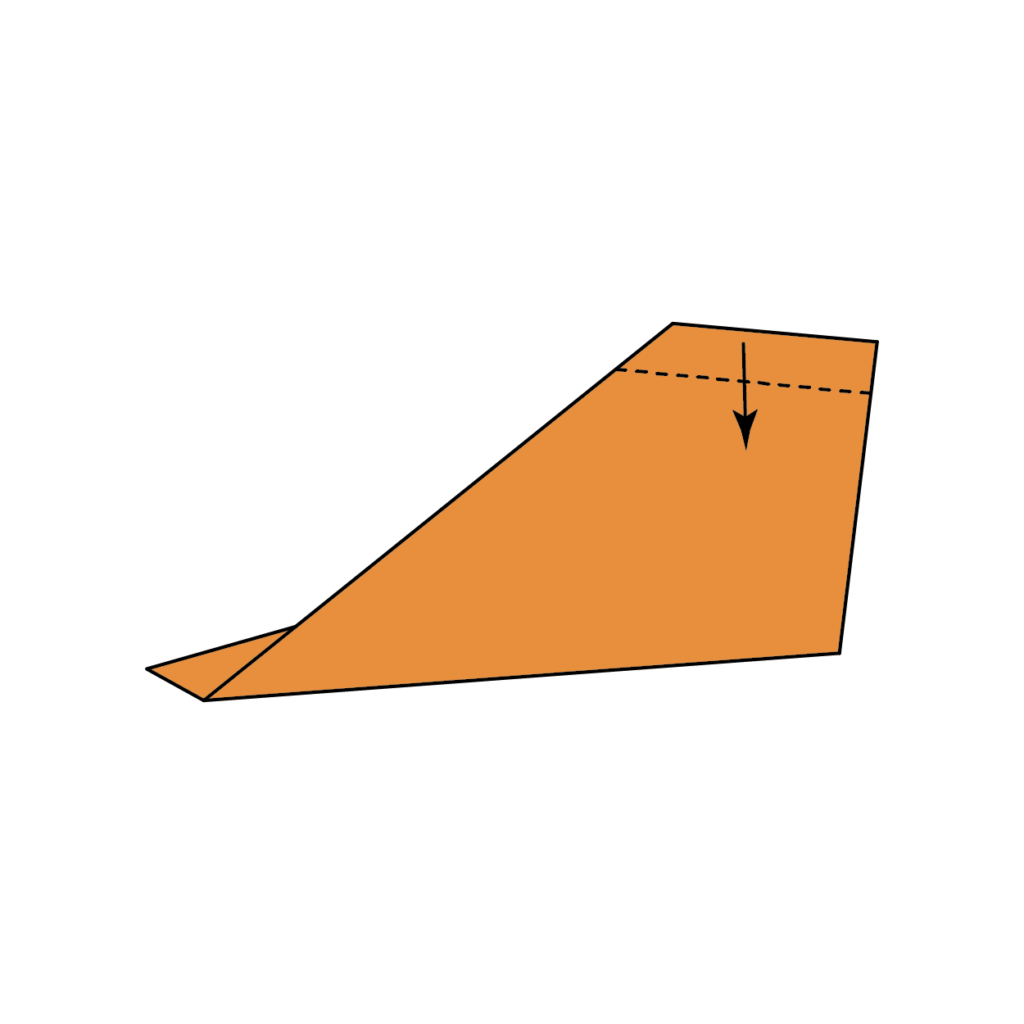
Take the bottom of each wing and fold it up to create small flaps on the end of each wing. They should be about half an inch wide.
12. Adjusting the Wing Tips and Finalizing
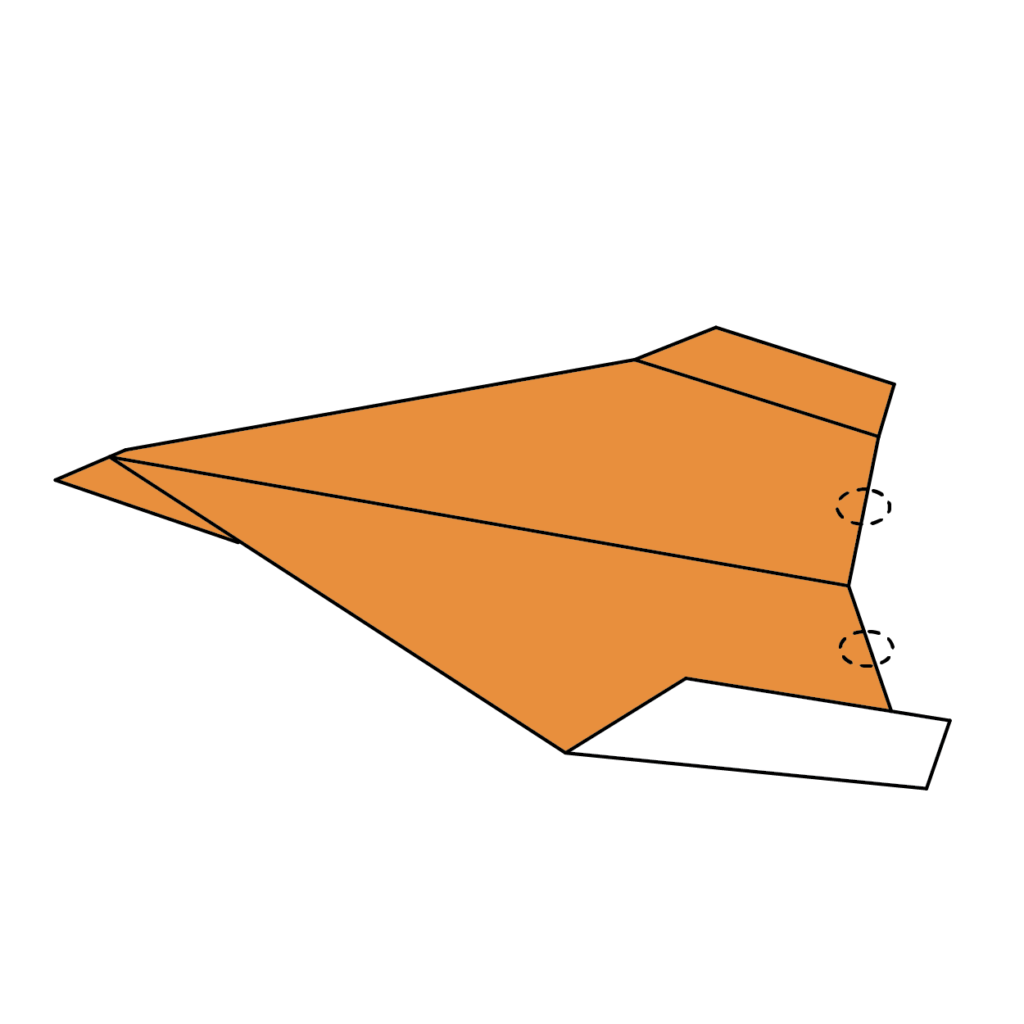
Lastly, slightly pinch the back of the wings upwards where the circles are in the image above. After that, you are done! Your final paper airplane should resemble the image above. Tilt the plane to the side you want it to return to when you throw it for the best results!
You should be nothing short of a pro at making this epic plane! You have now gone through video instructions and illustrated ones as well!
Make sure you make this design a few times to really master and perfect it! Below you’ll find the same instructions as above but in a downloadable and printable format just in case you need it for future reference!
How To Make A Paper Plane That Returns Printable Instructions
That’s all for this guide on how to make a paper plane that returns. Be sure to check out my other origami creations and continue learning the art of origami!
Once you have mastered this design, you can try creating more advanced planes with unique shapes and movements. Most importantly, have fun flying your new planes!

