Origami is the Japanese art of paper folding. It can be used to create a variety of shapes and objects, including animals, flowers, and even boxes! In this guide, I will teach you how to make an origami cube.
This is a great project for beginners, as it is simple but still looks impressive. Follow these easy steps and you will be able to create your own origami cube in no time!
How To Make An Origami Cube Video Walkthrough
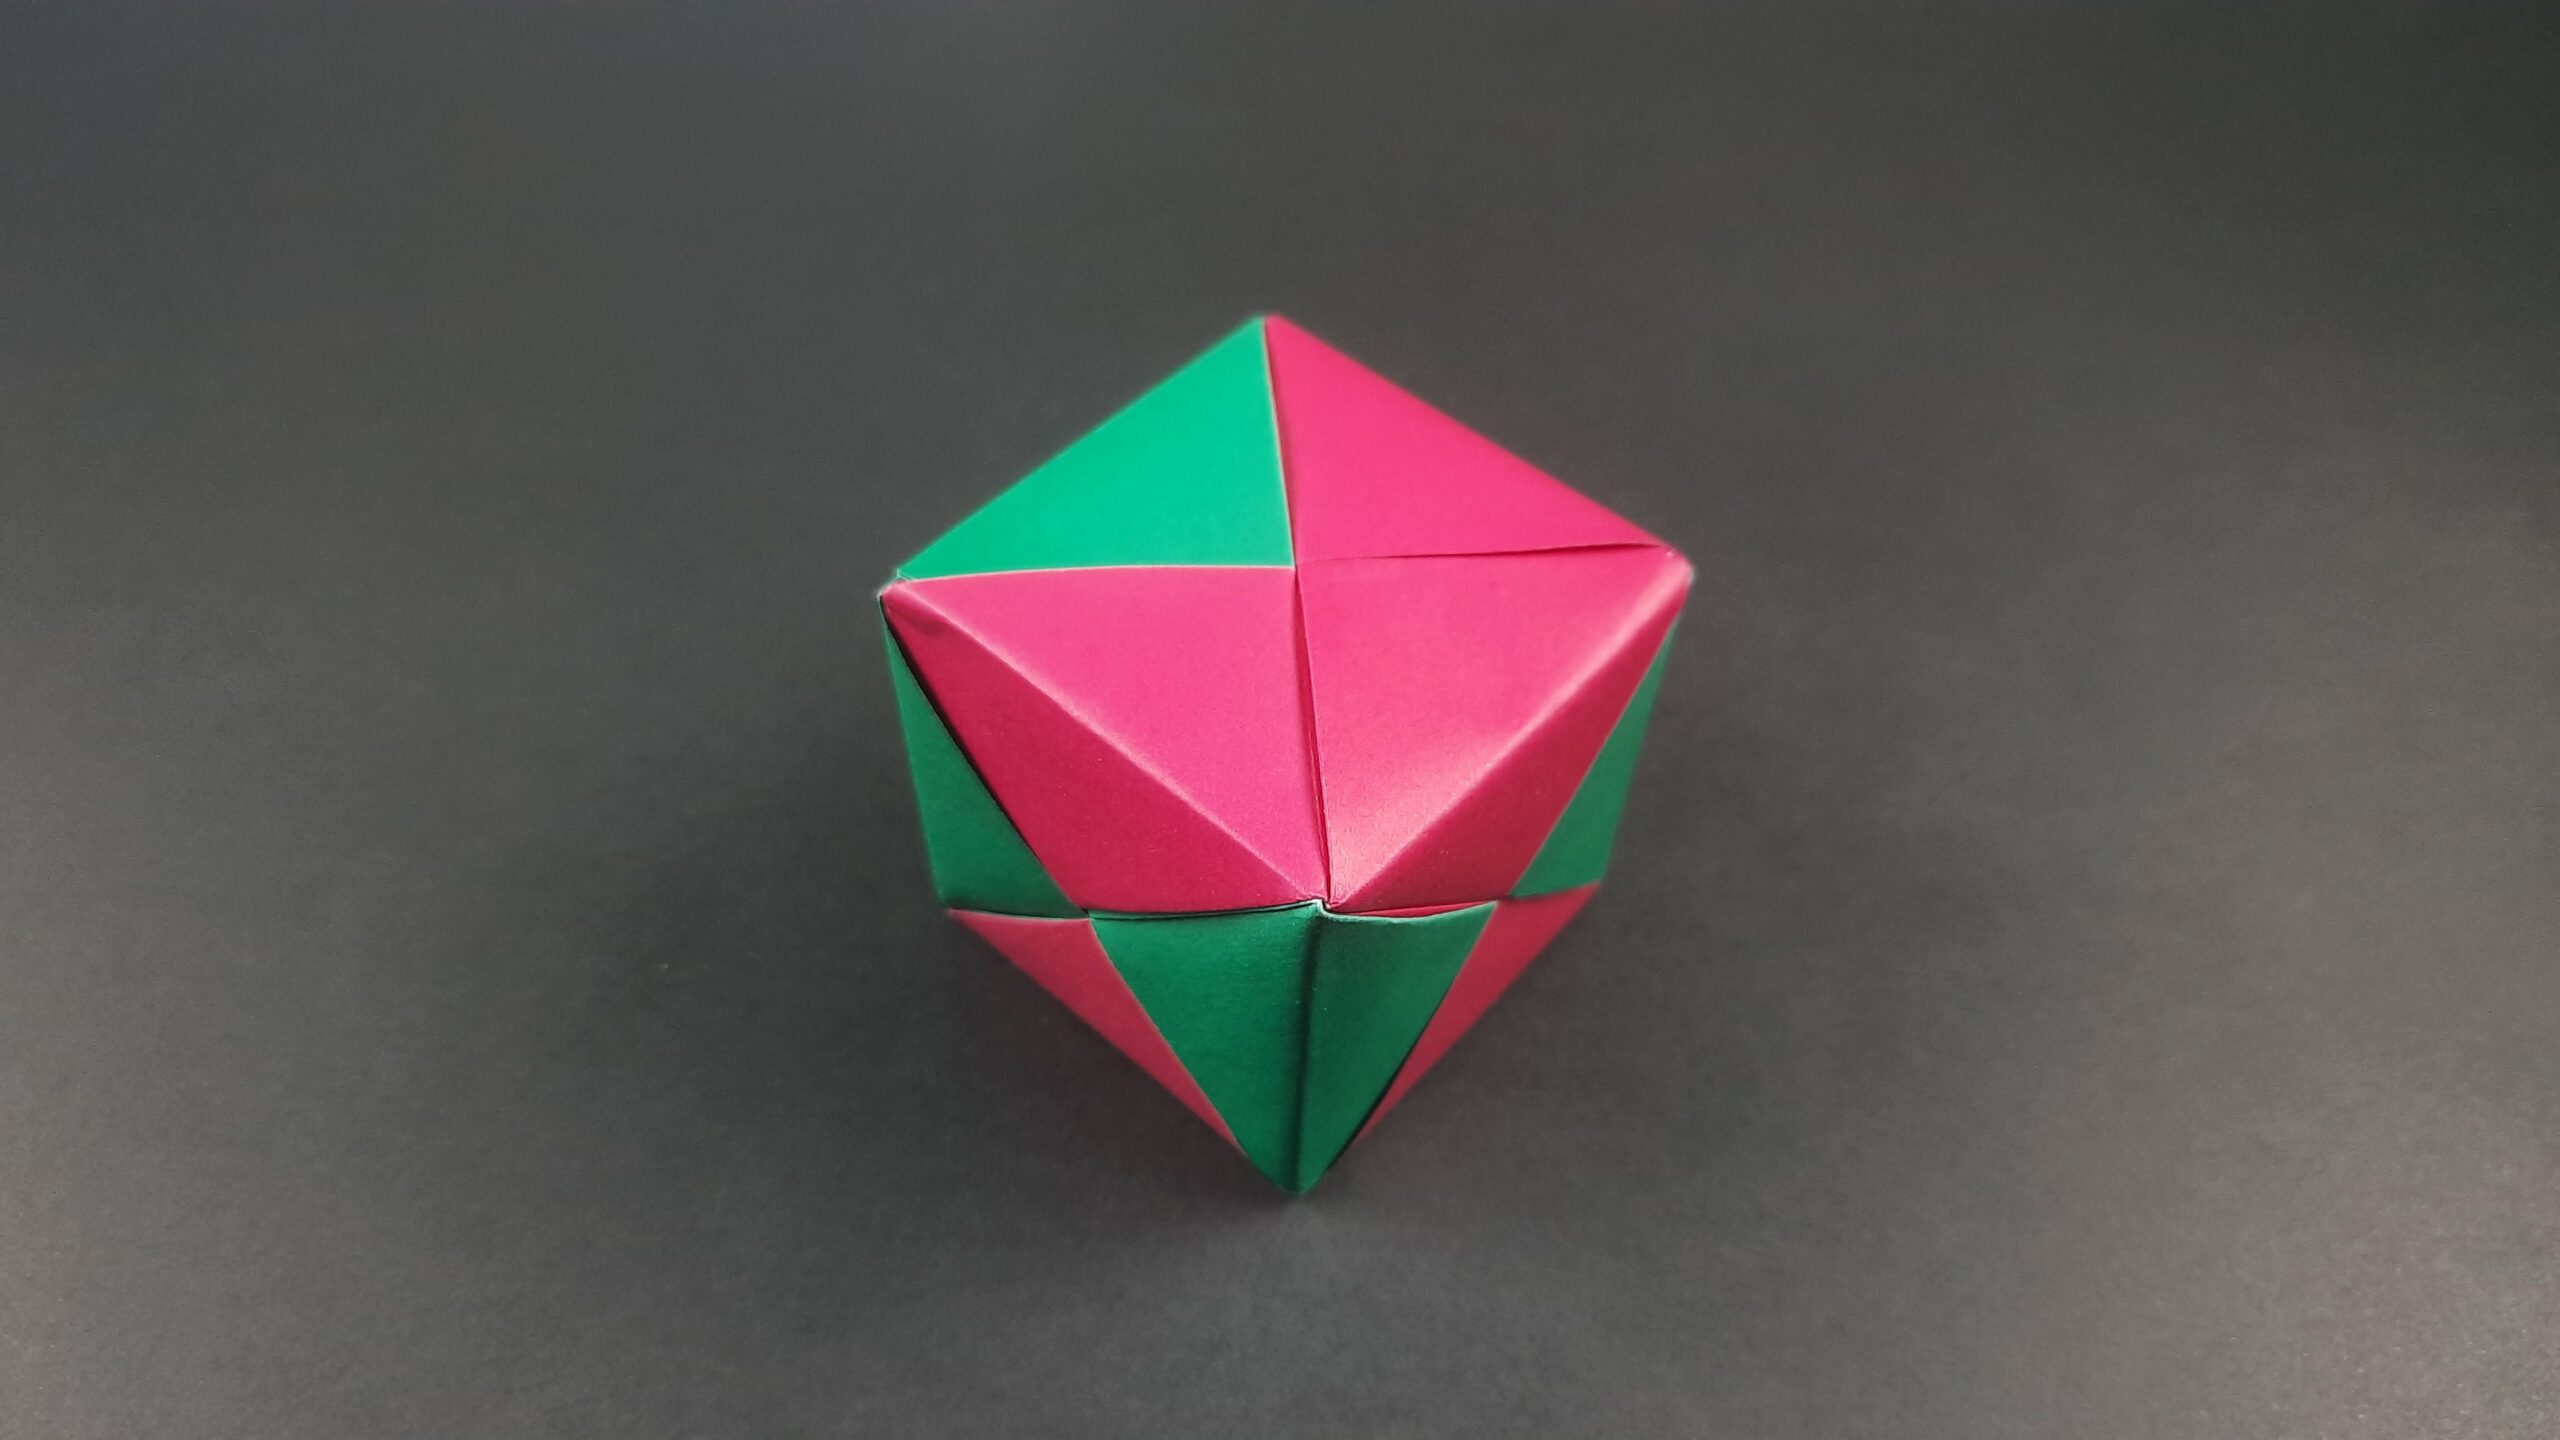
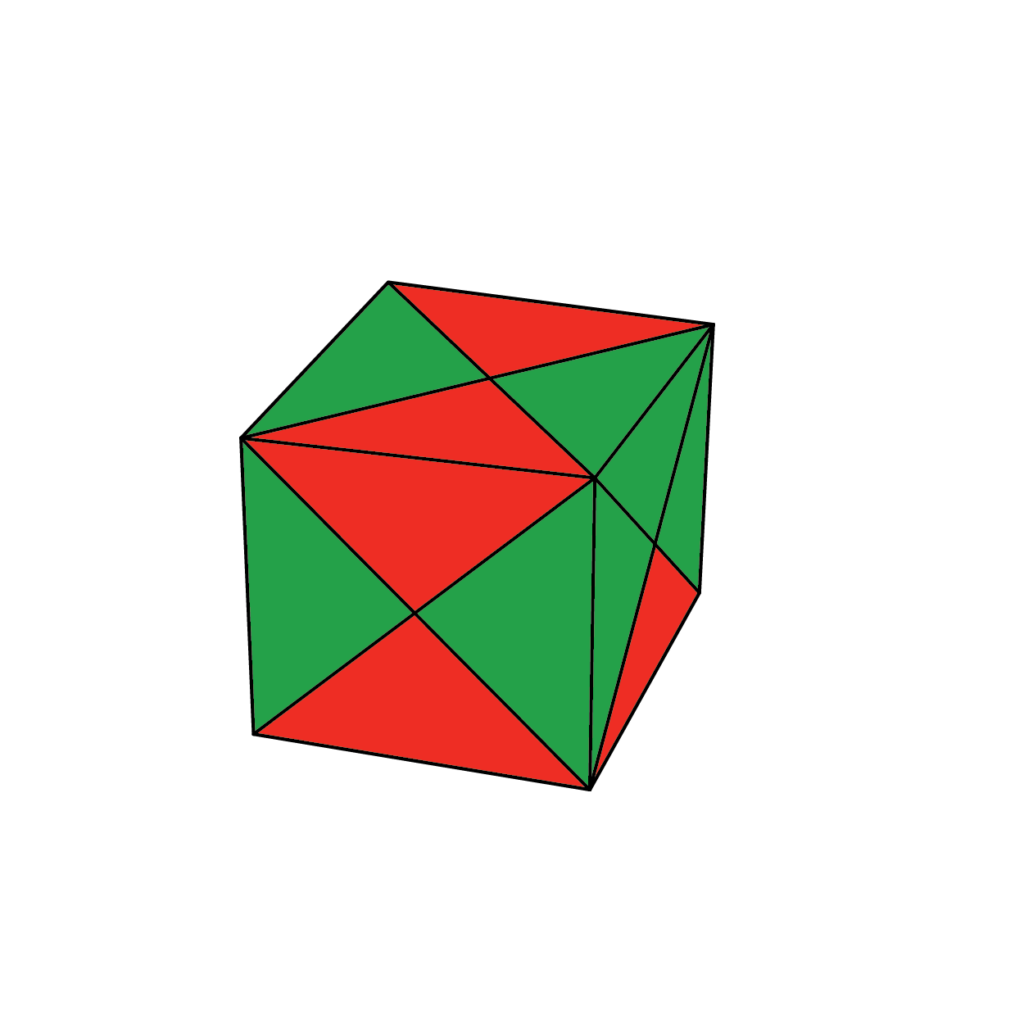
There you go! You should have your very first origami cube sitting in front of you if you followed along with the video I have made for you above! This isn’t a super complicated origami design but it is a bit of a lengthier time-consuming design for sure. Just make sure you take your time and don’t rush any of the folds! Your patience will pay off, I promise! You can get as fancy as you want with this and even make each section of the cube a different color!
Now, if you would rather learn how to make an origami cube through something other than video instructions then you’ll want to keep scrolling and check out the illustrated instructions I have made down below!
If you enjoyed this design, make sure to check out all my other Origami Shapes!
Step-By-Step Instructions On How To Make An Origami Cube
1. Initiating the Base Folds: Begin with a Square Piece of Paper
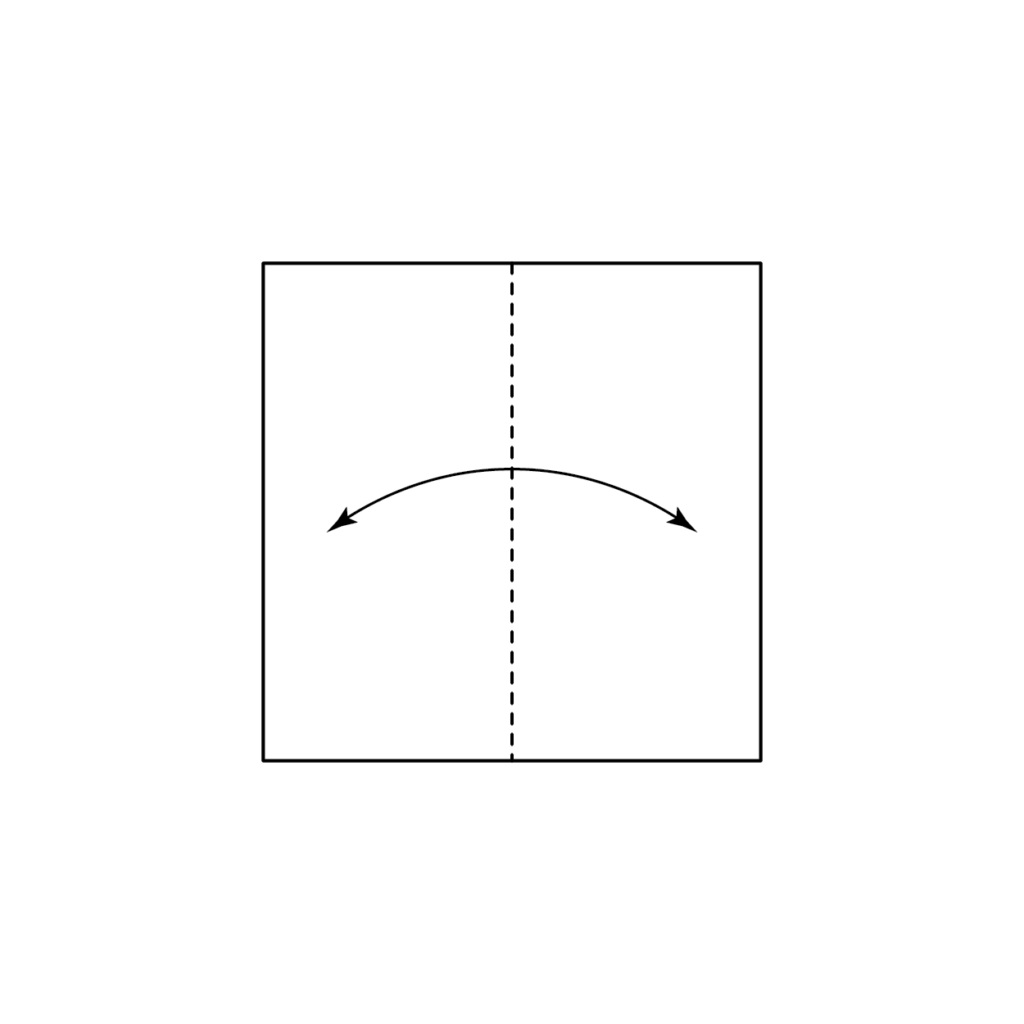
Start with a square piece of paper. Fold it in half and then unfold it to create a center crease.
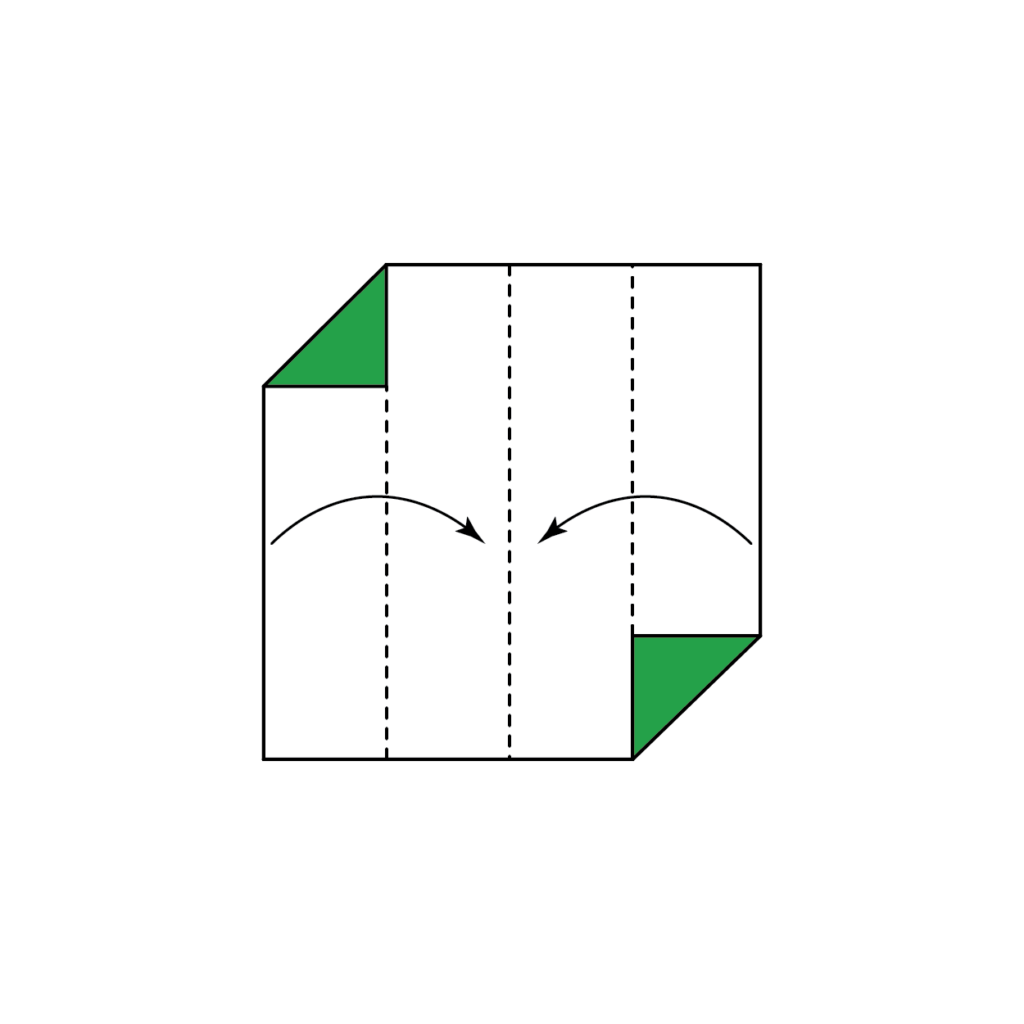
2. Folding the Sides Inward: Create Side Creases
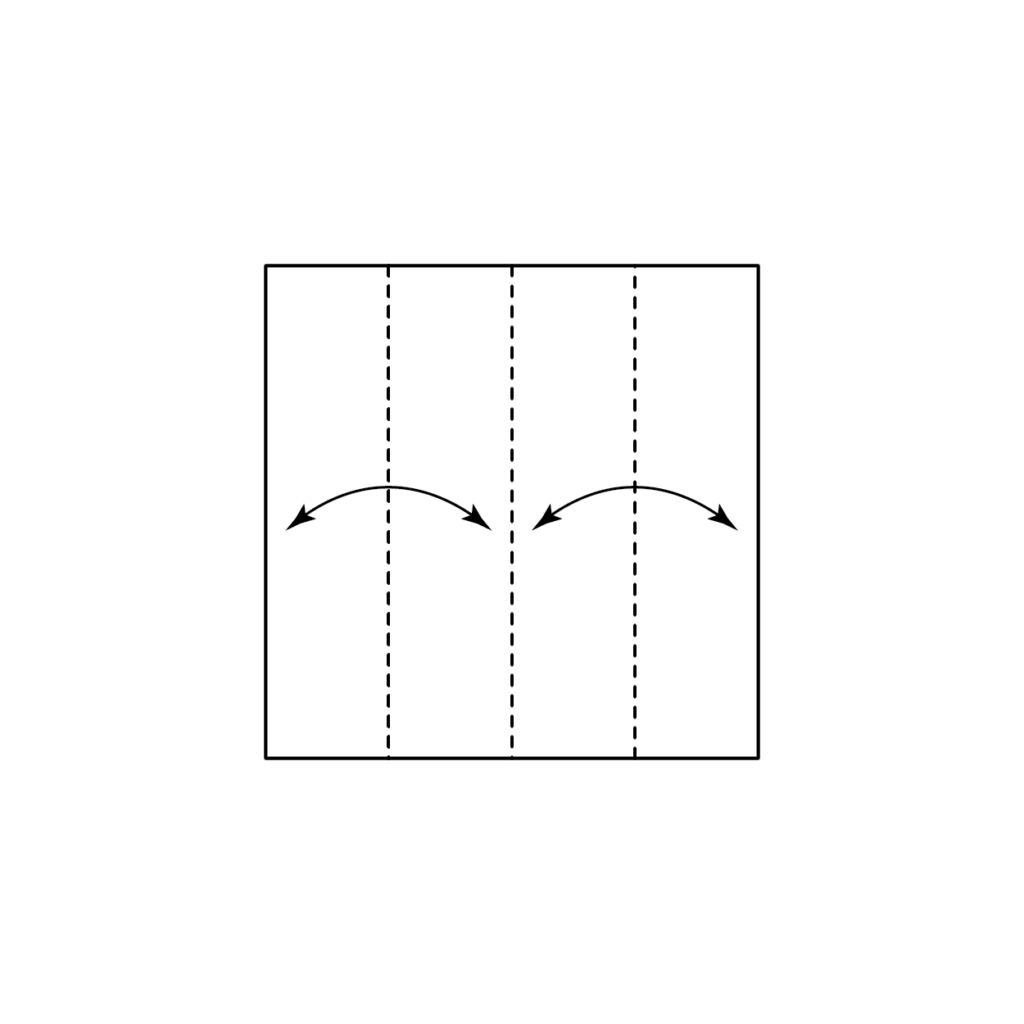
With the paper unfolded, fold both the left and right sides to meet at the center crease. Then, unfold the paper once more.
3. Forming Corner Triangles: Fold Top Left and Bottom Right Corners
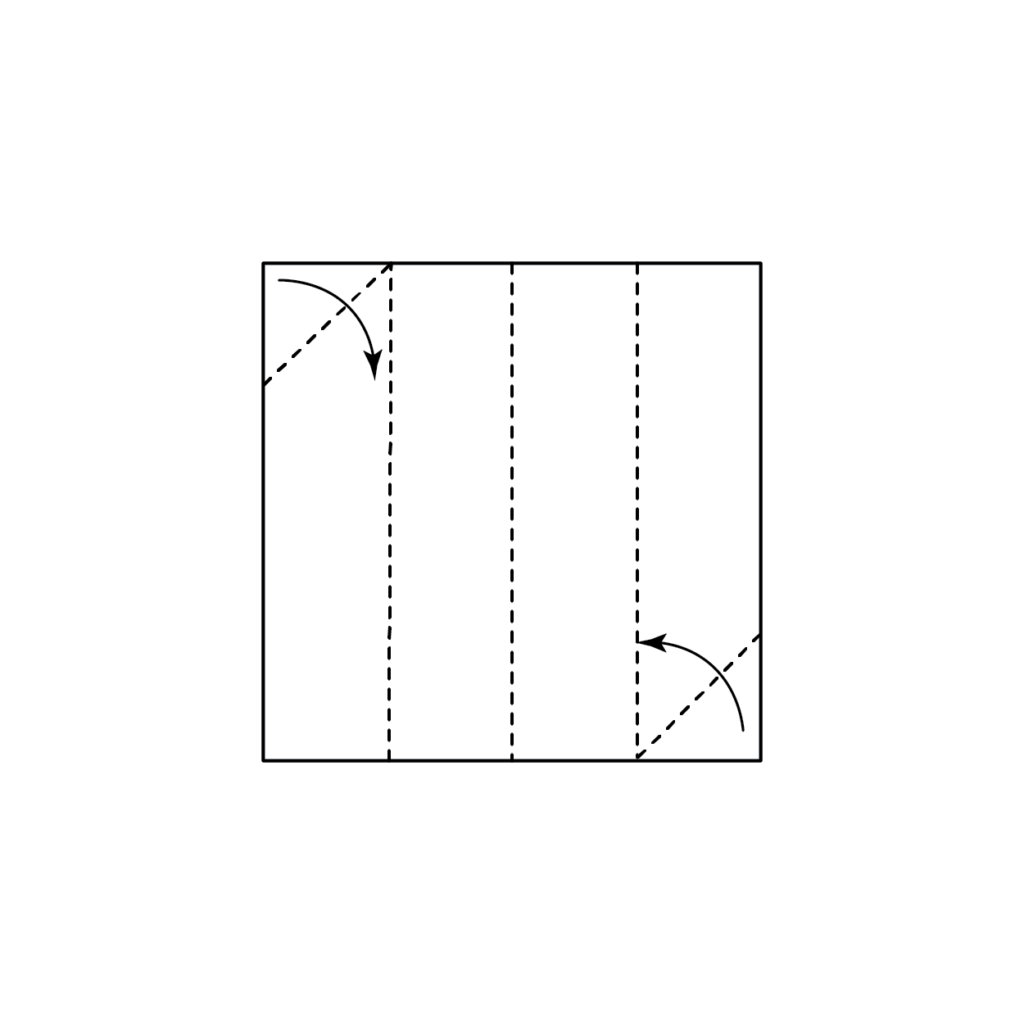
Fold the top left and bottom right corners diagonally to meet the outermost creases, forming small triangles.
4. Bringing the Sides Together: Refold to Meet the Middle Crease
Your paper should now have the triangular folds on both sides. Fold both sides inward, meeting at the middle crease you made initially.
5. Checking the Folded Shape: Confirming the Paper’s Appearance

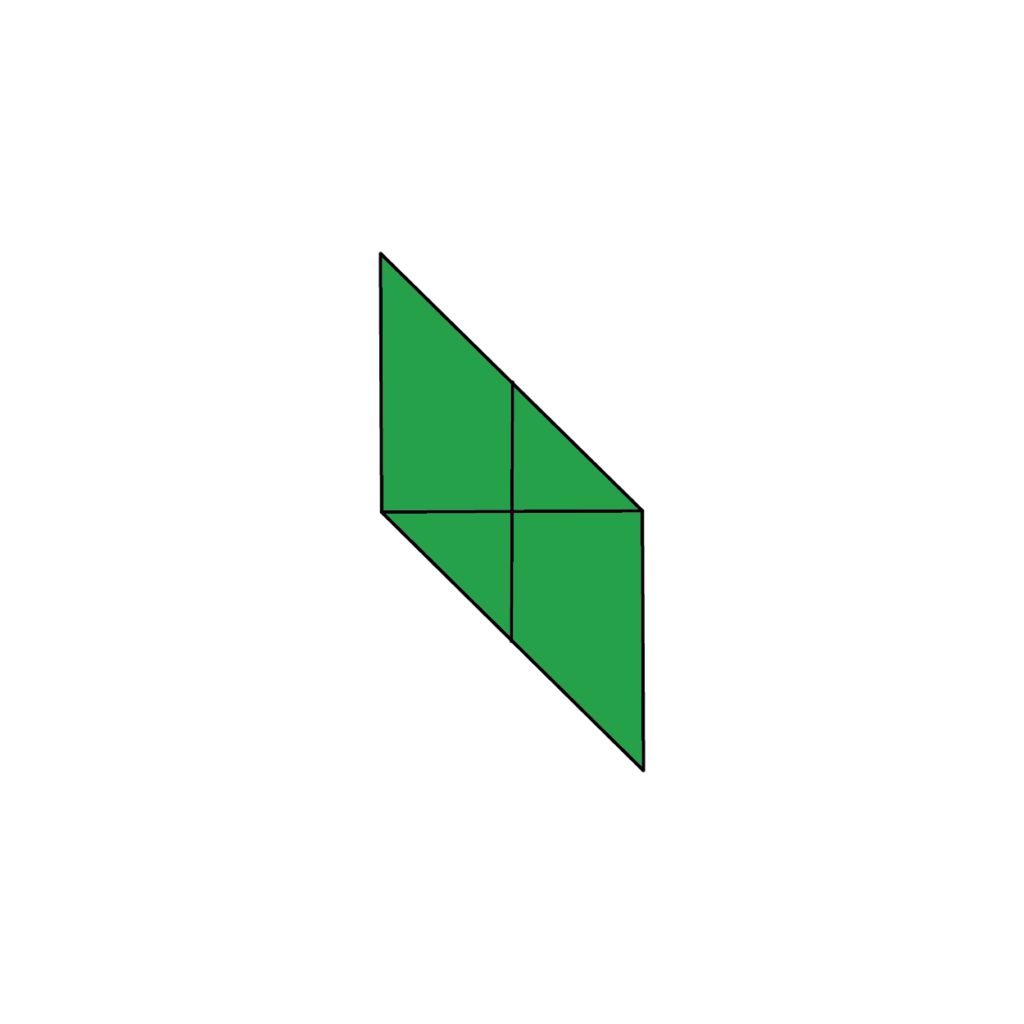
Your paper should now resemble the provided example, with triangular folds on both sides.
6. Folding the Bottom Left Corner: Tuck the Corner Under the Right Flap
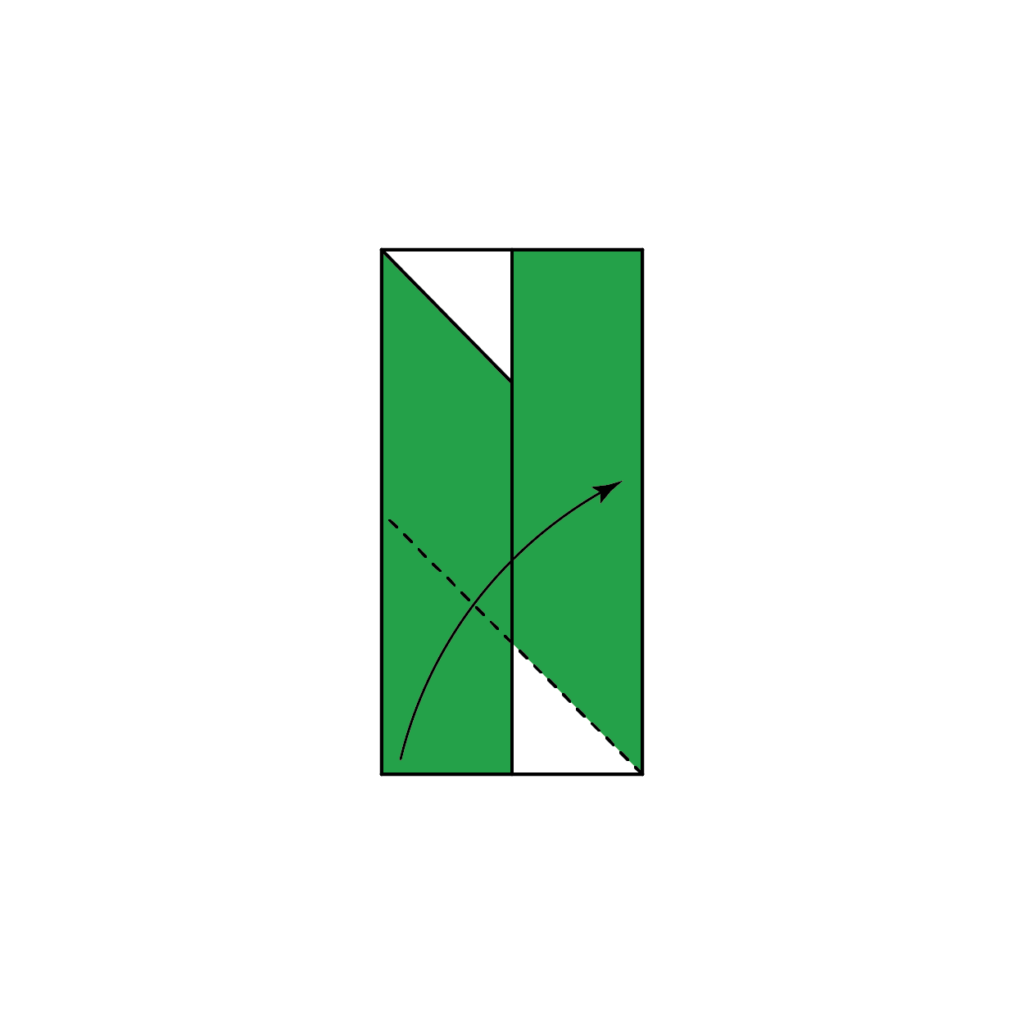
Fold the bottom left corner up to the right along the dotted line as shown in the diagram. Tuck the corner under the right flap of the paper.
7. Rotating and Repeating: Fold the Opposite Corner
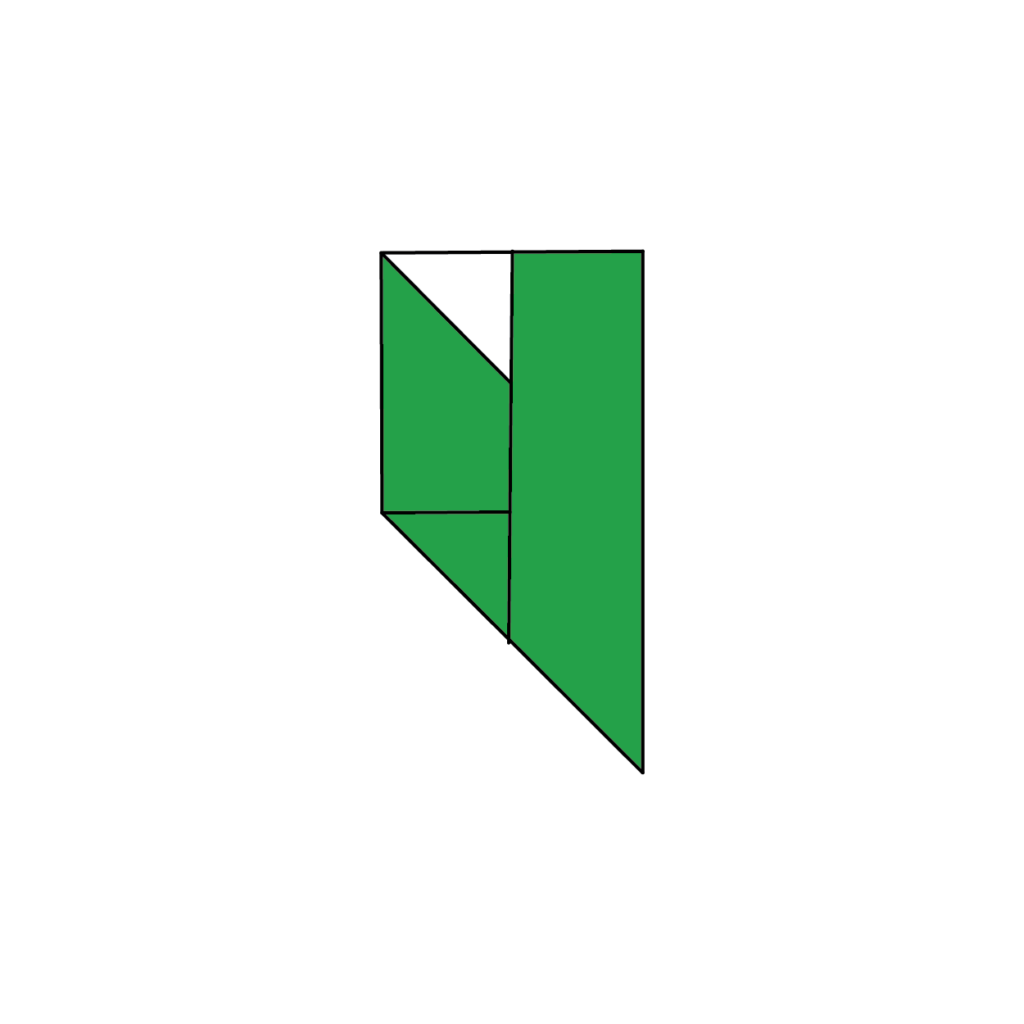
With the first corner folded under the right flap, rotate the paper to match the provided example below. Fold the new bottom left corner up to the right, tucking it under the flap just like the previous corner.
8. Inspecting Your Progress: Check the Front Side
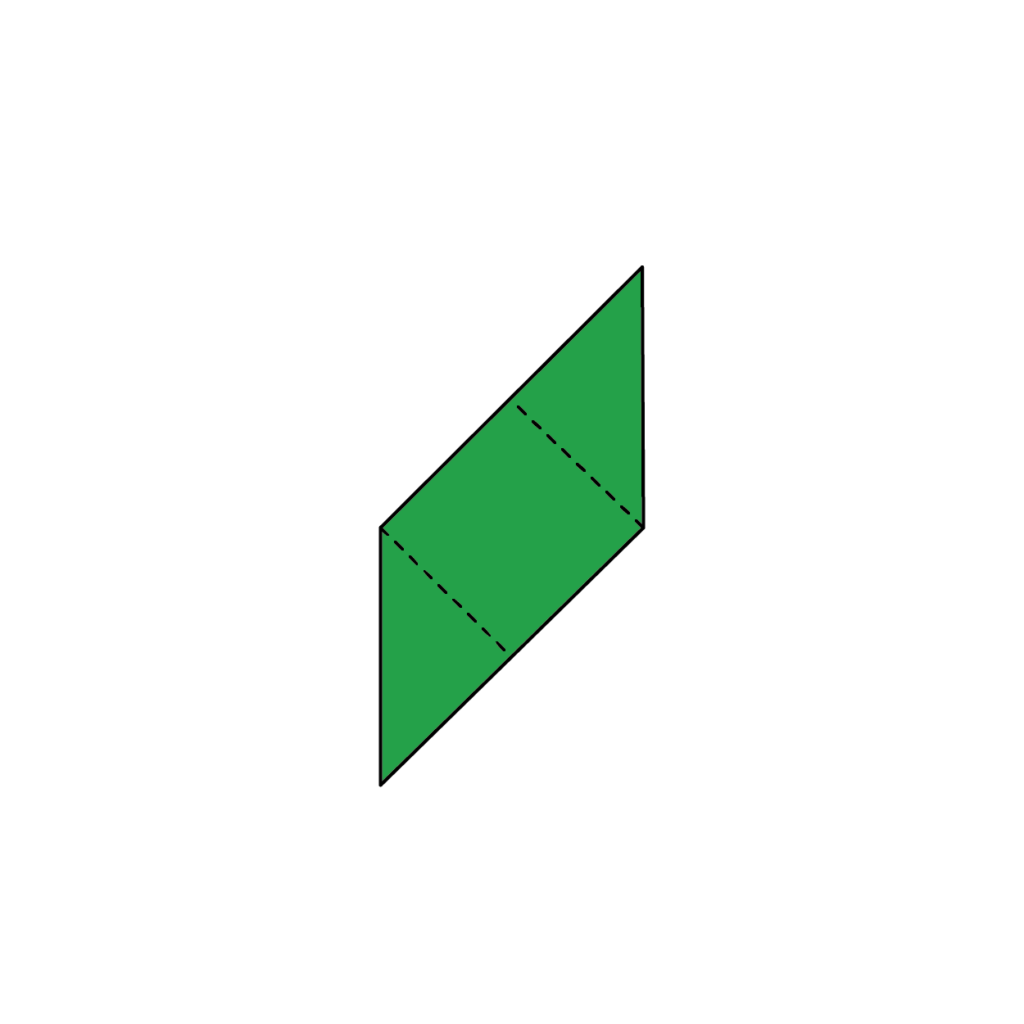
Confirm that your paper now resembles the provided example, with both corners folded under the flaps on the front side.
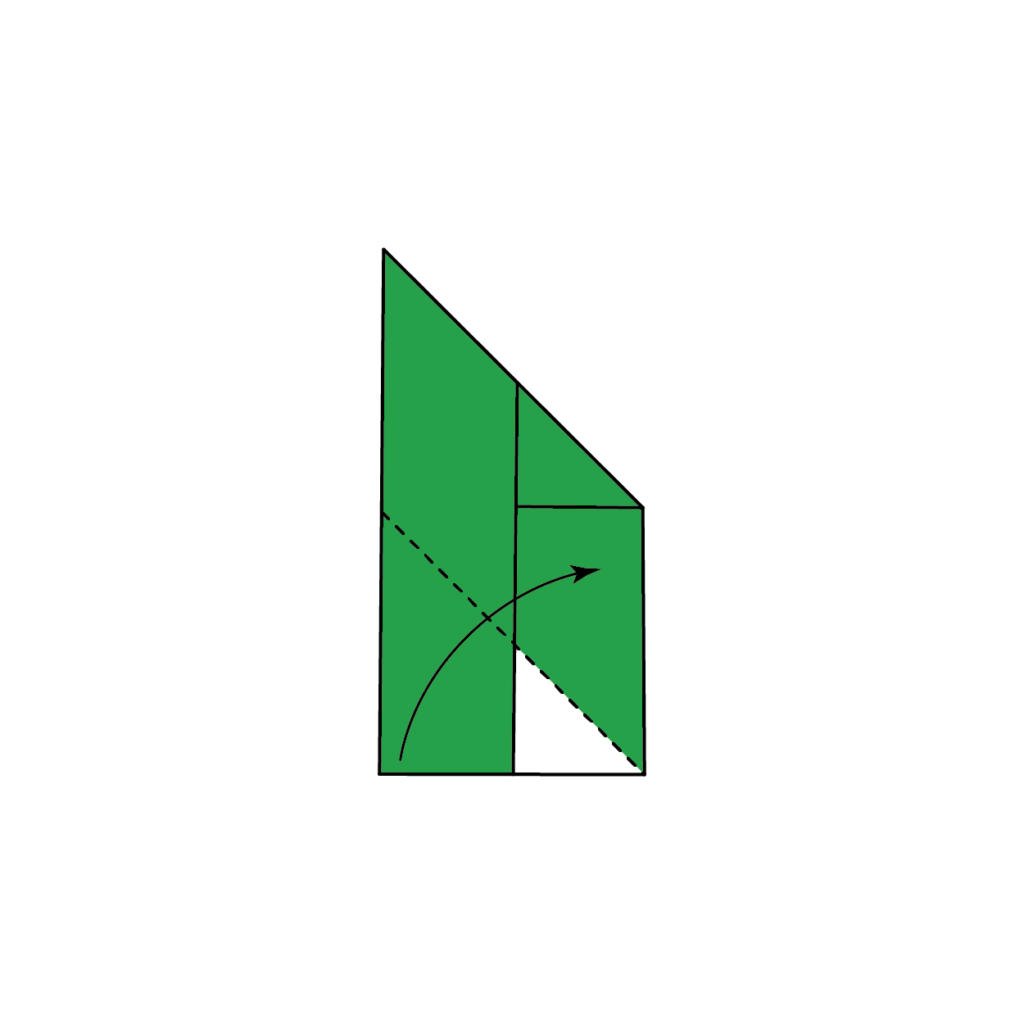
9. Turning Over the Paper: Work on the Back Side
Turn the paper over to the back side.
10. Folding the Back Corners: Create a Square Shape
Fold both back corners down along the dotted lines, forming a square shape. Unfold the corners so they point upward. Repeat steps 1-10 five more times to create a total of six identical pieces.
11. Assembling the Origami Cube: Connect the First Three Pieces
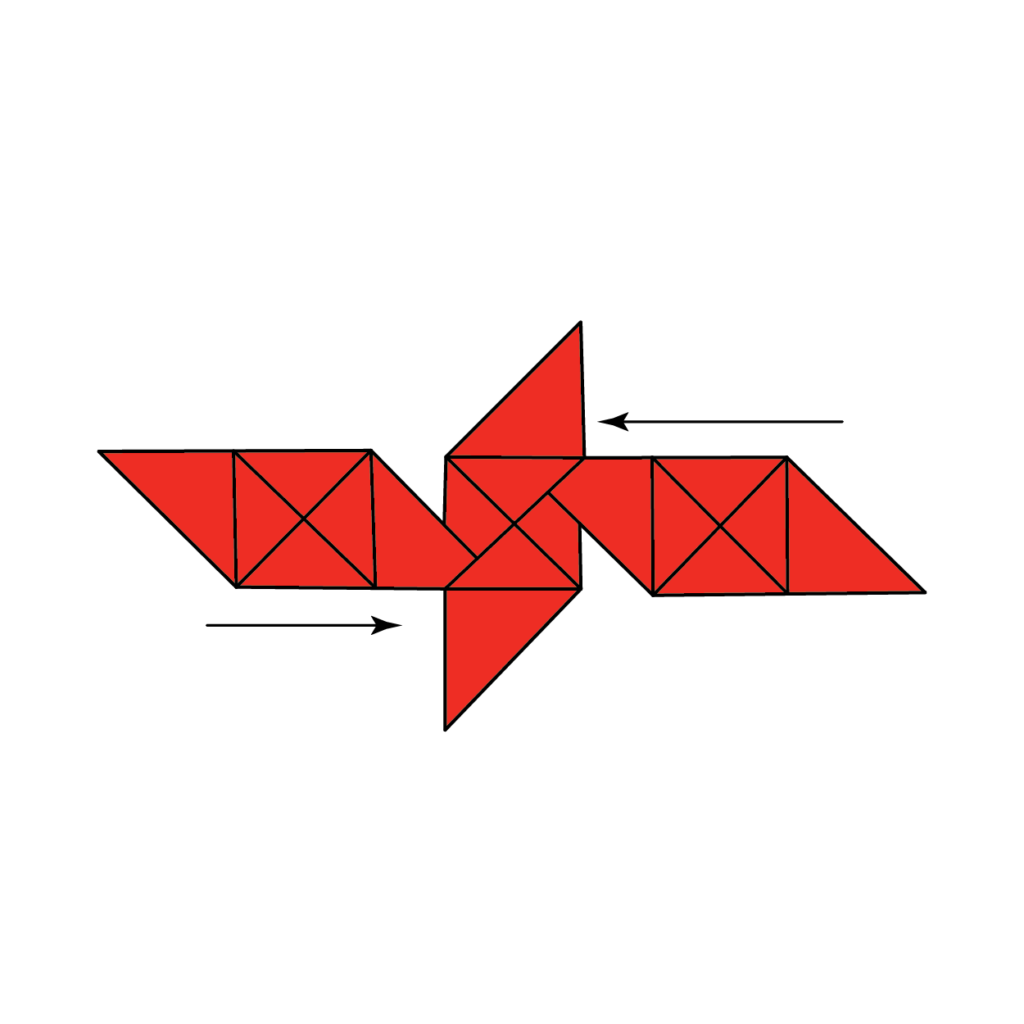
With your six cube pieces prepared, begin assembling the origami cube. Take three of the pieces and arrange them as shown in the diagram: one piece vertical and two pieces horizontal, placed to the left and right of the vertical piece. Insert the corners of the horizontal pieces into the left and right pockets of the vertical piece.
12. Adding More Pieces: Connect Two Additional Cube Pieces

Take two more cube pieces and place one horizontally on top and another horizontally at the bottom of the structure from step 11. Insert the top and bottom corners of the connected cube pieces into the pockets of the two new pieces, as shown in the diagram. You should now have five connected cube pieces.
13. Preparing for Final Assembly: Check the Shape

This is now what you should have. You are now going to take all the corners available and tuck them into their respective pockets while forming a cube shape. This should be very easy to figure out if you have the shape as shown above.
14. Connecting the Last Cube Piece: Start the Final Assembly
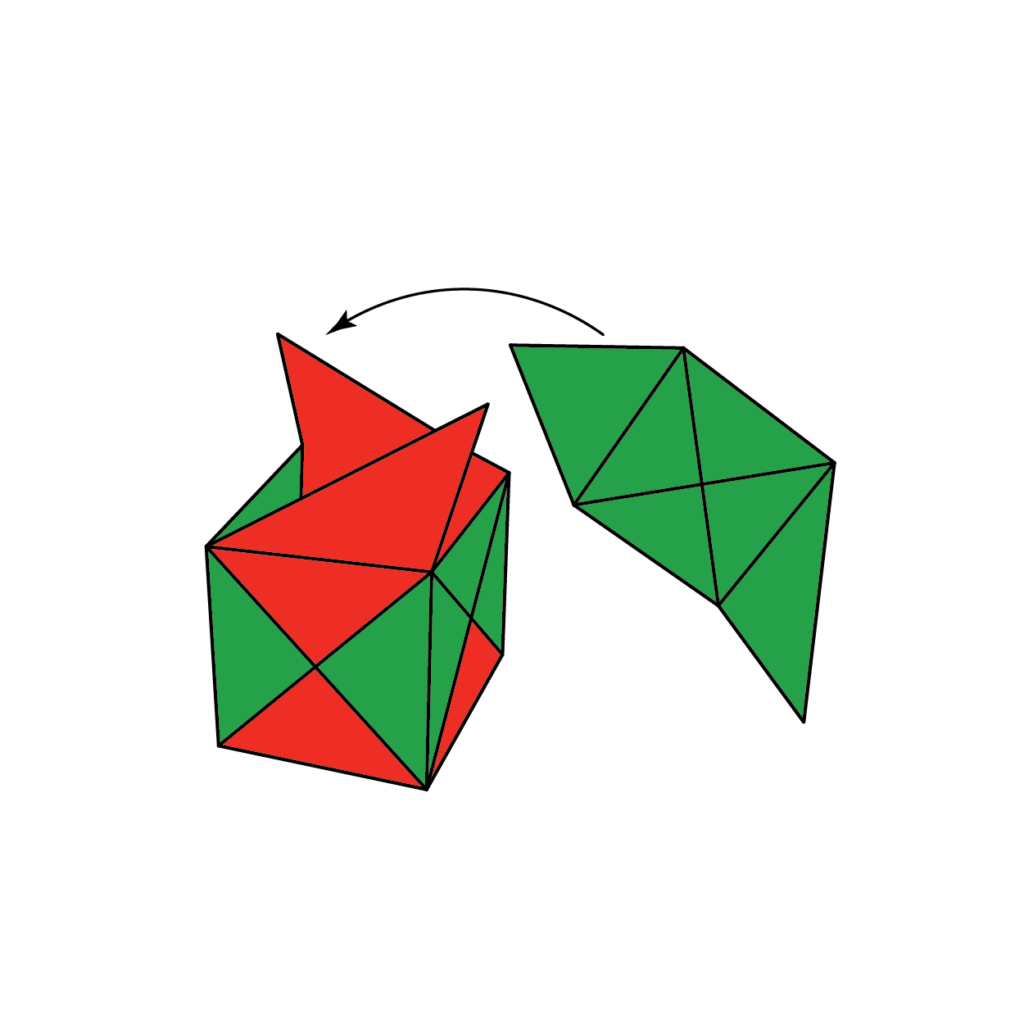
Start connecting the last cube piece to the structure by fitting it into the appropriate pockets.
15. Completing the Origami Cube: Finish Assembling the Last Piece
Finish attaching the last cube piece to the structure, ensuring it ties everything together. After following these steps, you should have a beautiful, fully assembled origami cube! Enjoy your new geometric creation.
Well, you should be more than proficient at making origami cubes now if you followed along with either the video or illustrated instructions I have provided you with! Though this is a lengthier project, I would recommend making a few origami cubes just to get the practice in!
It’ll help you with any other origami creations you want to tackle. Practice really does make perfect in the world of origami! Down below you’ll find the same instructions as above but in a downloadable and printable format just in case you need them for future reference.
How To Make An Origami Cube Printable Instructions
You’ve followed the instructions and made your way to the end. All that’s left to do is admire your work! Your origami cube is complete, and you can now show it off to all your friends. Congratulations on making such a unique and impressive piece of art. This origami cube is sure to impress.
Now that you know how to make one maybe you’ll even be able to teach others how to make their own origami cubes too! Make sure you check out all the other origami designs I have available for you! Thanks for following along, and happy folding!