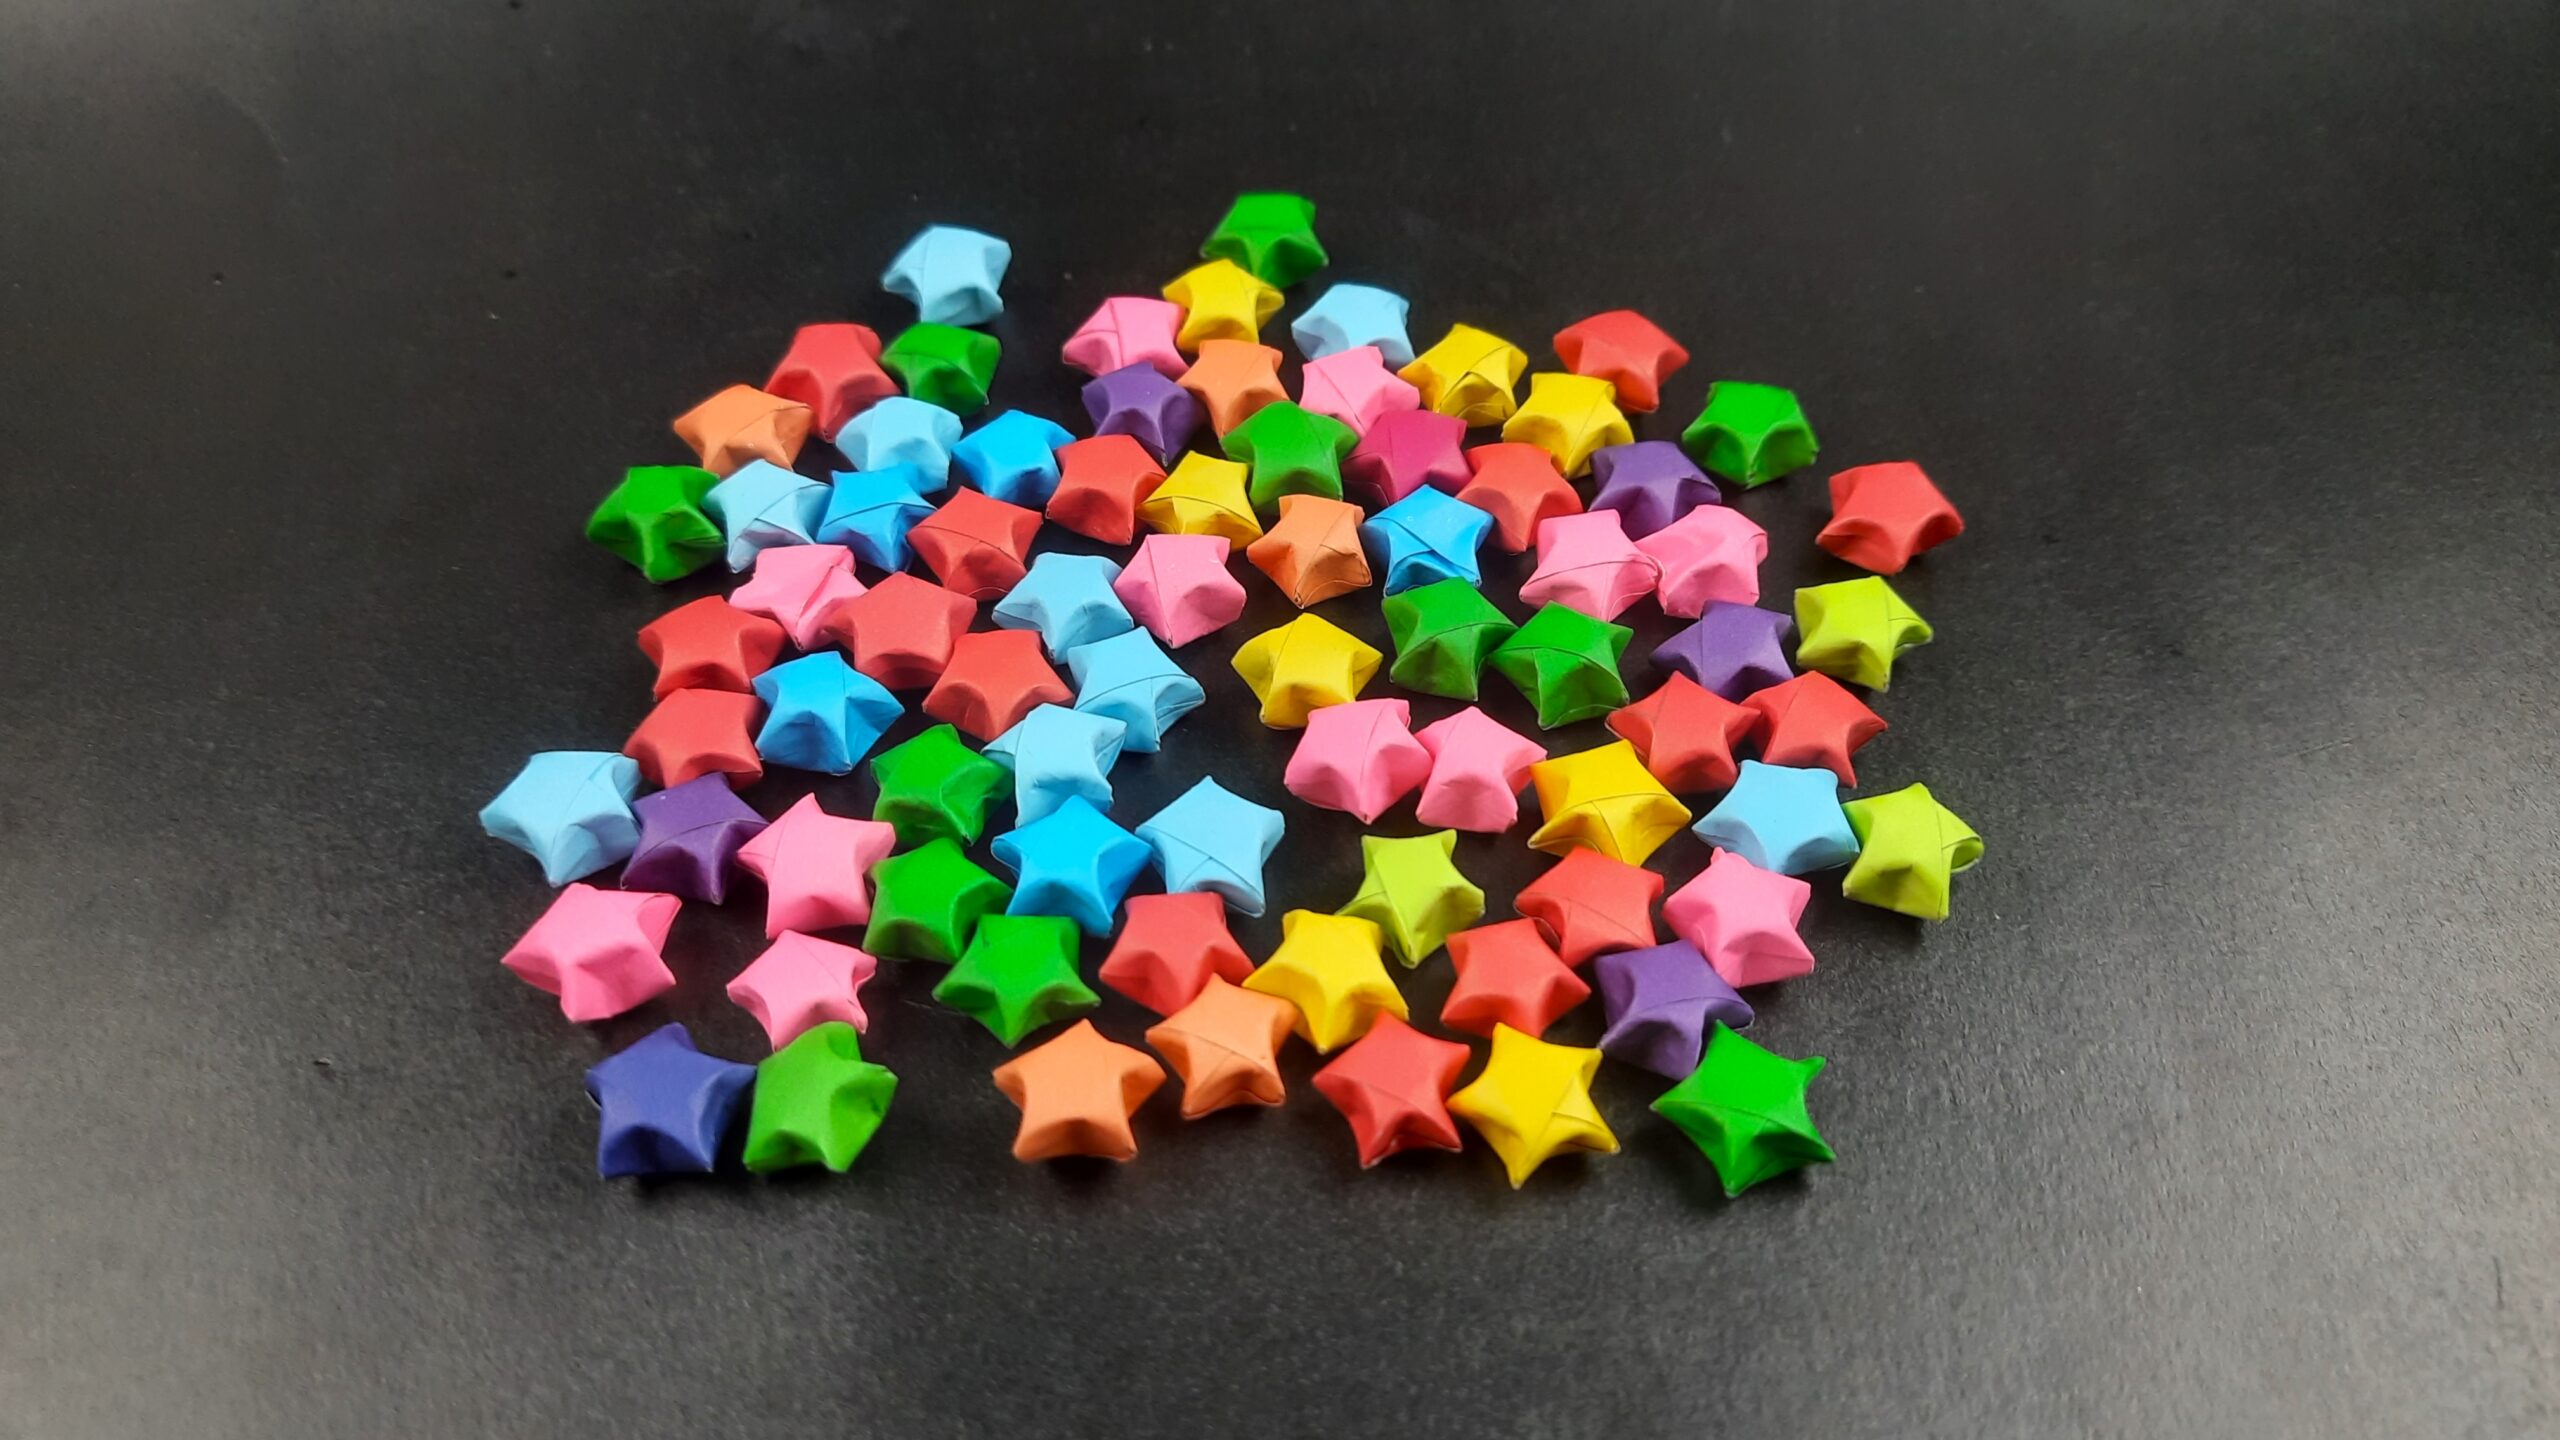
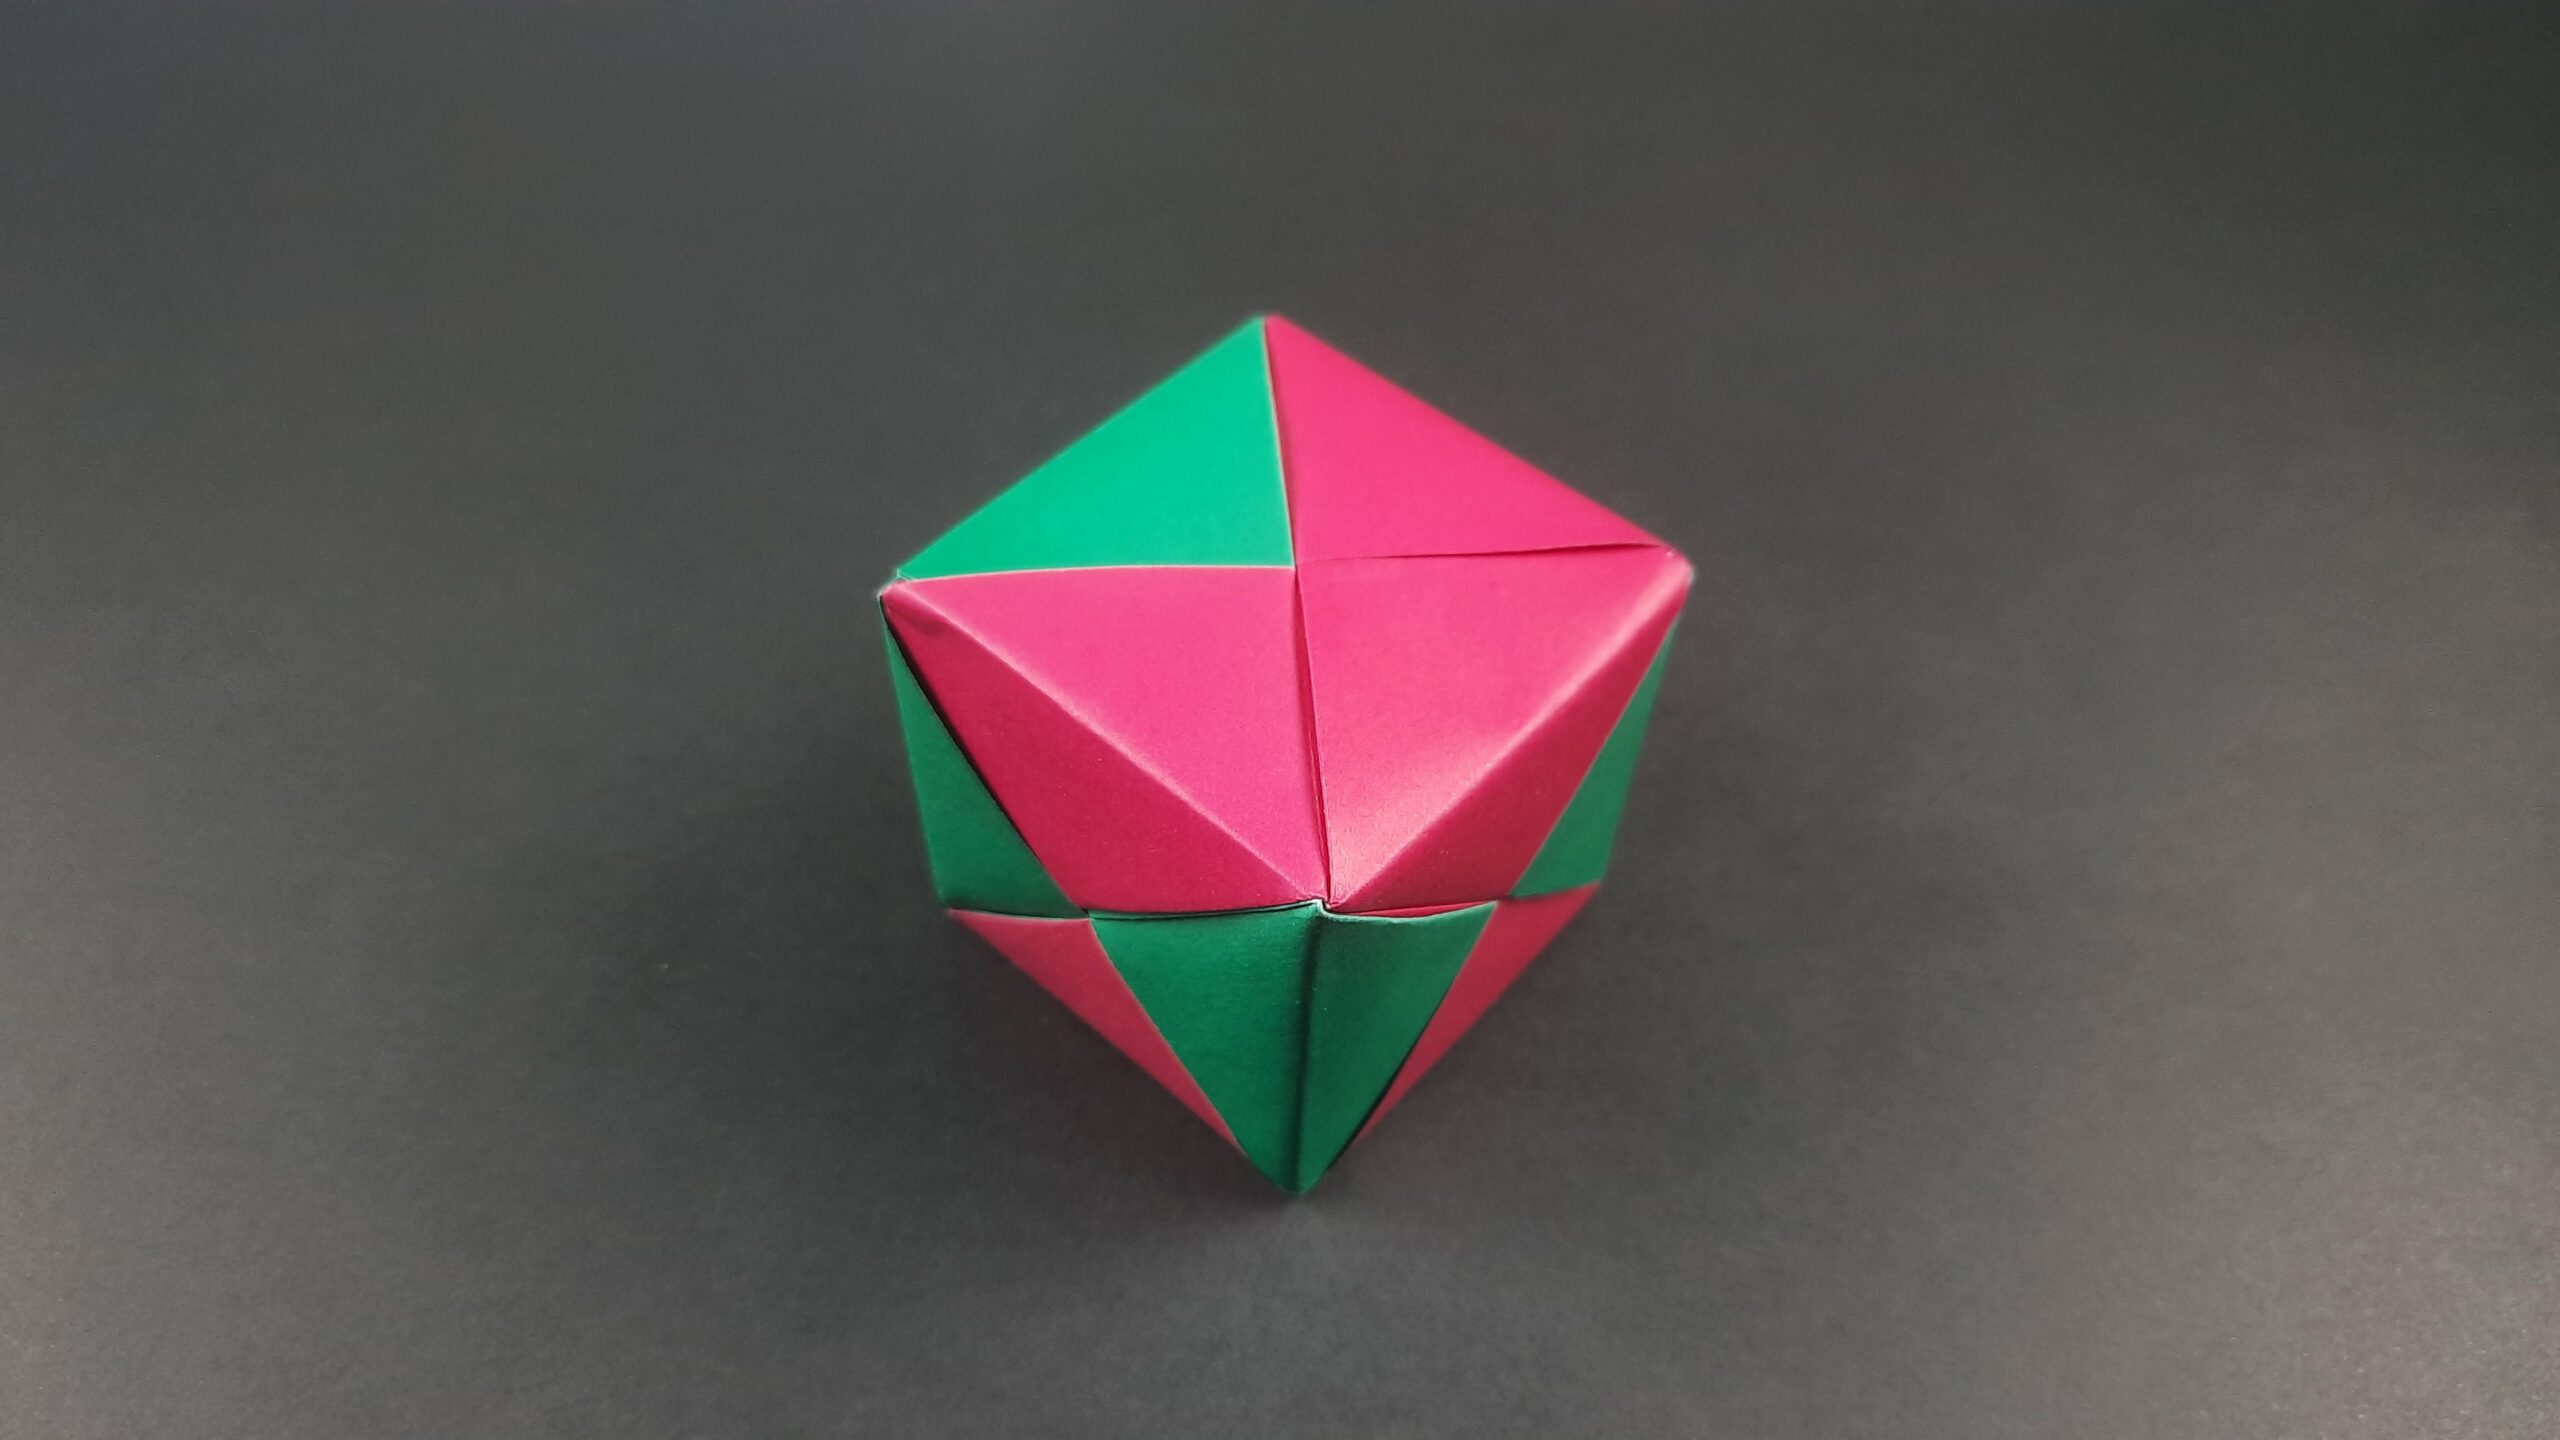
Origami stars are a classic origami shape that is loved by beginners and experts alike. They are a great project for anyone who wants to learn how to make origami because they are simple, but look very impressive. In this guide, I will show you how to make origami stars in just a few easy steps!
How To Make Origami Stars Video Walkthrough
Getting us started I’d like to start with this easy video guide I’ve made for you! If you’re a fan of learning through videos then this should make it more than simple enough for you. Just follow along for a few minutes and you’ll have your first origami star in no time! You can use whatever colored paper you’d like. Get as creative as you can with this.
These are pretty fast to make so after you master them you’ll find yourself with bowls full of stars. Now, if you prefer learning a different way, I have also prepared a step-by-step illustrated guide down below if you would like something other than a video!
How To Make Origami Stars Step-By-Step Instructions
1. Creating a Loose Knot in the Paper Strip
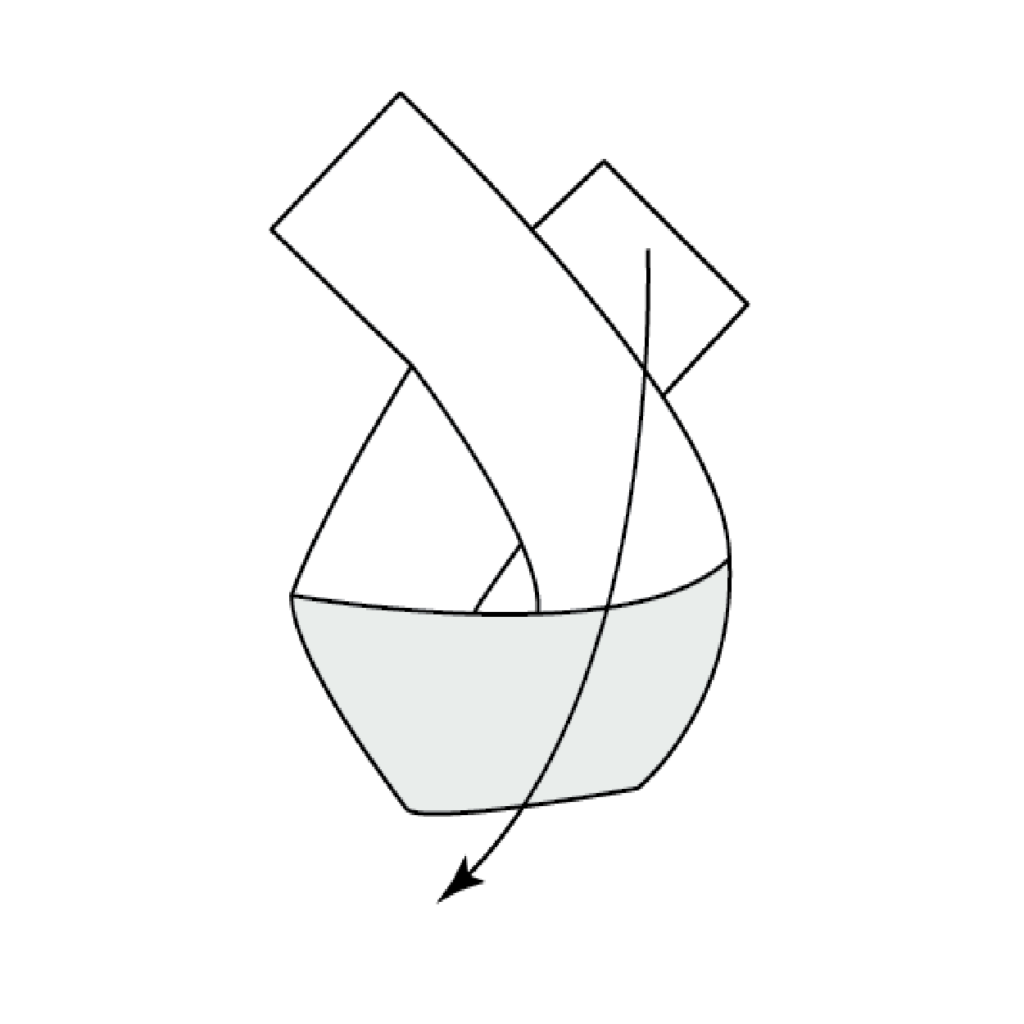
Begin by loosely folding the paper strip into a knot, following the direction of the arrow indicated in the reference image.
2. Pressing the Corners Down Gently
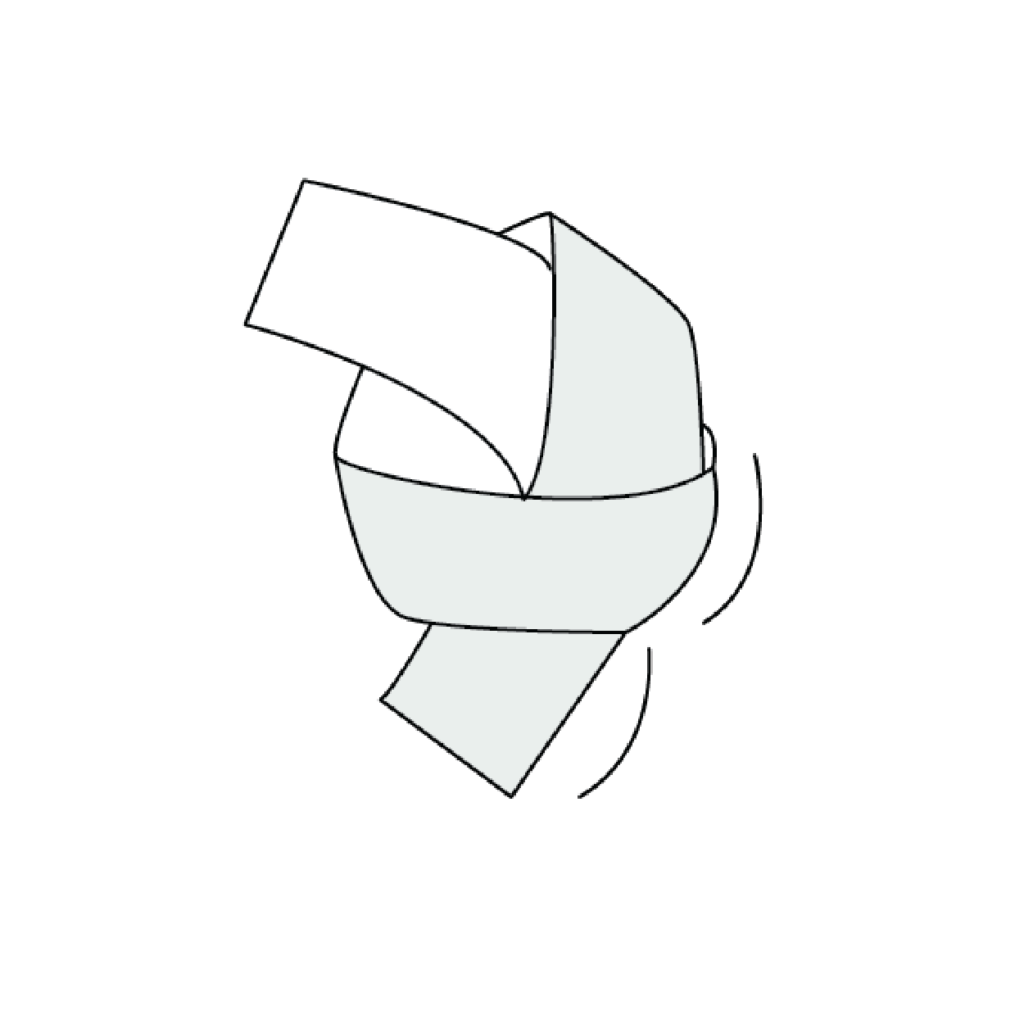
Carefully press the corners down, making sure not to crease them too sharply.
3. Flipping the Paper Over
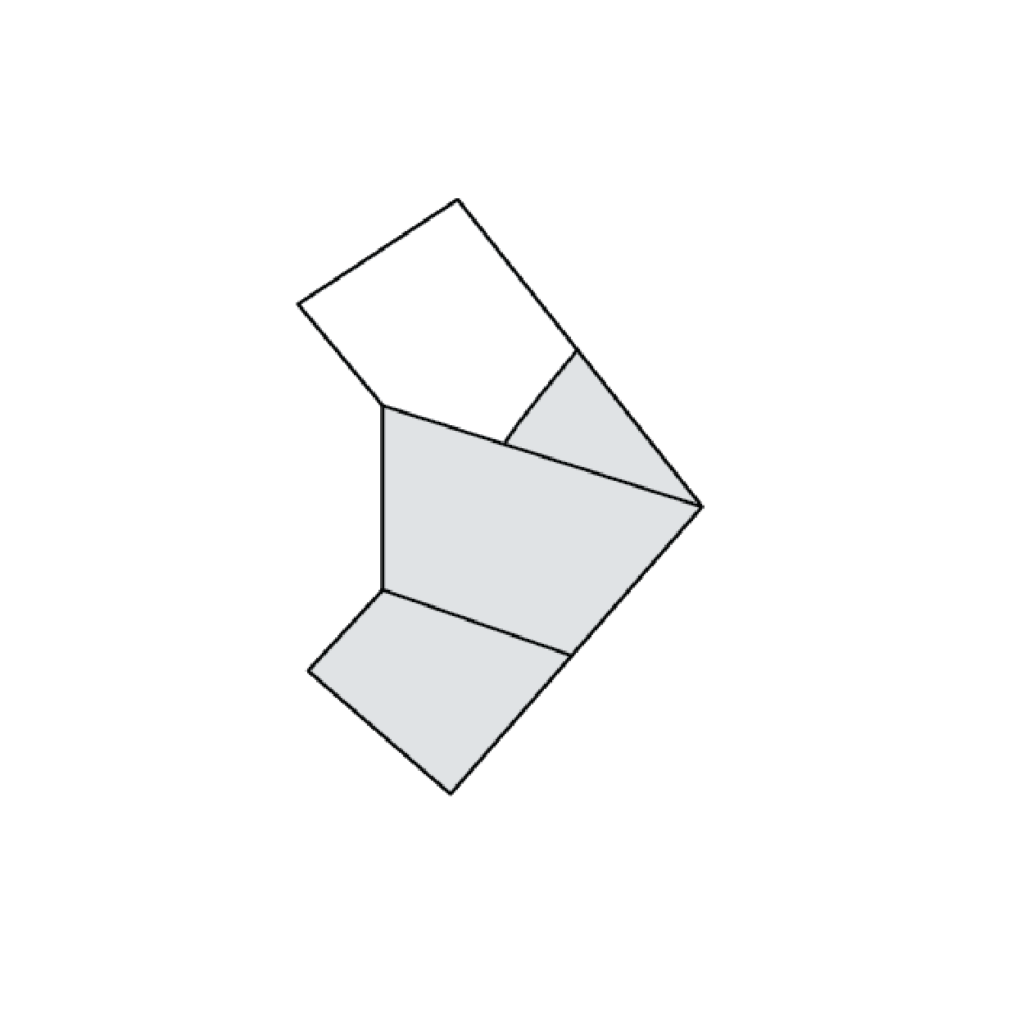
Turn the paper over.
4. Inserting the Paper End and Flipping Back
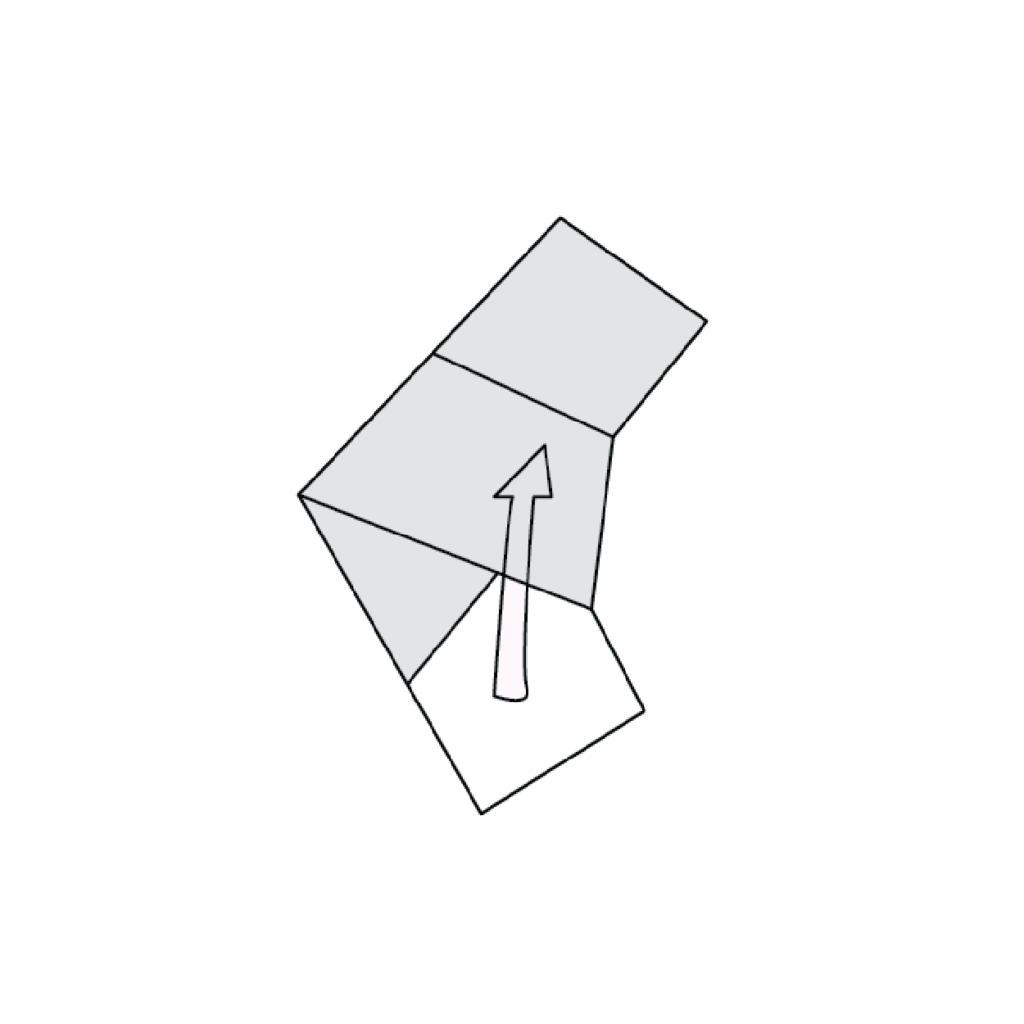
Insert the end of the paper into the shape and turn paper back over.
5. Folding on the Dotted Line and Aligning Edges
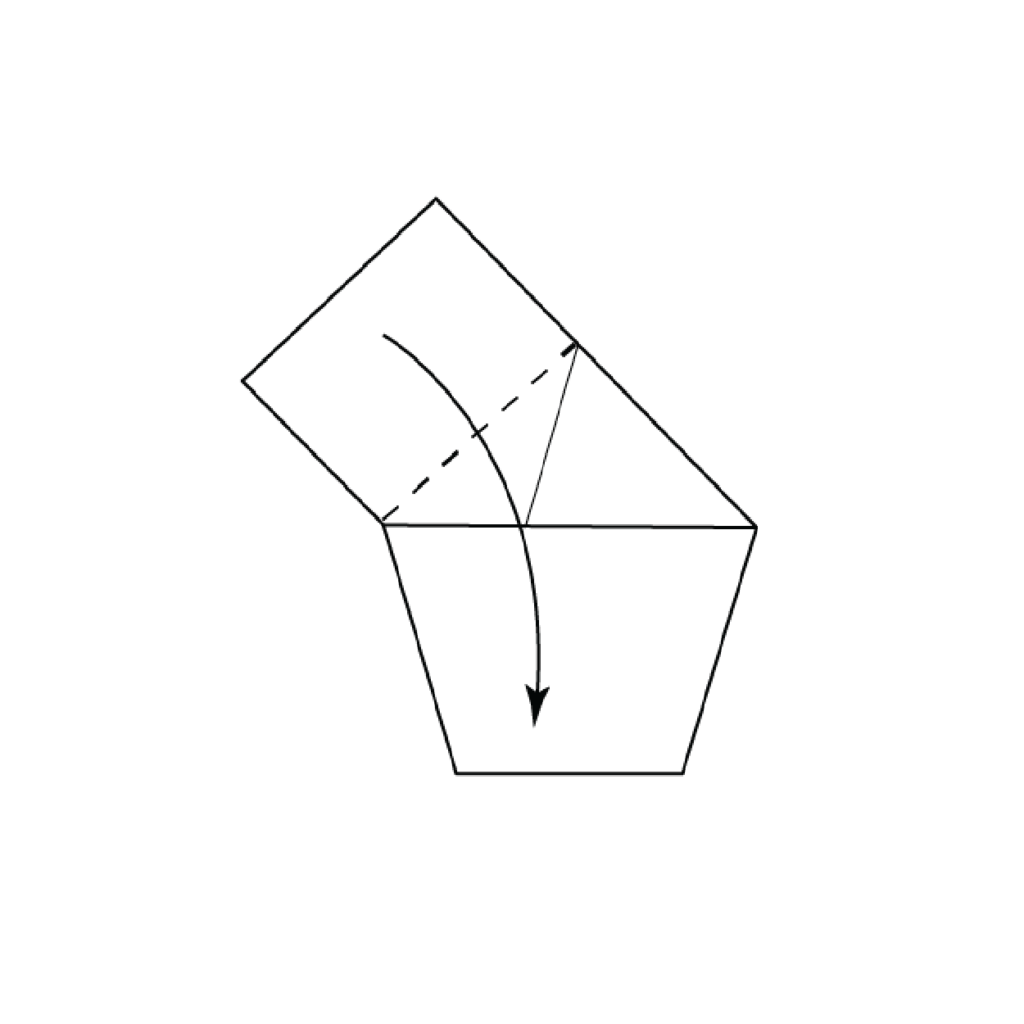
Fold over the dotted line and align it to the edge then flip paper back over.
6. Folding in the Arrow’s Direction and Turning Over
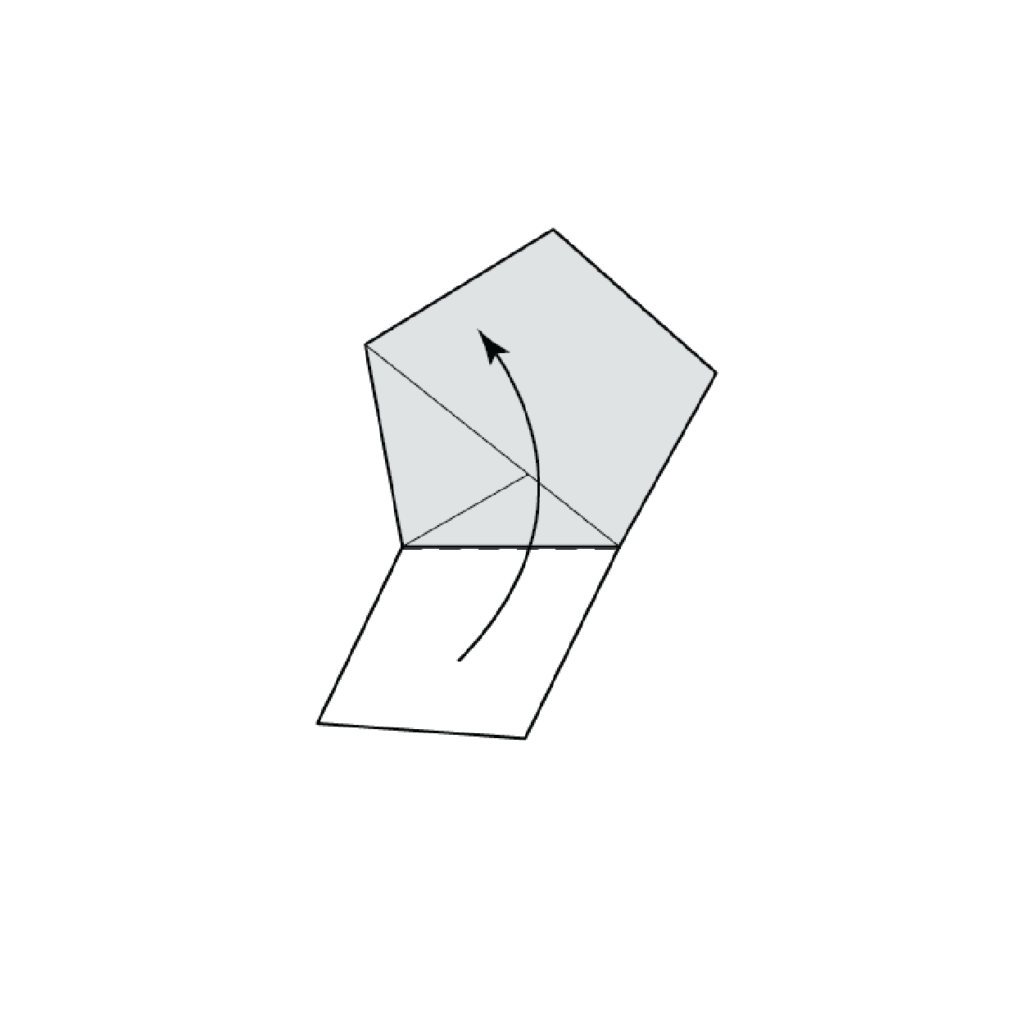
Fold in the direction of the arrow then turn paper over once again.
7. Additional Fold and Turning Over
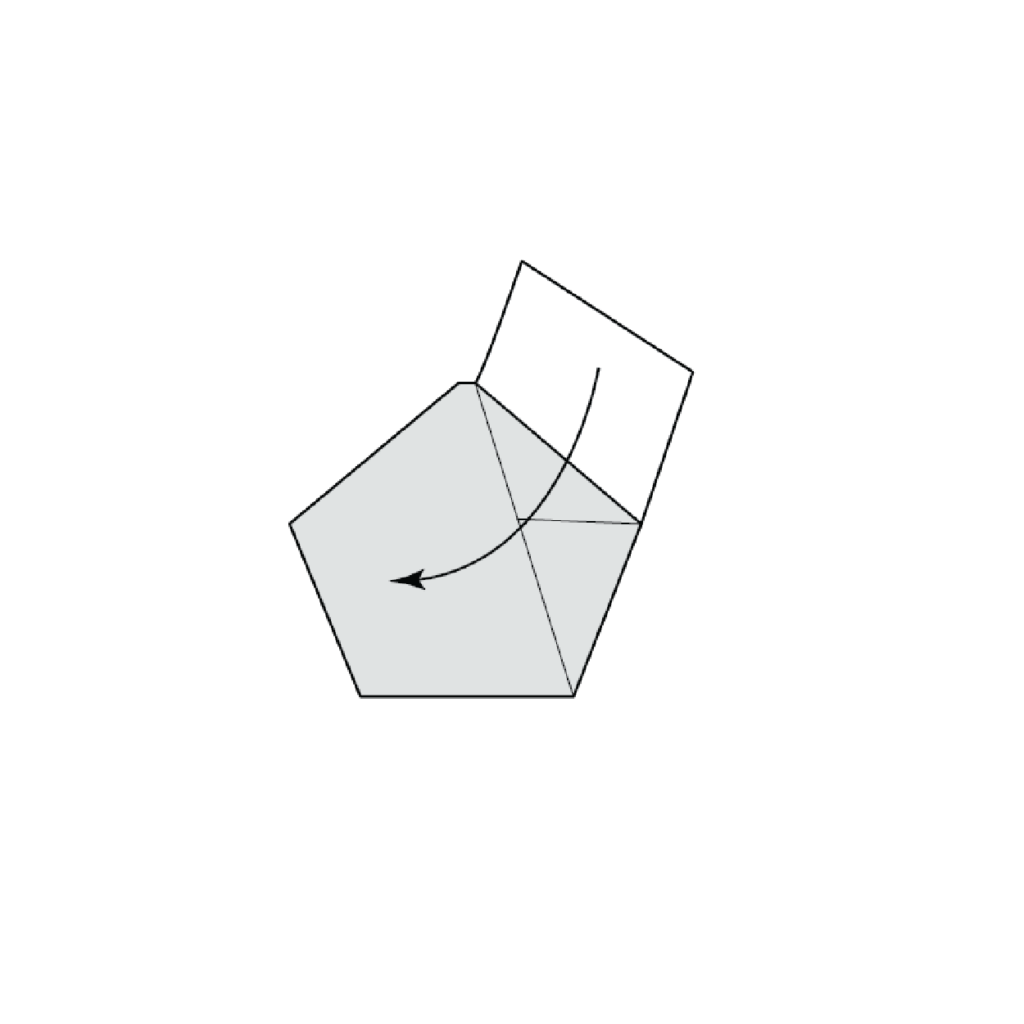
Fold and turn over.
8. Folding Along the Pentagon Edge

Fold along the edge making sure the paper keep the shape of a pentagon.
9. Inserting the Flap Inside the Shape
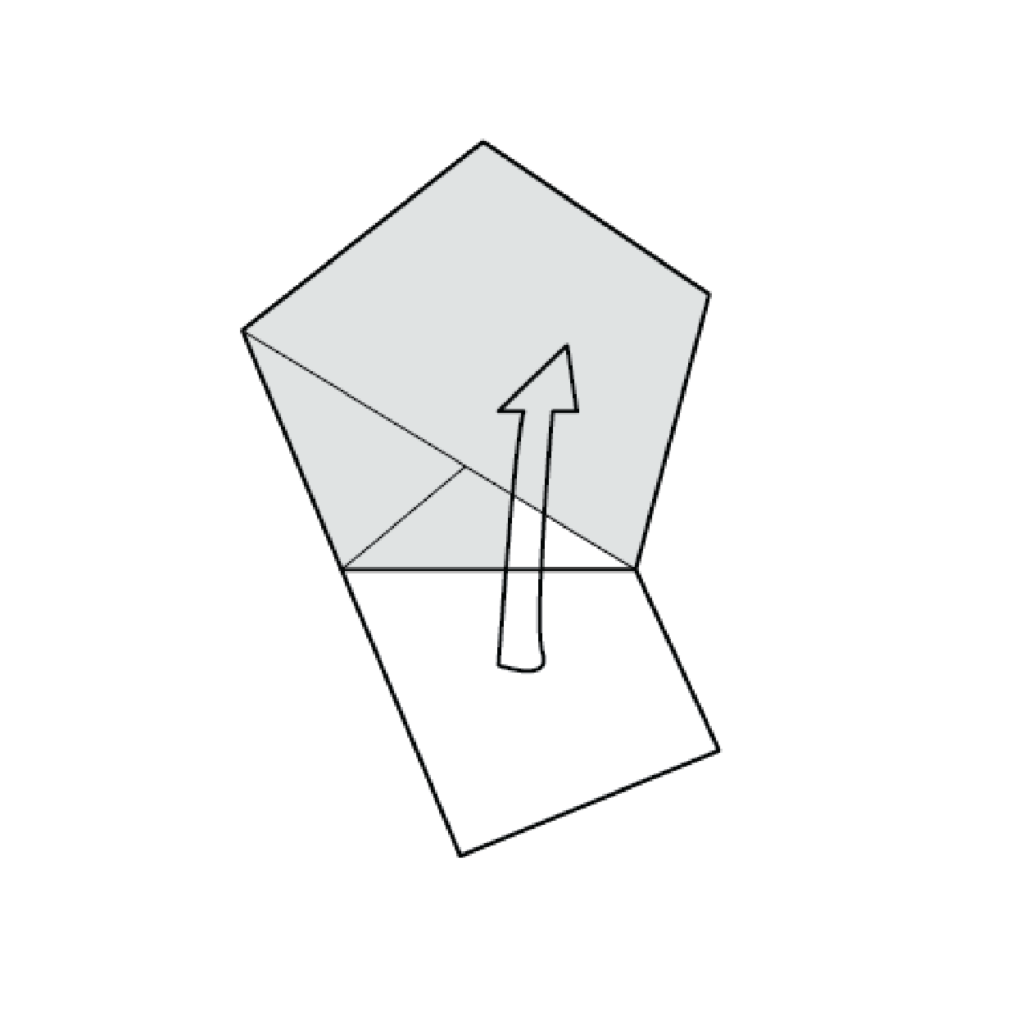
Insert the flap inside of the shape.
10. Pinching the Corners’ Centers
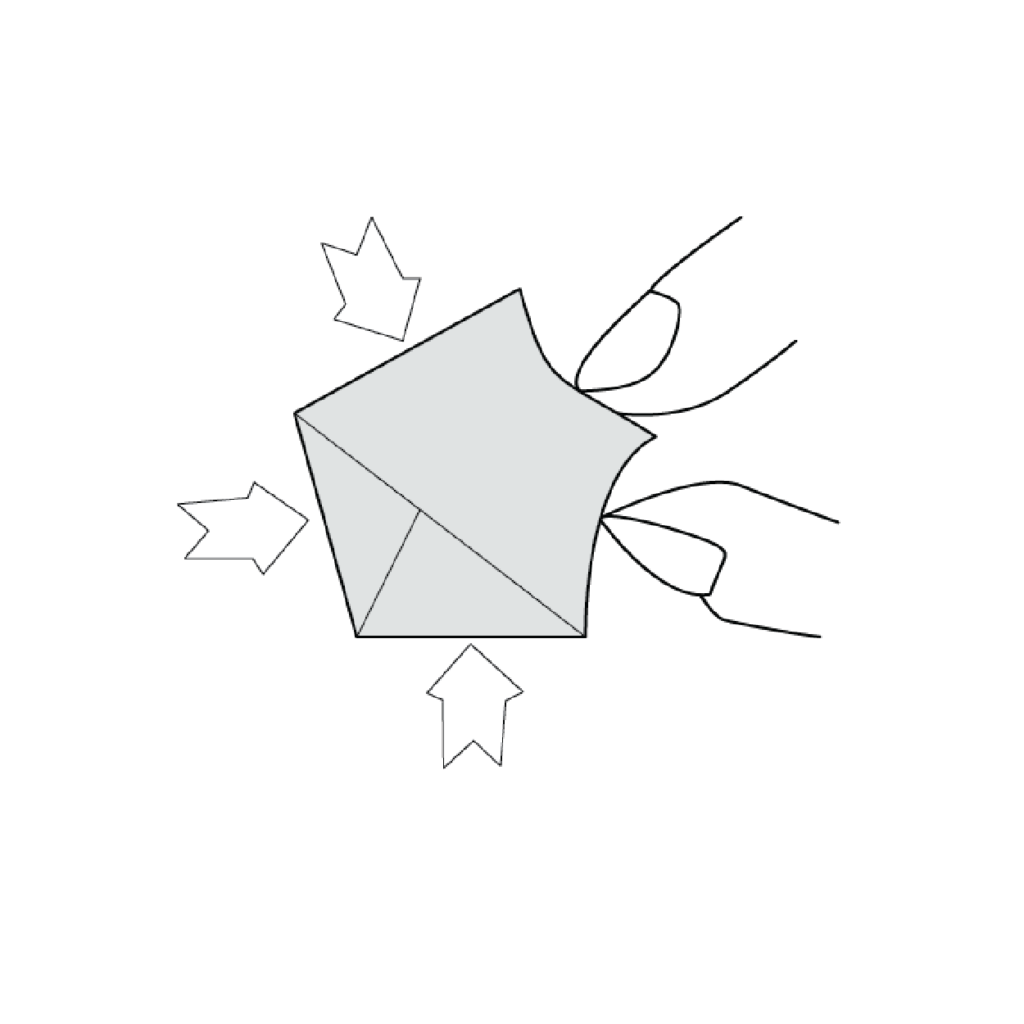
Pinch the center of the corners with your fingers, as illustrated.
11. Completed Star’s Back View
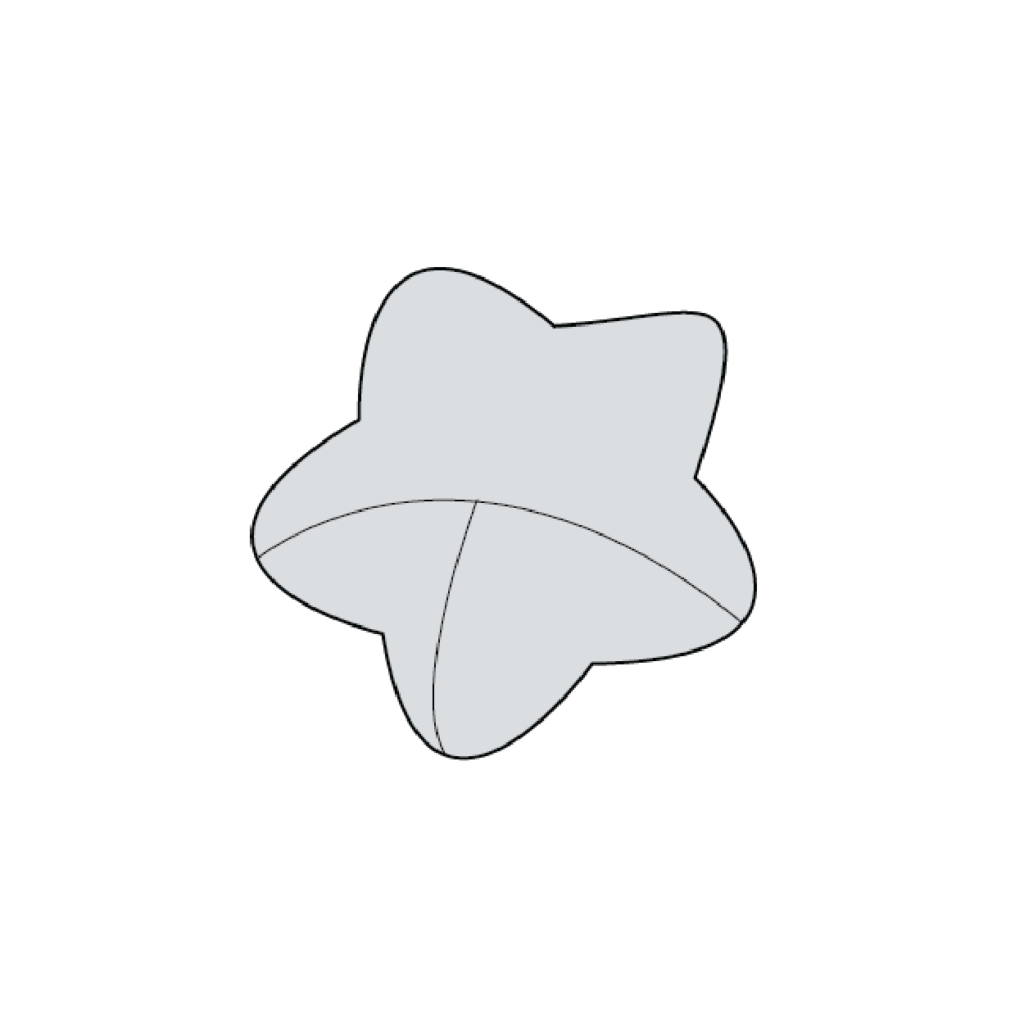
Admire the finished back view of your origami star.
12. Completed Star’s Front View
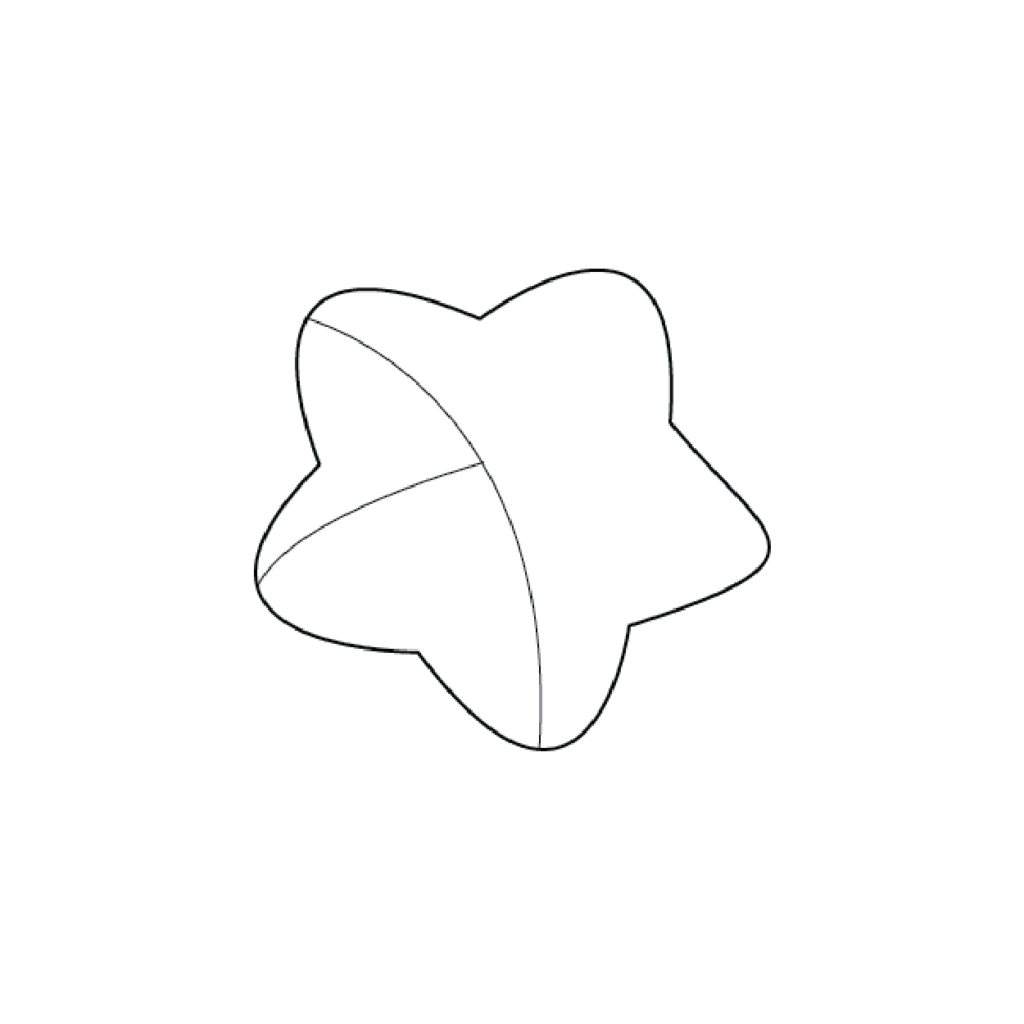
Congratulations! Your origami star is now complete. Enjoy the finished front view of your beautiful creation.
There you have it! You should now be making these origami stars with your eyes closed! With both the illustrated guide and the video you should have this awesome and easy origami creation down to a T! Down below you’ll find the same instructions but in a downloadable and printable format just in case you need a refresher at any point!
How To Make Origami Stars Printable Instructions
Now that you know how to make origami stars, check out my other origami creations and keep learning the art of origami. It’s a fun way to spend your free time and you might surprise yourself with what you can create! Thanks for reading and happy folding.

