Origami butterflies are a great way to decorate your room or give as a gift. They are also a fun activity to do with your kids. In this guide, I will show you how to fold an origami butterfly step by step. It is a relatively easy process, and with a little practice, you will be able to make beautiful origami butterflies in no time!
How to Fold an Origami Butterfly Video Walkthrough
Well, there you have it! This video should have made it more than easy enough for you to create your very first origami butterfly! As you can see, this is a very easy and simple origami project to take on and is perfect for beginners and experts alike!
Get as creative as you’d like with this paper butterfly. Use whatever colored paper you want and even go ahead and decorate it to your heart’s content! Now, if you prefer learning in a way other than video instructions, I have also prepared a set of step-by-step illustrated instructions on how to fold an origami butterfly down below!
Like this design? Check out all my other Origami Animals!
How To Fold An Origami Butterfly Step-By-Step Instructions
1. Creating Diagonal Creases: Begin with a Square Piece of Paper
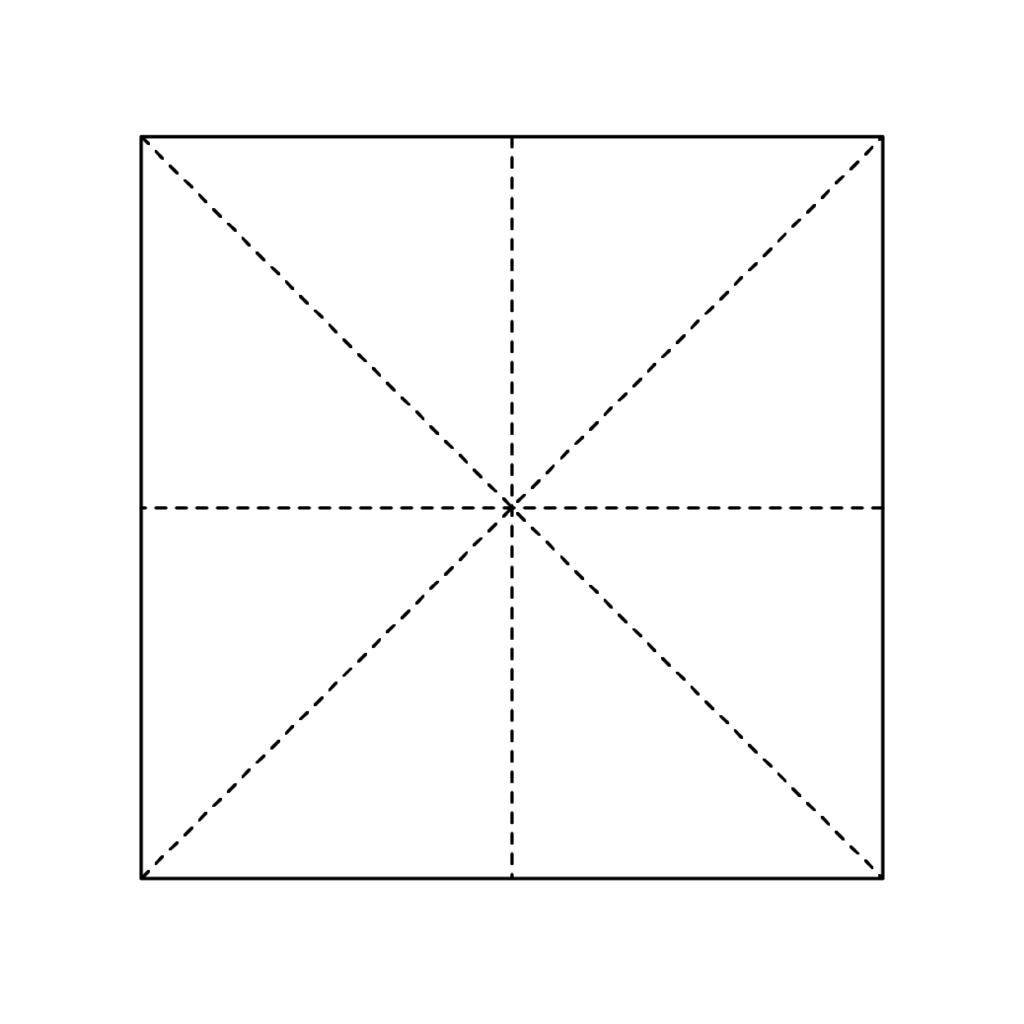
Using a square piece of paper, fold it diagonally along each dotted line shown in the provided image. After folding each diagonal line, unfold the paper before moving on to the next one. These creases will make the following steps easier to execute.
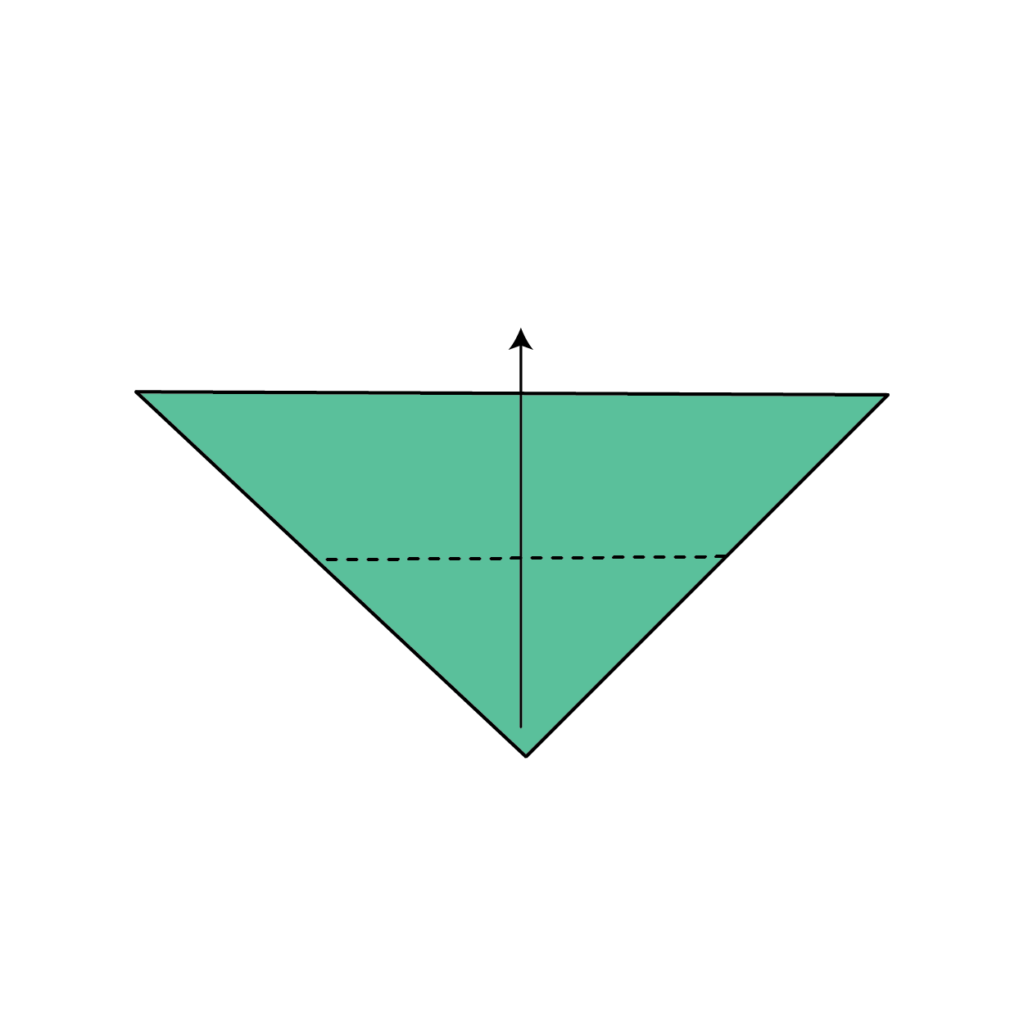
2. Forming the Water Bomb Base: Collapse the Paper Inward
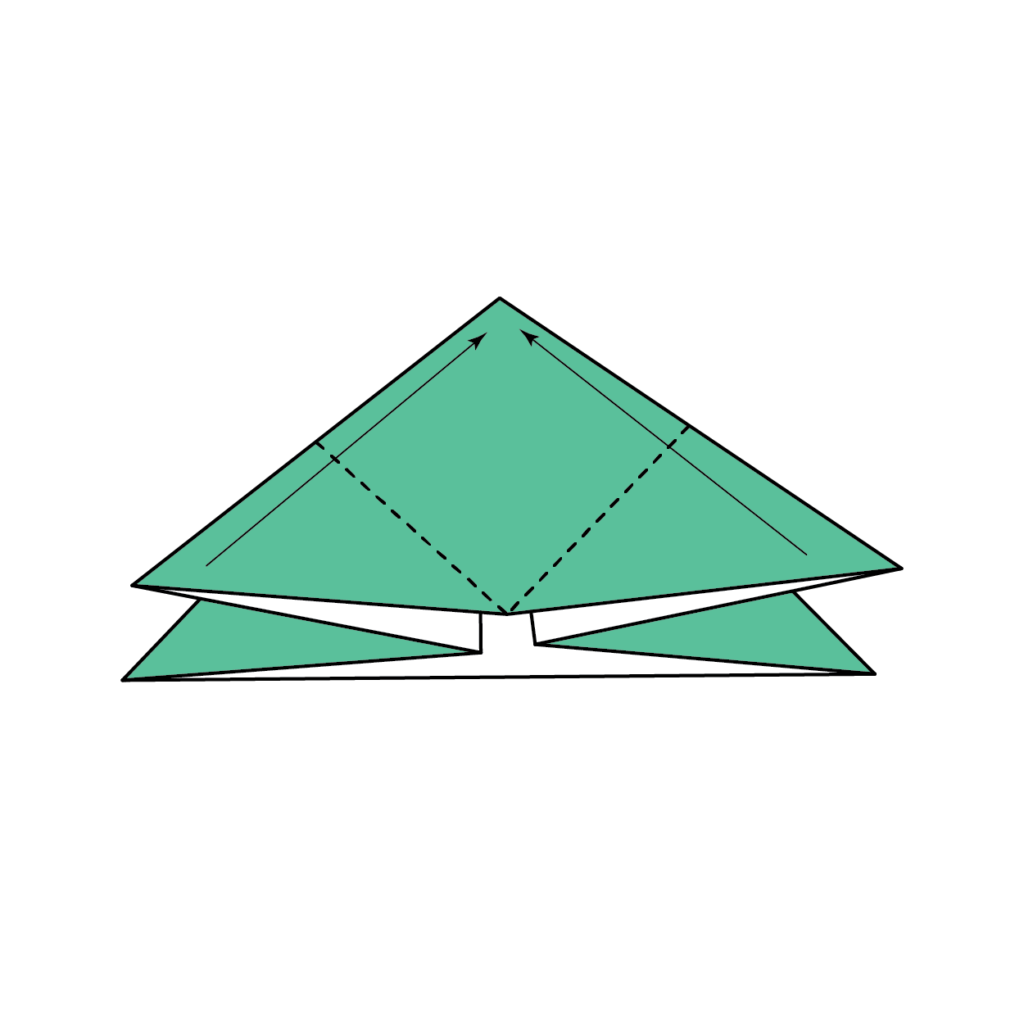
Collapse the paper into a water bomb base by using the creases to fold the left and right sides of the paper inwards. Once completed, it should resemble the provided image. Next, take the left and right corners of the top flaps of the base and fold them along the dotted lines, as shown.
3. Assessing Your Progress: Check the Shape and Orientation
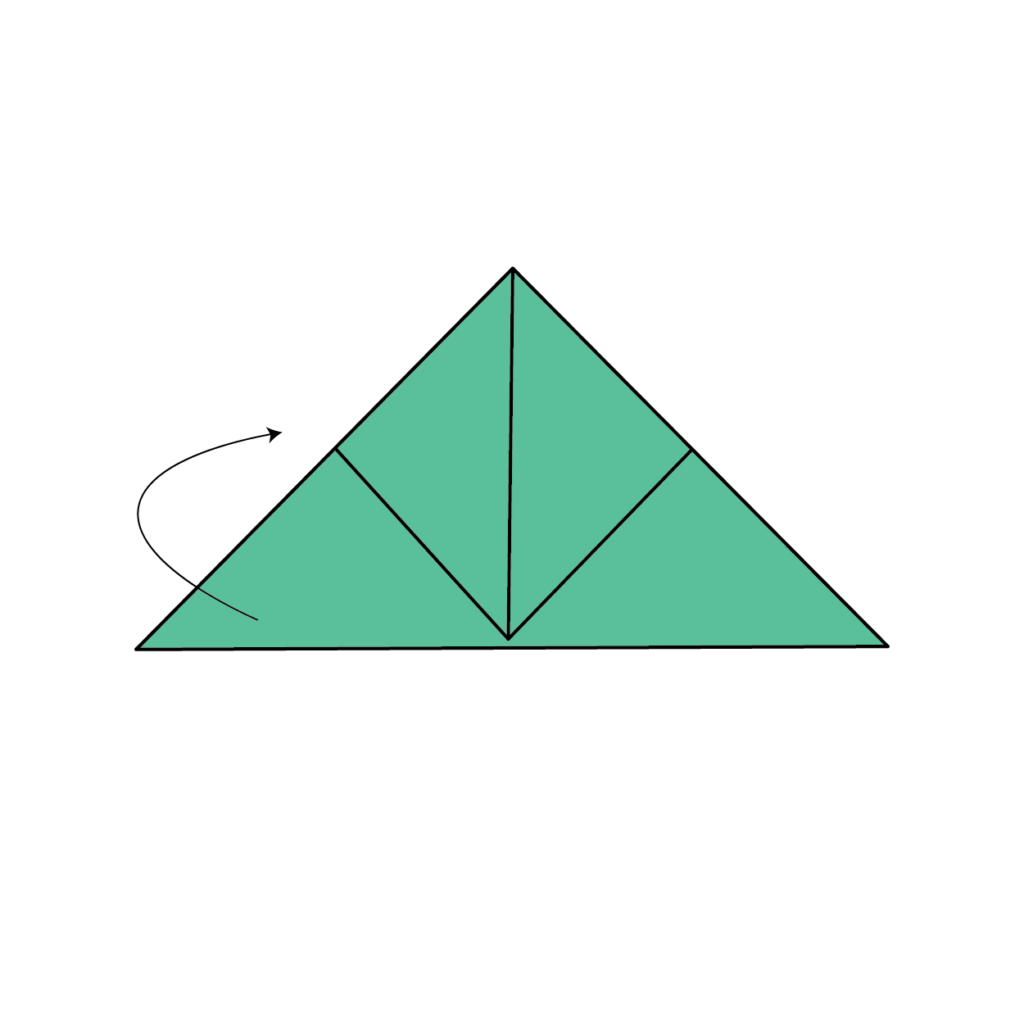
At this point, your paper should look like the provided image. Flip the paper over and rotate it to match the orientation in the next step.
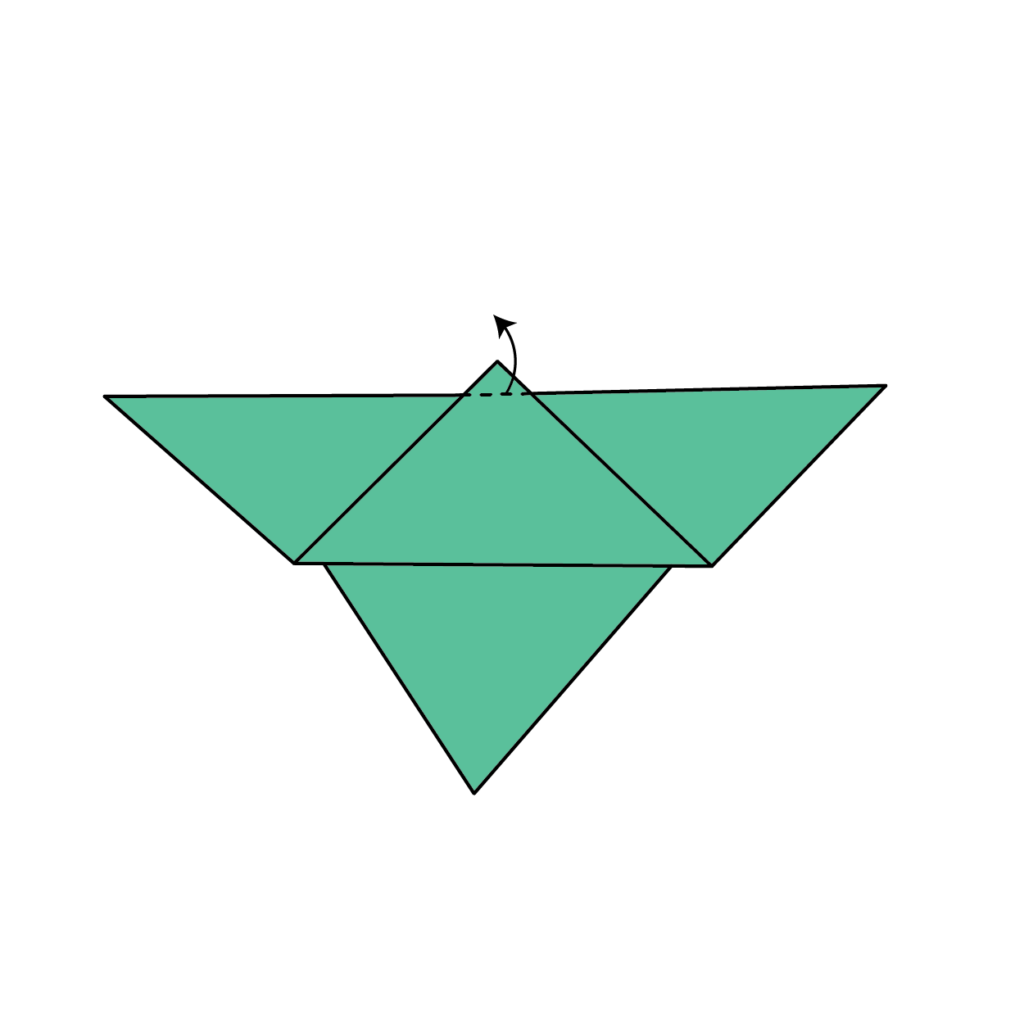
4. Folding the Bottom Point Upward: Allow a Small Portion to Hang Off the Edge
Fold the bottom point up along the dotted line, ensuring that a small portion of the point hangs off the edge of the paper, as seen in the following step.
5. Folding the Hanging Point Backward: Use the Dotted Line as a Reference
Fold the point that is hanging off the edge backward, using the dotted line in the provided image as a reference. Then, flip the paper over.
6. Creating the Butterfly Shape: Fold Gently Along the Center
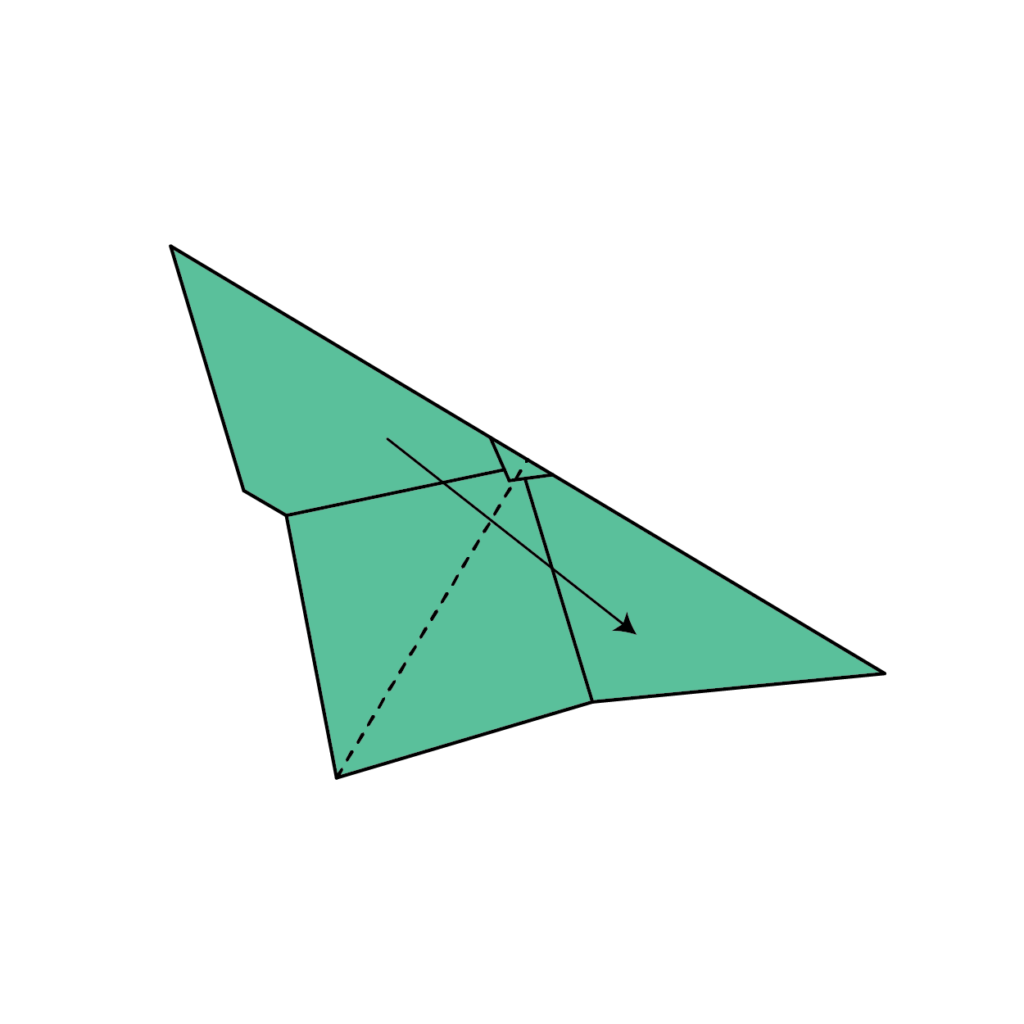
Fold the paper gently along the center of the butterfly. Do not crease it aggressively, as the wings should remain open. This gentle fold gives the butterfly its characteristic shape and raises the wings.
7. Final Origami Butterfly: Admire Your Completed Creation
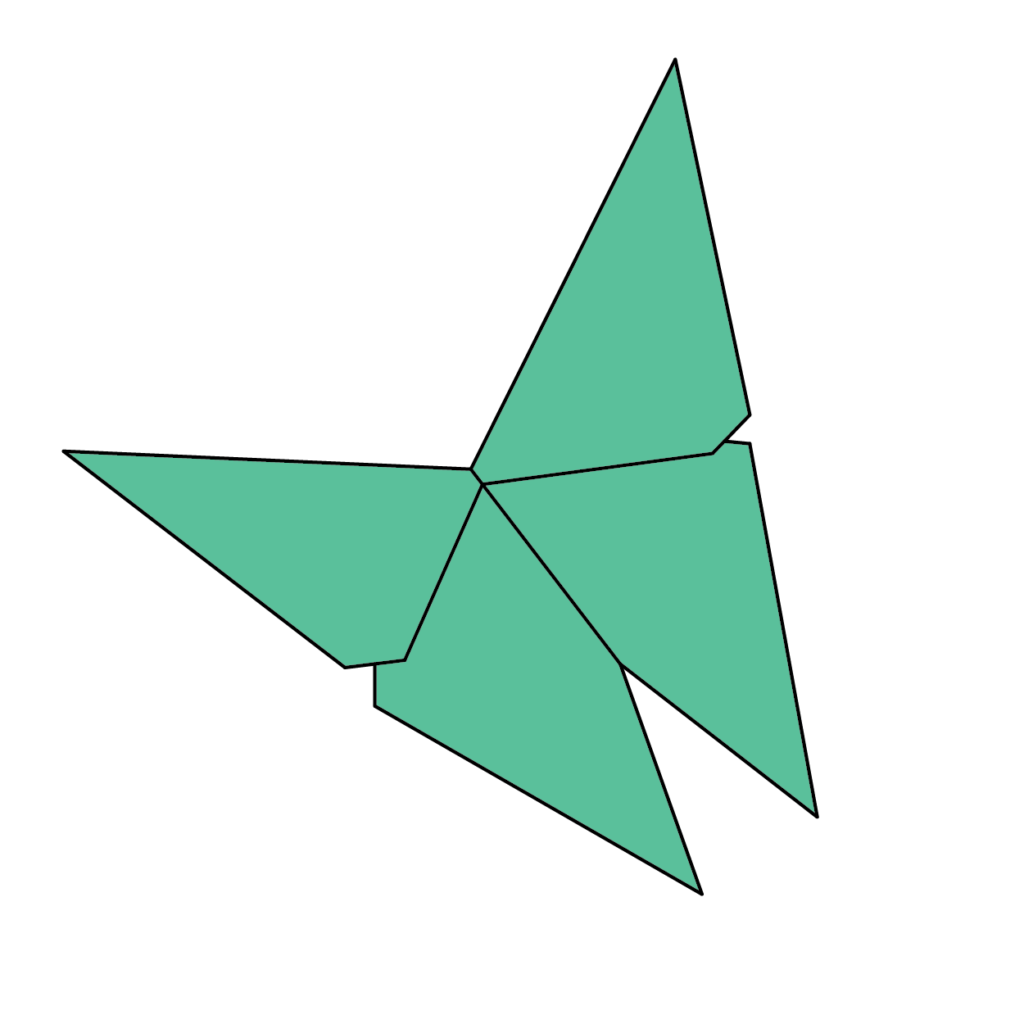
After completing all the steps, you should have a beautiful origami butterfly that looks like the one in the provided image!
You should be close to a pro at making origami butterflies at this point! I’ve provided you with video and illustrated instructions for this project! Make sure you create a few paper butterflies to sharpen your origami skillset. Plus, more is always better when it comes to origami!
Down below you’ll find the same instructions from above but in a downloadable and printable format just in case you need it for future reference!
How To Fold An Origami Butterfly Printable Instructions
Congratulations! You have completed the instructions on how to fold an origami butterfly. Now you can sit back and enjoy your beautiful creation. If you followed the steps carefully, your butterfly should look just like the one in the picture.
If not, don’t worry – with a little practice, you’ll be able to perfect your folding technique. In the meantime, enjoy your origami butterfly and be proud of your accomplishment! And if you want to fold some more incredible origami, be sure to check out all my other tutorials!