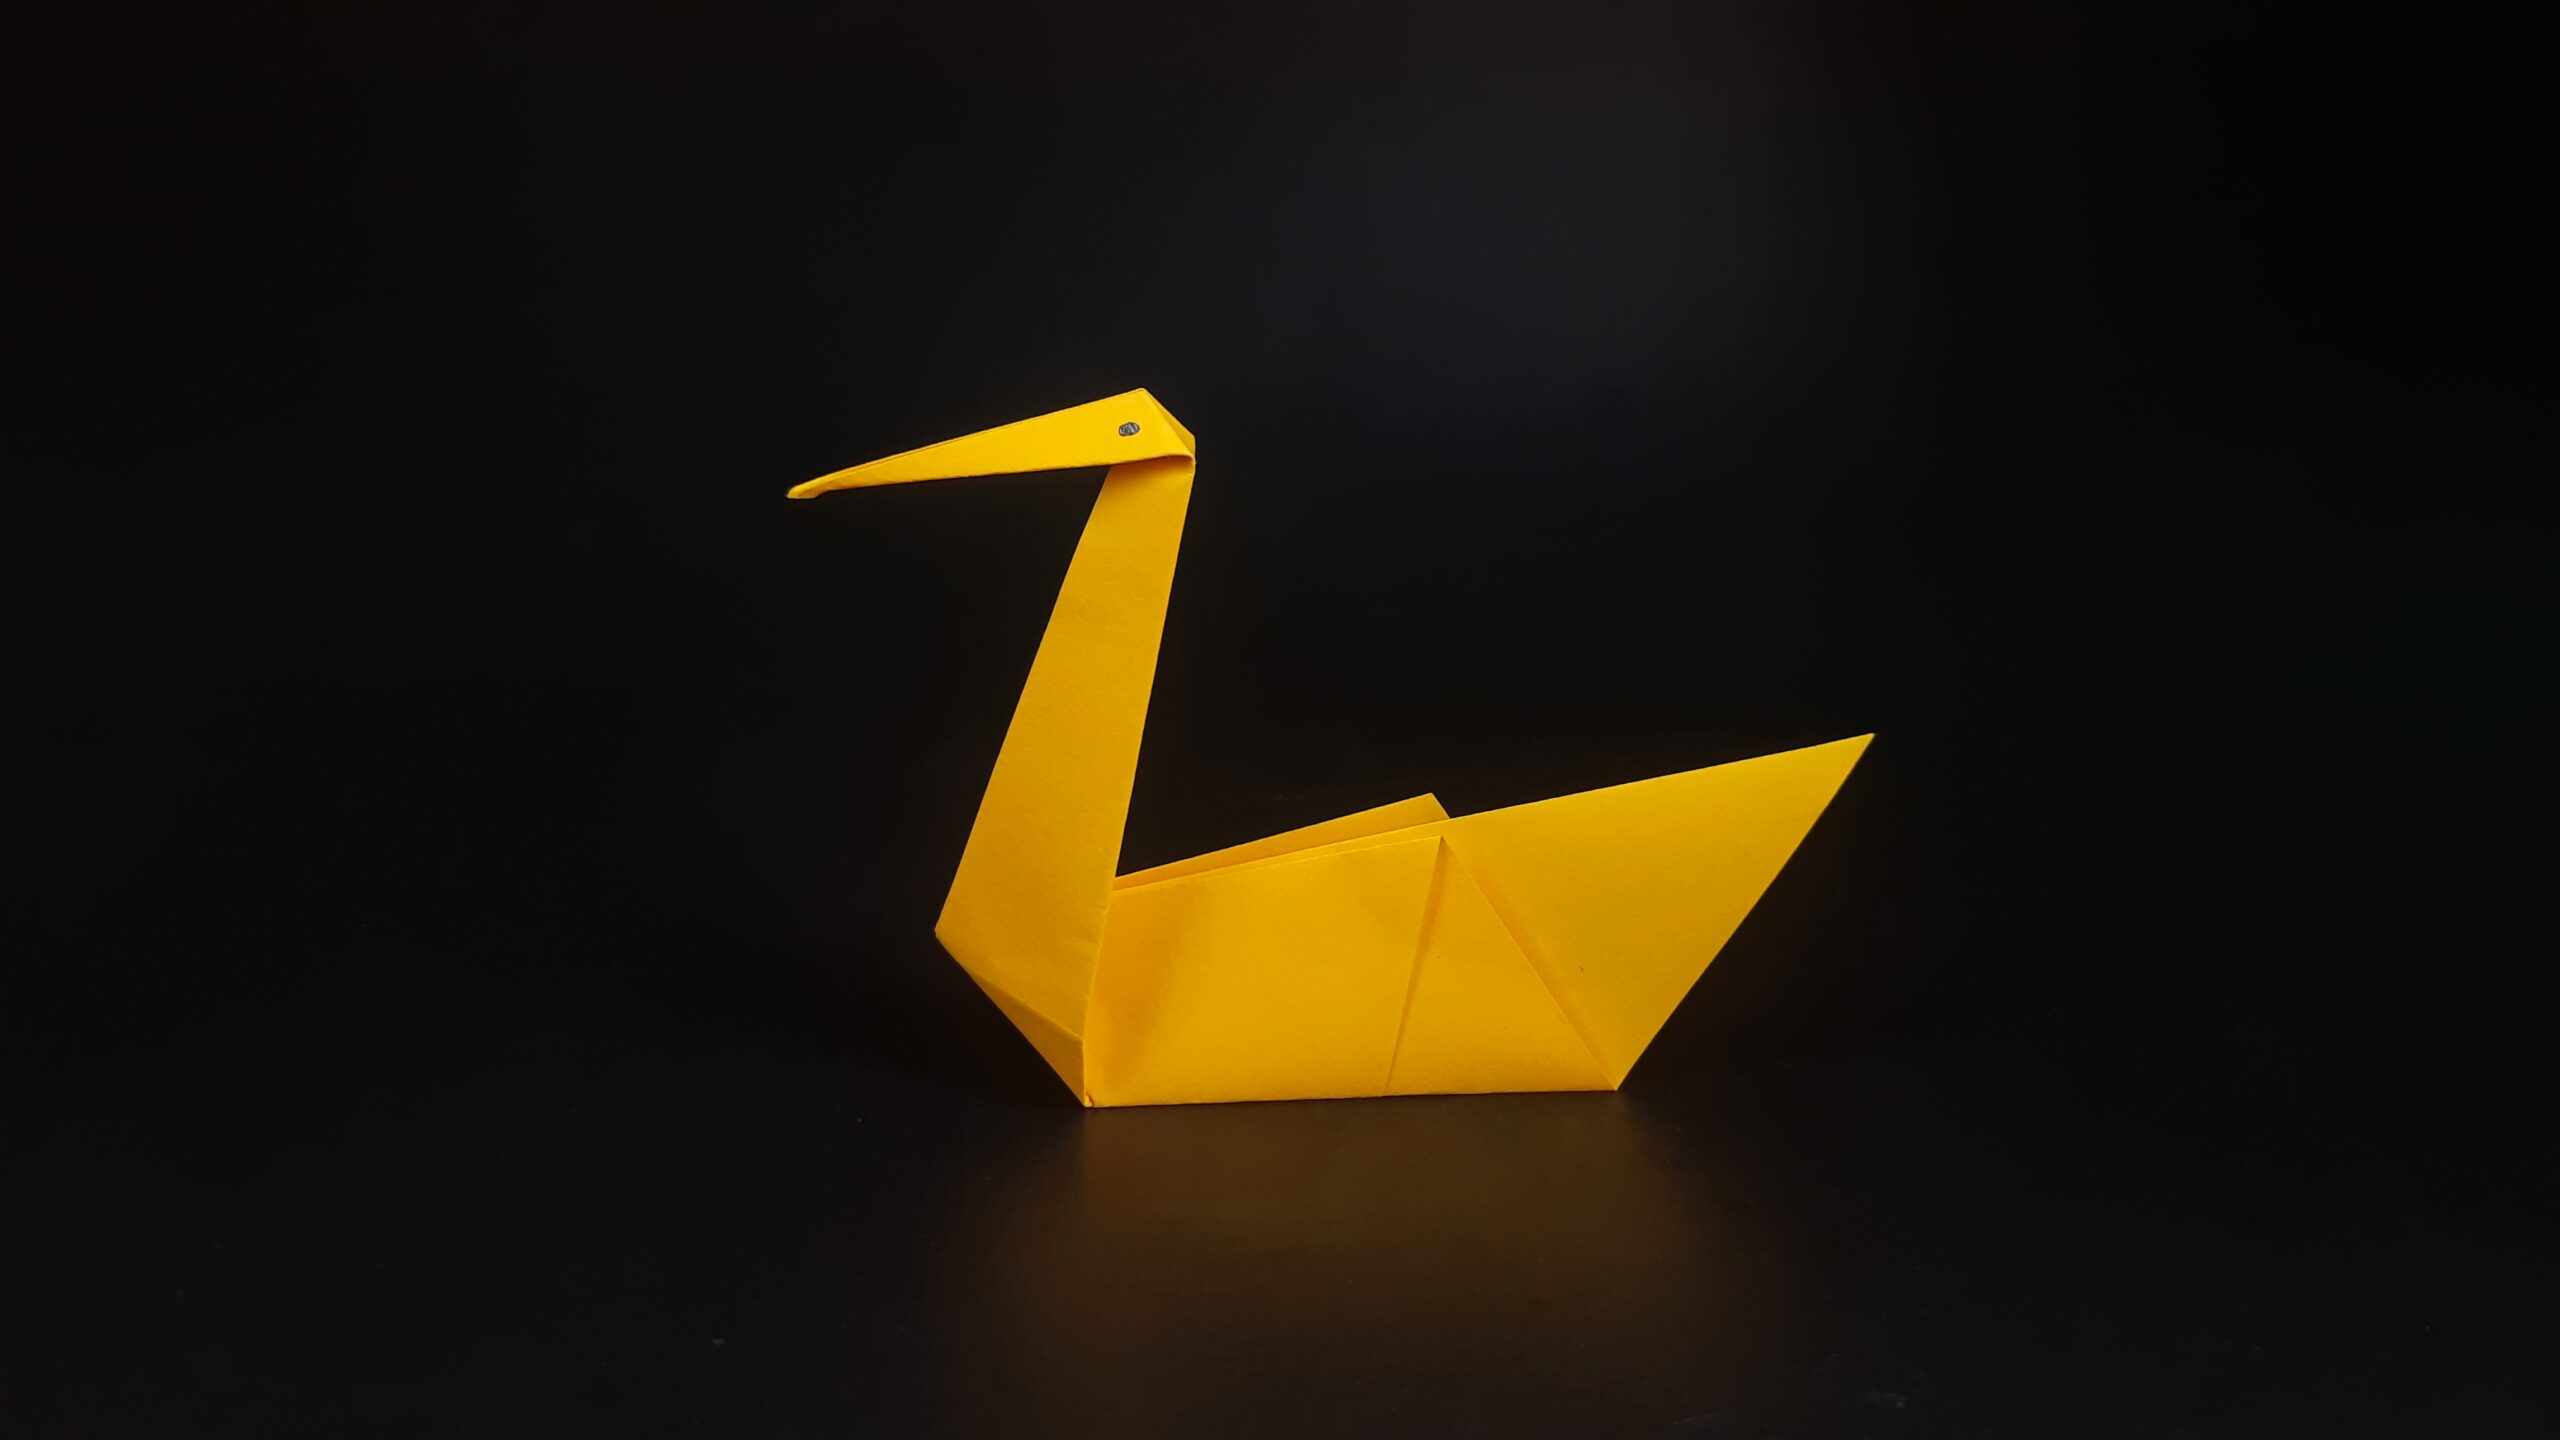
Origami chickens are a great project for beginner origami-ists who want to start folding some origami animals! They’re easy to make and look really cute when finished. In this tutorial, I’ll show you how to fold an origami chicken using just a few simple steps. Ready to get started? Let’s go!
How To Make An Origami Chicken Video Walkthrough
There you have it! The video I have made should make it more than easy enough for you to create your first origami chicken! As you can see, this project is not difficult at all and seriously can be done by anyone! Get as creative as you’d like with this project and use whatever colored paper you want.
You should also draw and decorate your new origami chicken to give it some character. Now, if you prefer learning another way instead of through a video, I have also prepared step-by-step illustrated instructions down below for you to follow.
How To Make An Origami Chicken Step-By-Step Instructions
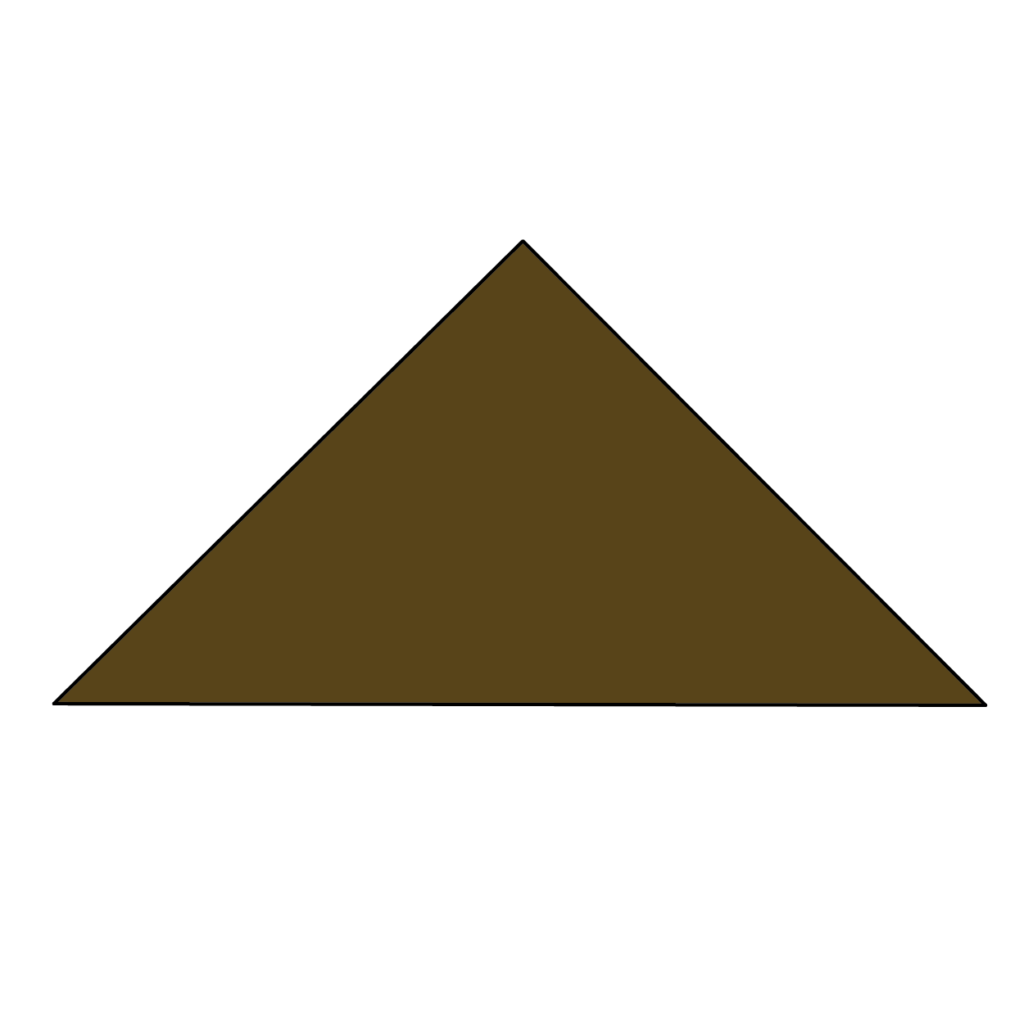
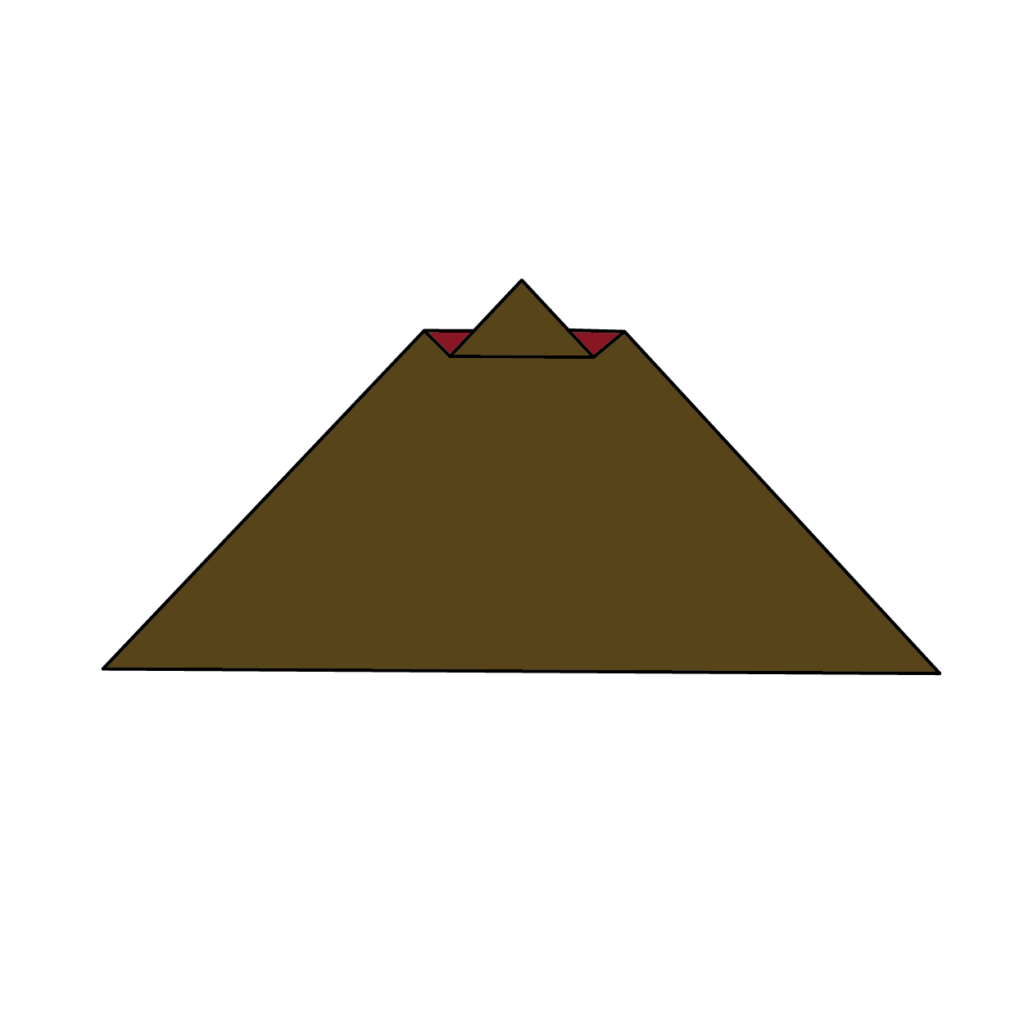
1. Create an Initial Triangle Fold

Begin with a square sheet of paper. Take the bottom corner and fold it upwards, aligning it with the top corner, to fold the paper in half and form a triangle.
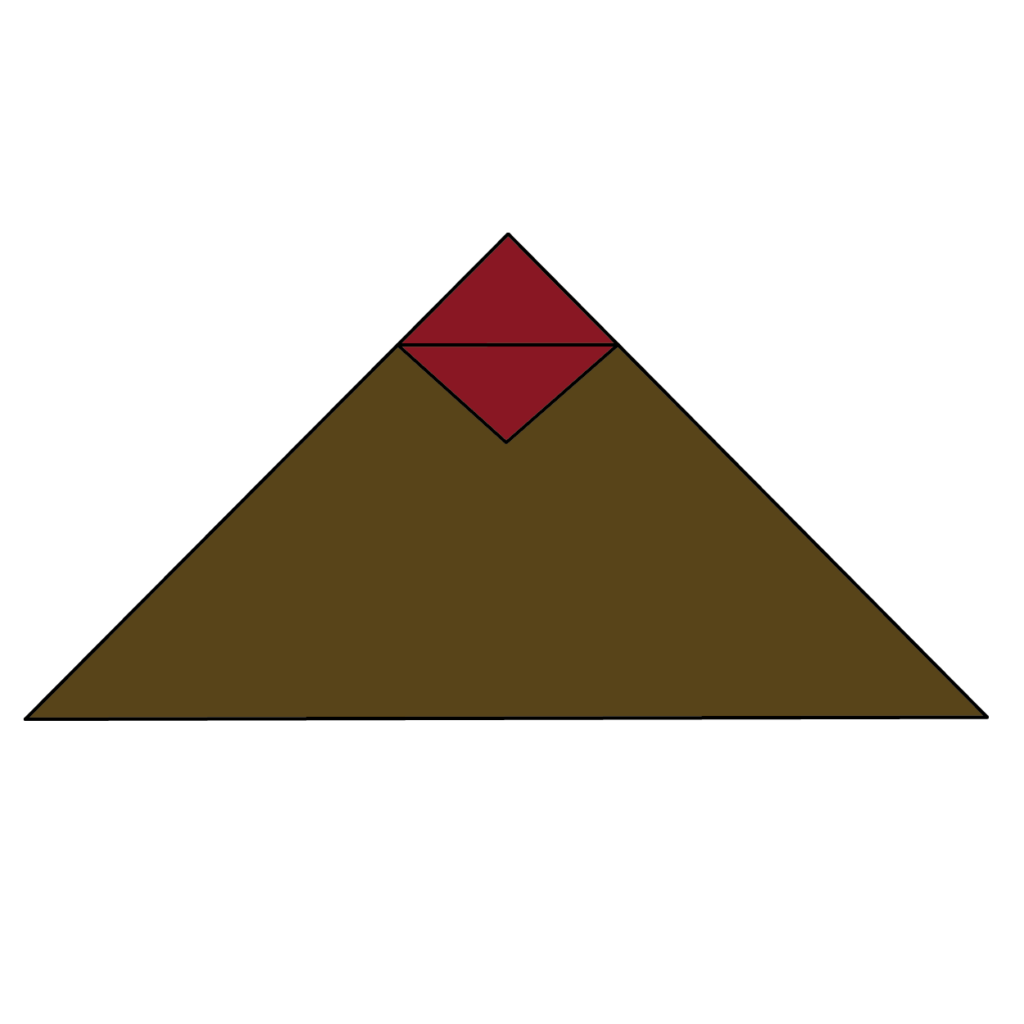
2. Fold the Top Layer’s Point Downward
Take the top point from the top layer of the triangle and fold it down approximately an inch.
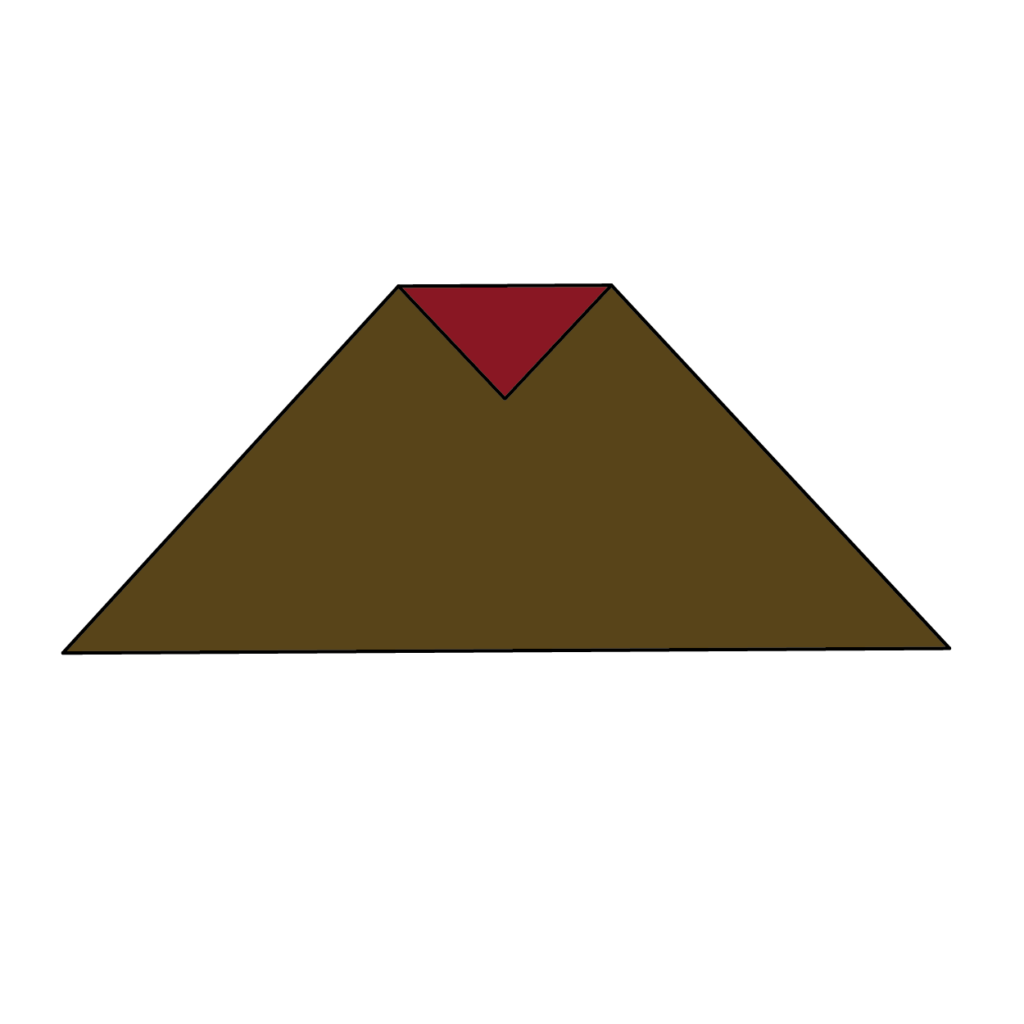
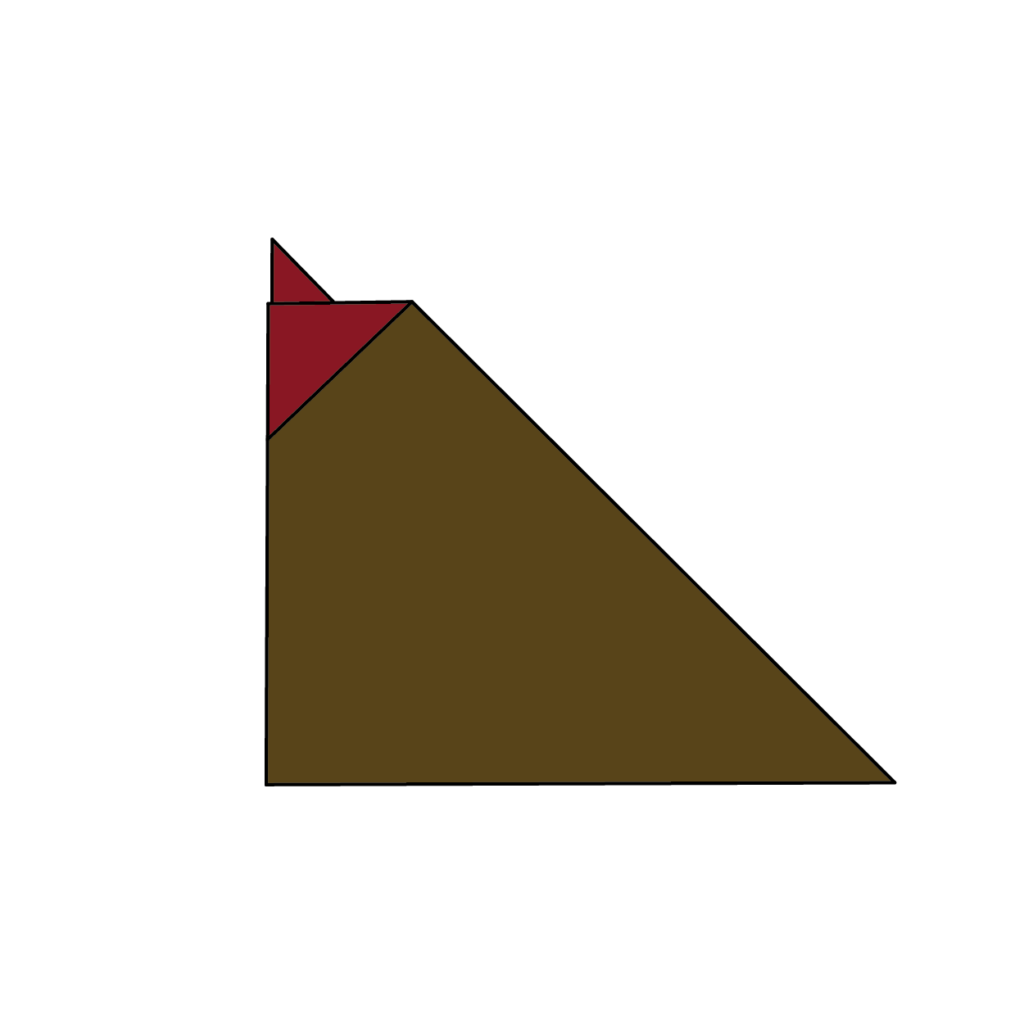
3. Mirror the Fold on the Opposite Side
Your paper should look like this now. Flip the paper over and repeat the same fold on this side matching it to the fold you made before.
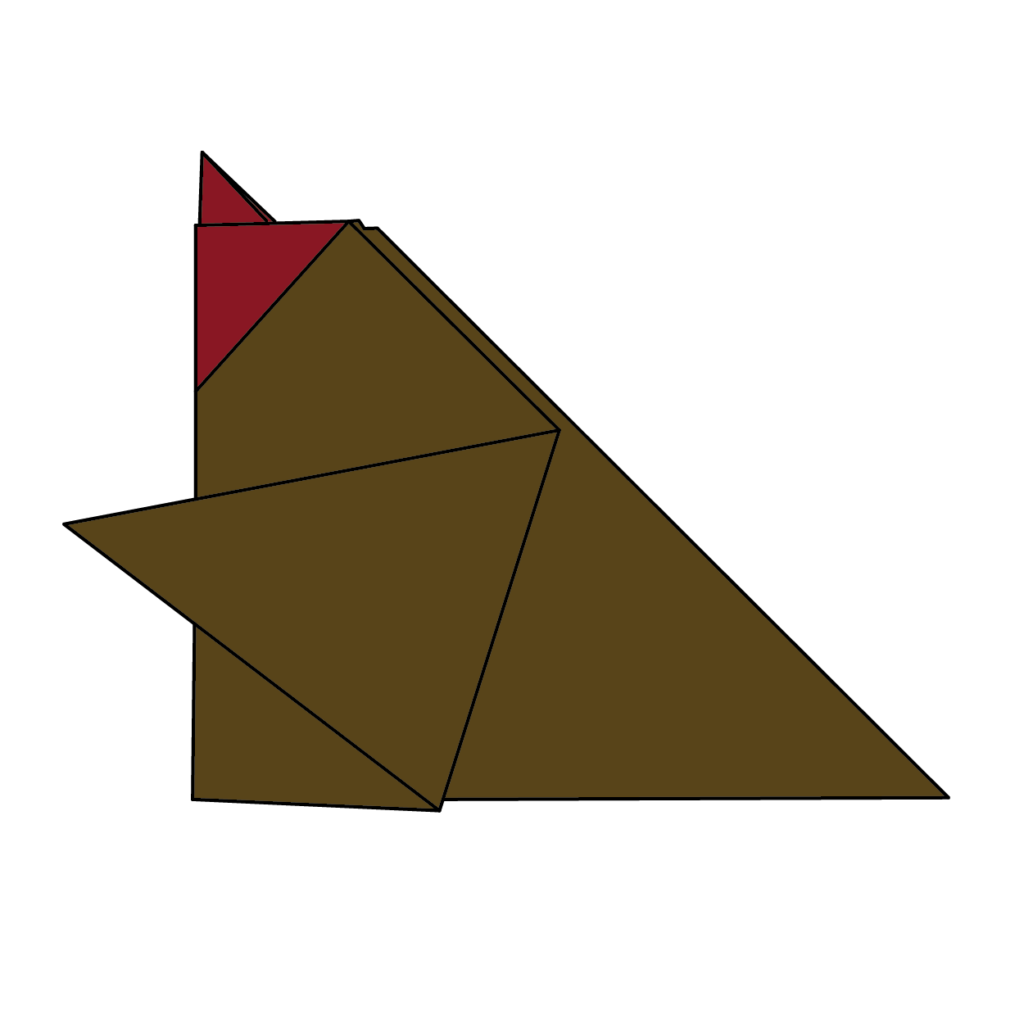
4. Fold the Point Upward Slightly Beyond the Top Edge
Ensure your paper looks as expected. Now take the point of the piece you just folded down and fold it upwards a little over halfway. It should extend past the top edge of the paper.
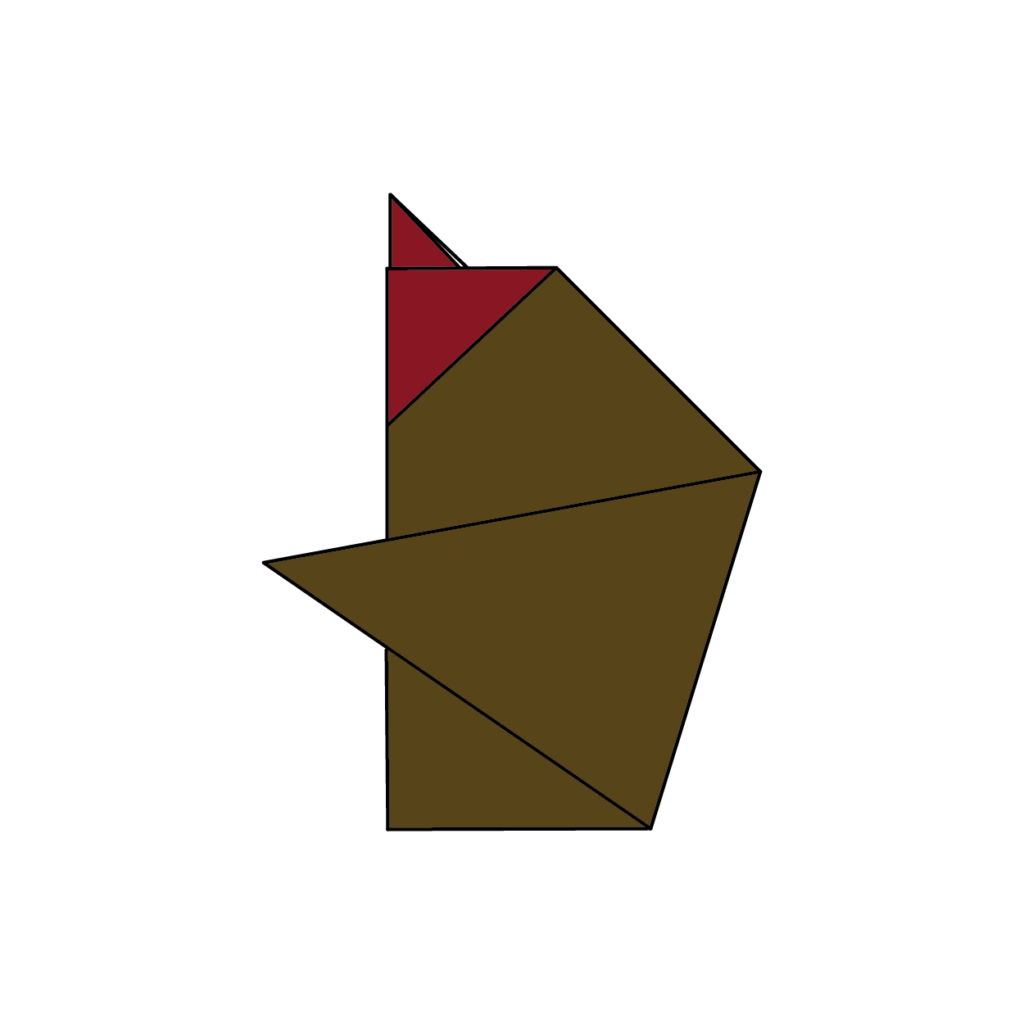
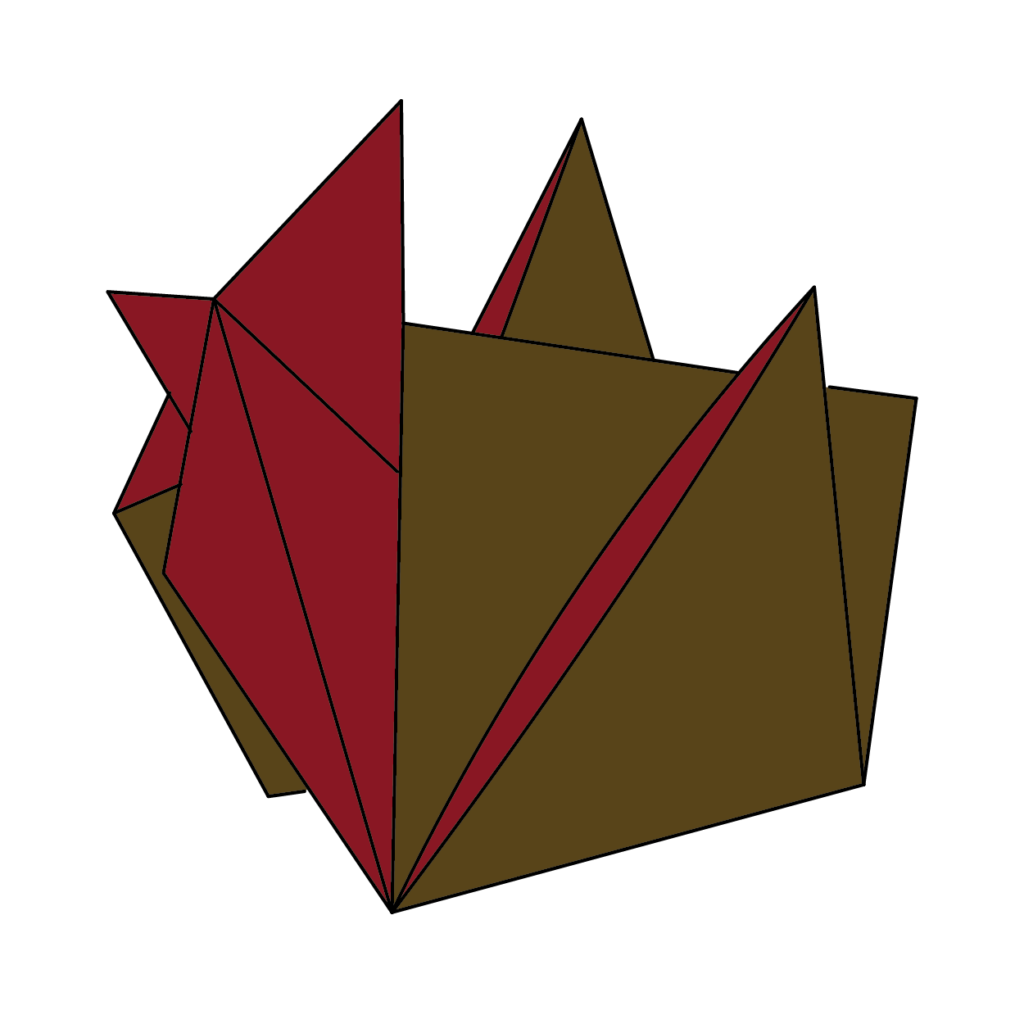
5. Fold the Paper in Half Vertically
If your paper looks like the image above, it’s time to fold the paper in half by taking the left corner and folding it over to the right corner.
6. Create the First Wing
Now you are going to take the top layer and turn it into a wing. Take the right corner of the top layer and fold it over to the left and angle it to your preferred wing structure.
7. Mirror the Wing Fold on the Opposite Side
Flip the paper over and repeat the same fold on the other side and make it match your first wing. Then turn the paper back over.
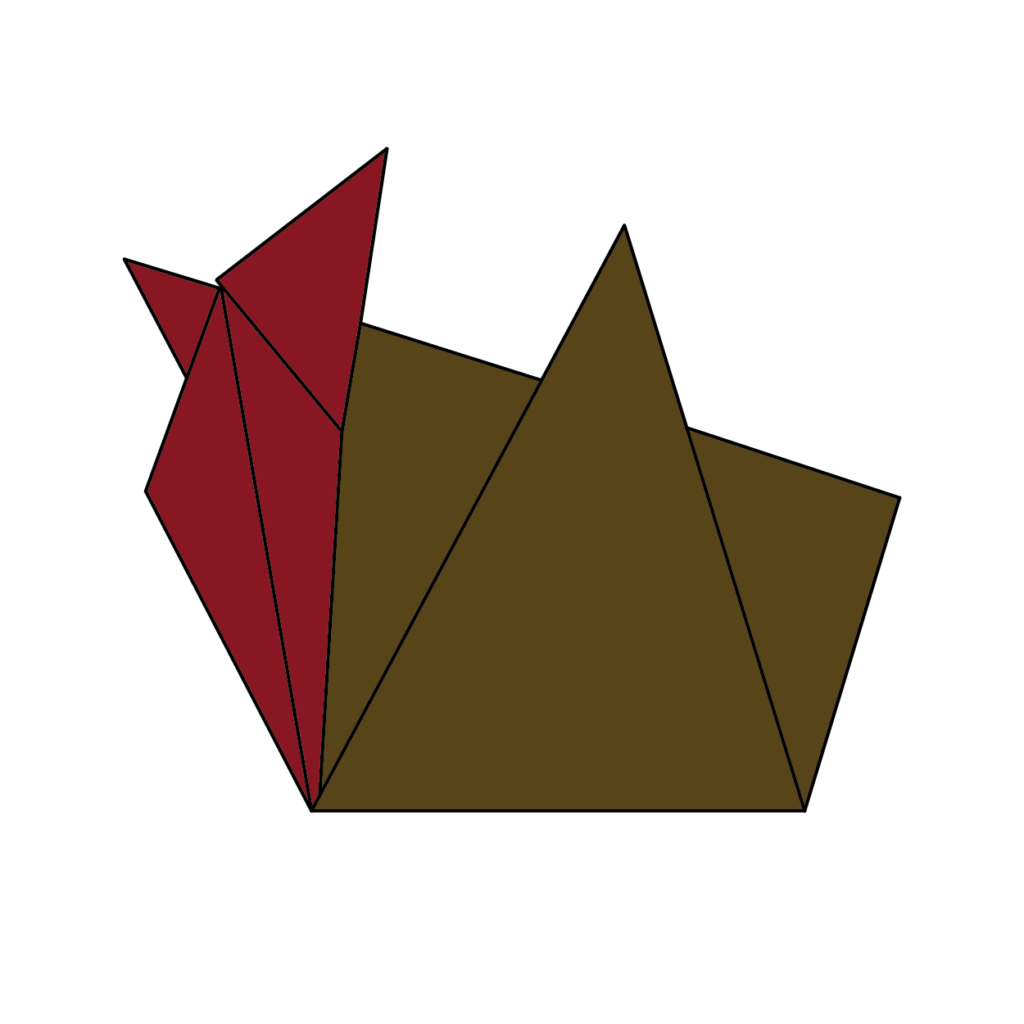
8. Verify the Current Shape
At this point, your paper should resemble the image above.
9. Rotate the Paper to Position the Chicken
Rotate the paper to match the chicken’s position above.
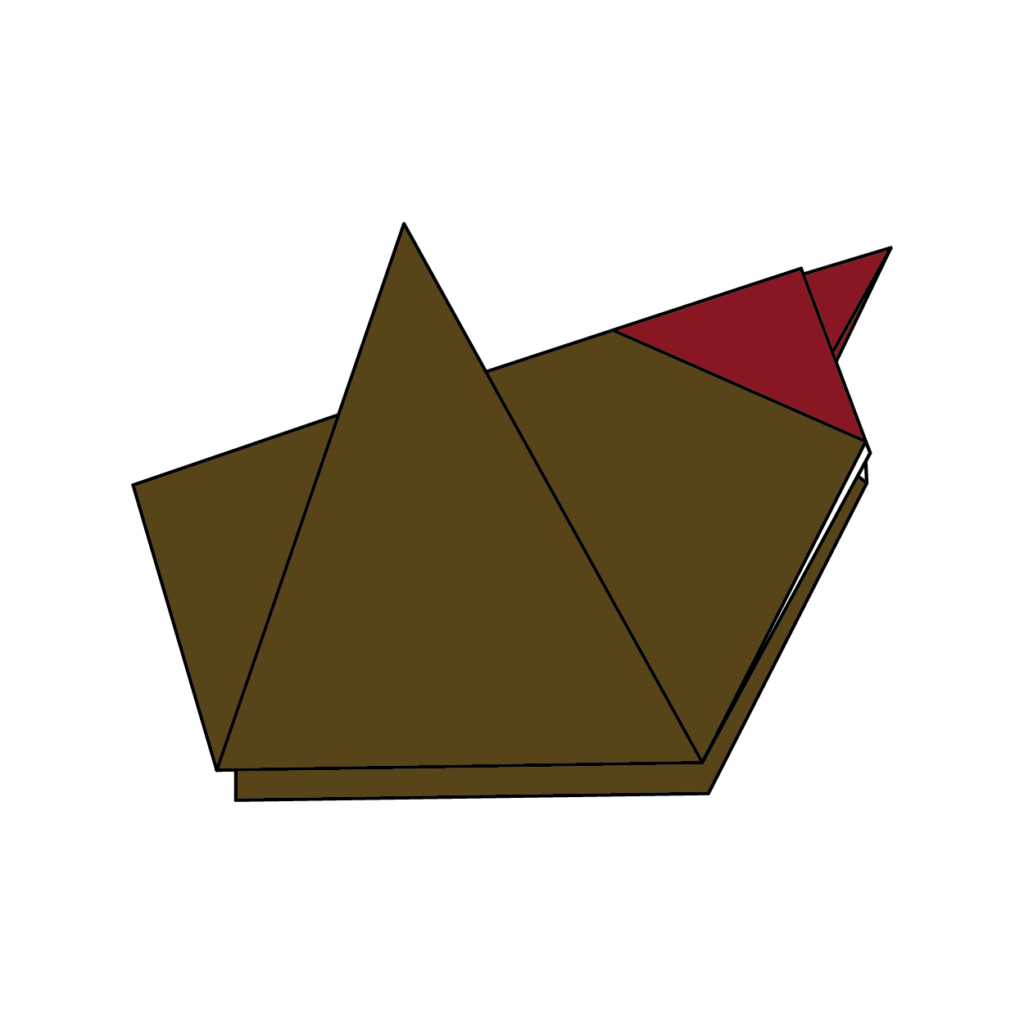
10. Fold the Uppermost Layer of the Chicken’s Right Side

Fold the uppermost layer of the right side of the chicken to match the above. It starts from the chicken’s beak down to the corner of its wing. You are going to turn the paper over and repeat the fold on the other side.
11. Open Up Your Origami Chicken
Now open up your origami chicken slightly so that it can sit up on its own.
12. Admire Your Completed Origami Chicken
Congratulations! You should now have a completed origami chicken. Enjoy your final result!
If you have followed either of the instructions I have provided you with, then you should definitely have at least one complete origami chicken in your possession! You should make a few of these just to get the practice in and really perfect this particular design!
Down below you’ll find the same instructions as you see above but in a downloadable and printable format just in case you need the instructions for future reference.
How To Make An Origami Chicken Printable Instructions
So there you have it – my easy origami chicken tutorial. I hope you found it helpful and that you will be inspired to try out some of the other origami designs that I have shared on the blog.
Once you get comfortable with the basic folds, the possibilities are endless! Be sure to check back often for new tutorials and keep learning this beautiful art form. Thanks for following along!