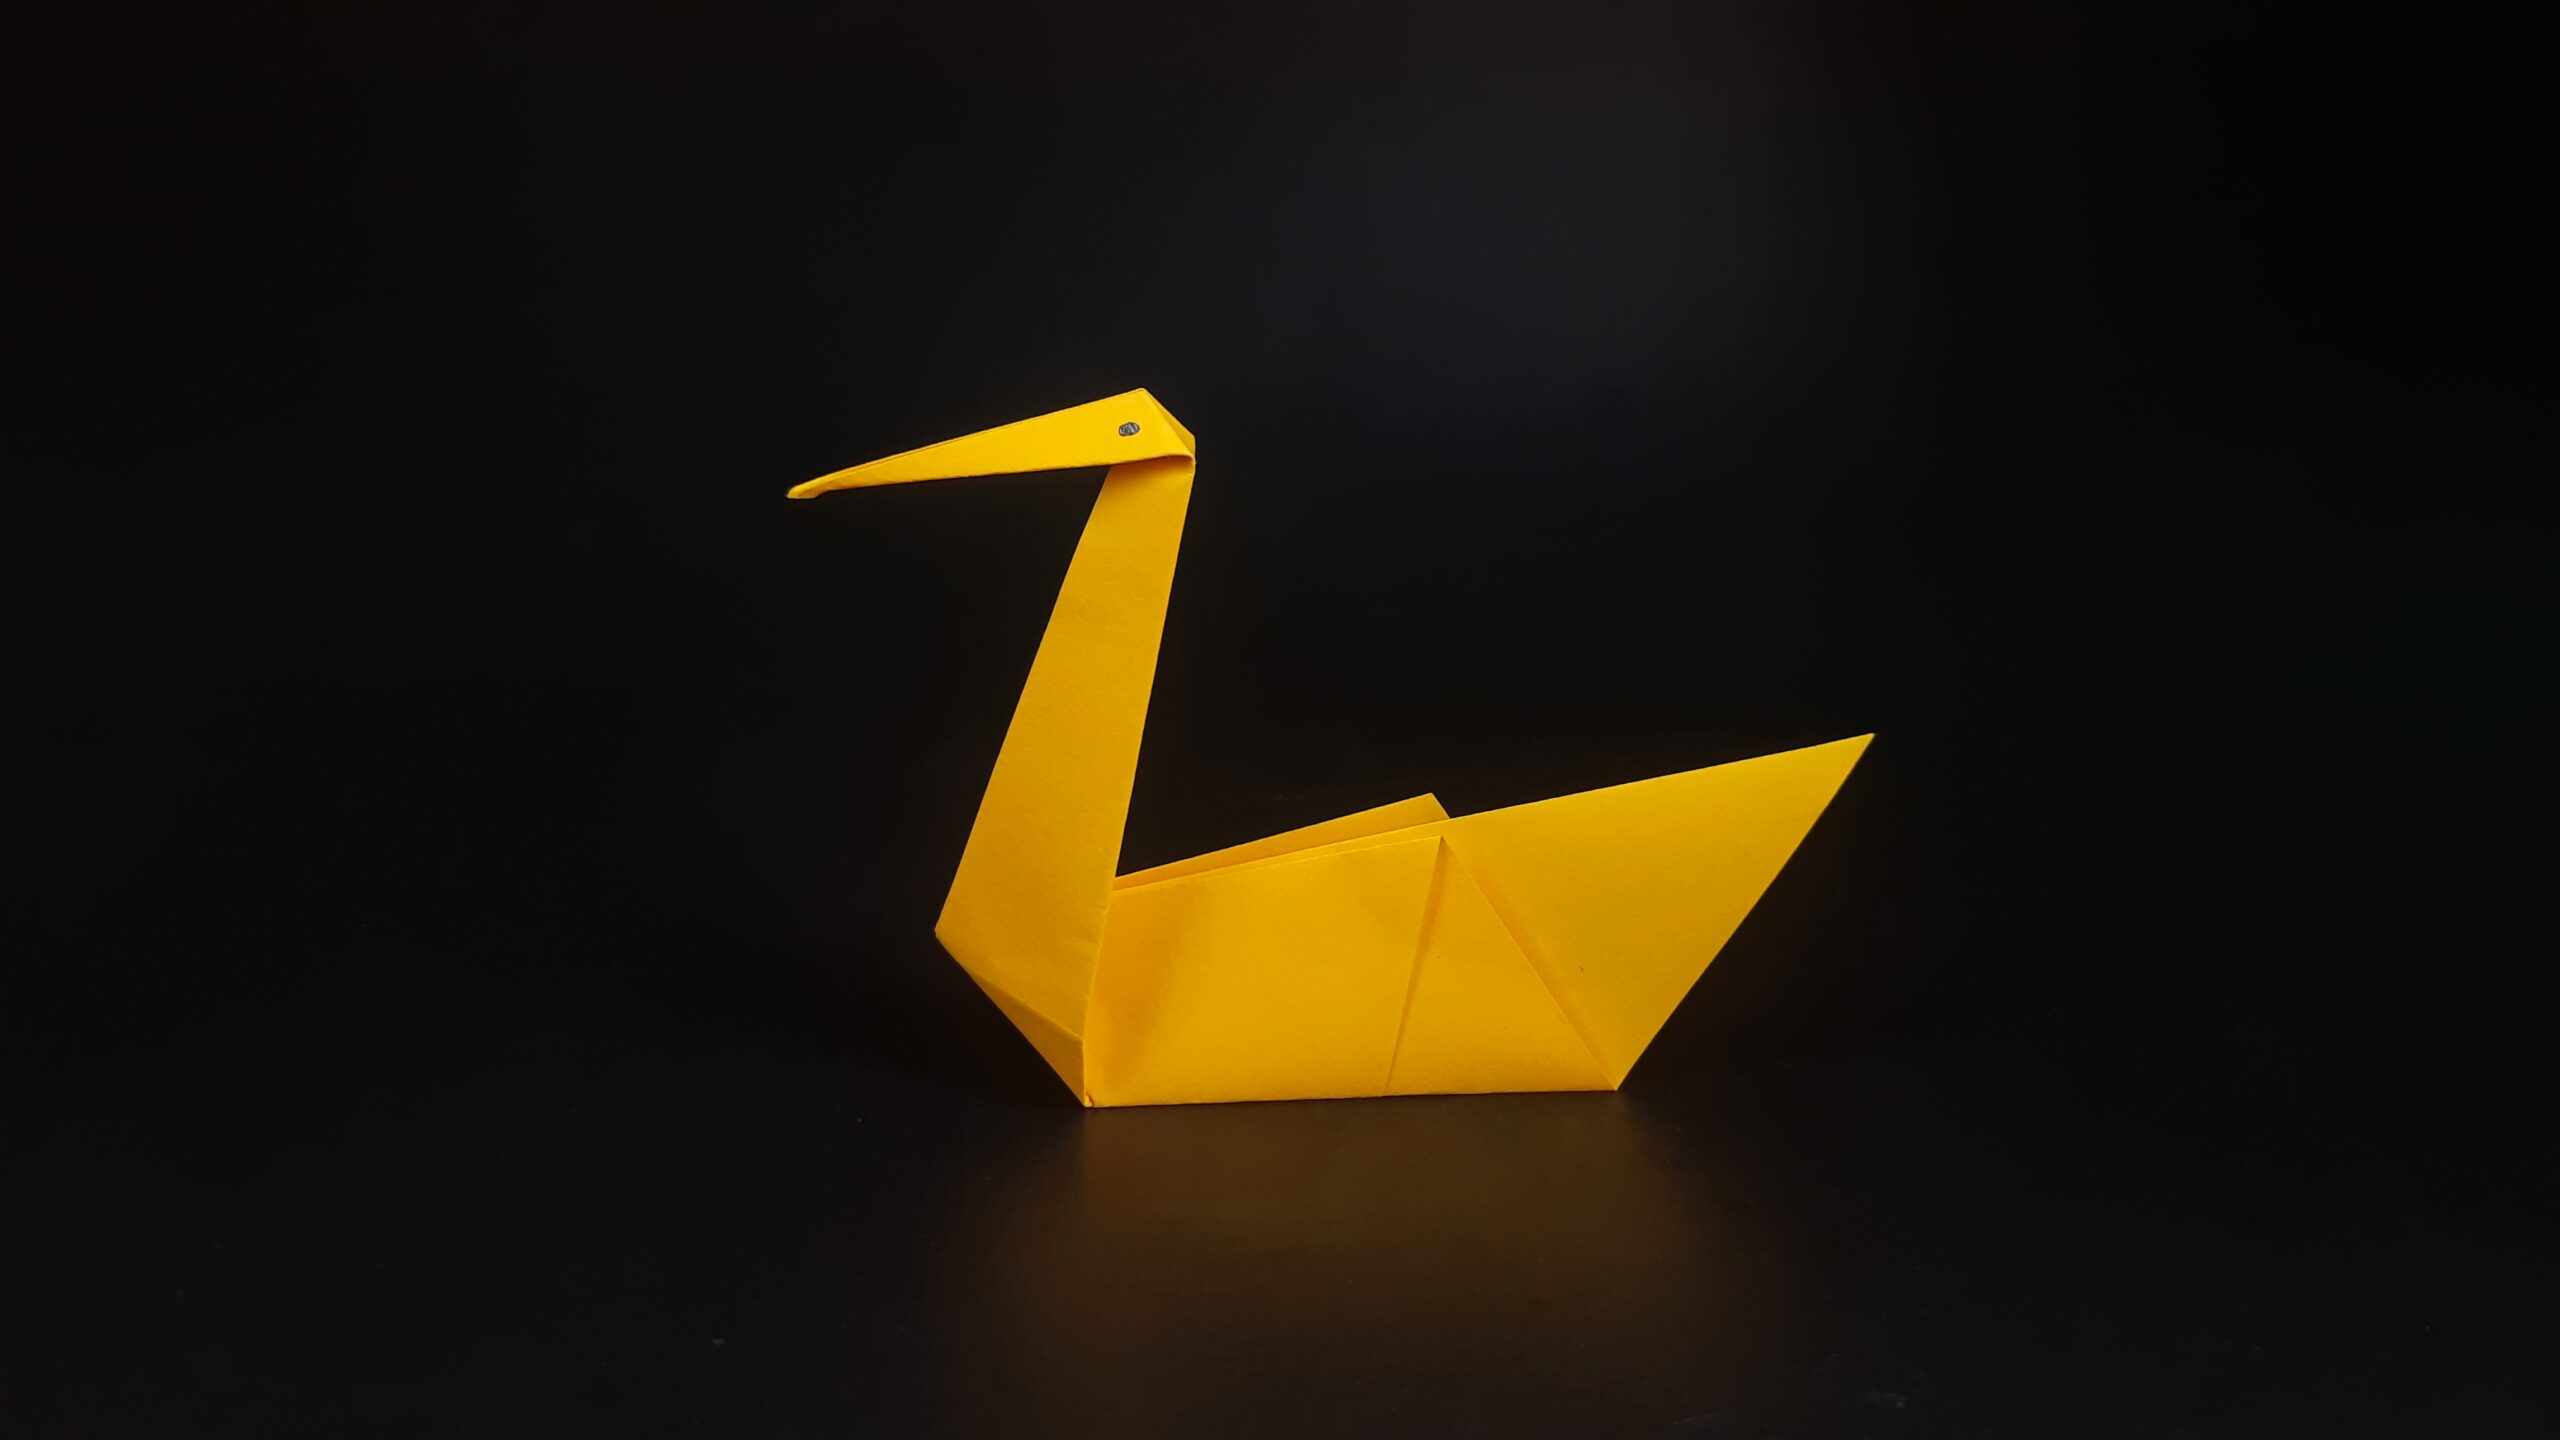
Do you want to learn how to make an origami swan? It’s a beautiful and impressive paper sculpture that is surprisingly easy to create! In this step-by-step guide, I will show you how to fold this graceful bird. I’ll walk you through each step so that you can easily follow along. By the end, you’ll have a stunning work of art that will impress your friends and family!
How To Make An Origami Swan Video Walkthrough
There you go! The video I have made for you should have made it more than easy enough to create your first origami swan! Make sure you get creative with this origami design. Use any colored paper you want and you should even draw on your swan to give it some unique character.
Now, if you prefer to learn a different way, I have also prepared a step-by-step illustrated guide on how to make an origami swan down below.
If you enjoyed this origami model, check out all my other Origami Animals!
How To Make An Origami Swan Step-By-Step Instructions
1. Preparing the Paper and Initial Crease

Begin with a square piece of paper, positioned on a flat surface with one of the corners pointing towards you. Carefully fold the paper in half horizontally, aligning the bottom corner with the top corner, and press the fold firmly. Unfold the paper, revealing the central horizontal crease.
2. Creating the Kite Shape

With the central crease as a guide, fold the top and bottom corners inwards, so they meet in the center of the paper. This will form a kite-like shape, with two triangular flaps. Make sure to press the folds firmly, following the dotted lines in the reference image.
3. Folding the Outer Flaps

You should now have this shape. Take both the corners of the flaps you just made and fold them at an angle outwards and downwards. Use the dotted lines above as a reference when you make your fold.
4. Folding the Bottom Half

What the paper should look like so far (The white is the after and the teal is the before on the flaps you just made). Now take the bottom half of your model and fold it back. Look at the next step to see what it should look like.
5. Crafting the Swan’s Neck

If your model looks like the reference image, you’re on the right track. Take the left point of your paper and fold it upwards at an angle, using the dotted lines in the image as a guide. This fold will form the swan’s neck. Press the fold firmly.
6. Shaping the Swan’s Head

Now that the neck is complete, it’s time to shape the swan’s head. Take the top point of the swan’s neck and fold it downwards at a slight angle, following the dotted lines in the image for guidance. Press the fold firmly.
7. Folding the Swan’s Tail

To create the swan’s tail, fold the paper back over the lower dotted line in the image. Then, take the point of the tail and fold it upwards, following the top dotted line in the image. Press the folds firmly. The next image shows what your model should look like at this stage.
8. Celebrating Your Completed Origami Swan

Congratulations! You’ve successfully completed your origami swan. Admire your beautiful creation and consider making more swans to create a charming fleet.
Now you have two different ways to learn how to create your origami swan. By now you should be quite familiar with this design and should have made a few of them just to really nail all the folds. Though this creation isn’t hard in any sense, you should always practice till you get really good at it!
You’ll find the same instruction above down below but in a downloadable and printable format just in case you need it for future reference!
How To Make An Origami Swan Printable Instructions
Swan, the king of birds. With its long neck and regal bearing, the swan is a sight to behold. And with this easy-to-follow origami guide, you have learned how to make your own paper swan in minutes. Once you’ve mastered this simple project, be sure to check out my other origami creations for more folding fun.
Keep practicing and soon you’ll be able to fold some of the most intricate origami models known to man. Thanks for following along!


