Do you want to make a festive paper party hat for your next celebration but don’t know how? Don’t worry, I’ve got you covered! In this easy guide, I will show you how to make a paper party hat in just a few simple steps. Whether you’re having a birthday party, New Year’s Eve bash, or Fourth of July barbecue, these hats are sure to add some fun and excitement to the festivities!
How To Make A Paper Party Hat Video Walkthrough
There you go! I hope this video makes it more than easy enough to make your very first paper part hat! This is not that difficult of a design to follow along too! If you want something other than a video and prefer learning another way, I have created a step-by-step illustrated guide down below! As always, you can use whatever colored paper you want and you can be as creative as your mind pleases. You can also draw on your hat and make it personal and unique to you!
How To Make A Paper Party Hat Step-By-Step Instructions
1. Folding the Paper in Half Horizontally

Begin by folding the paper in half horizontally, with the edges aligned.
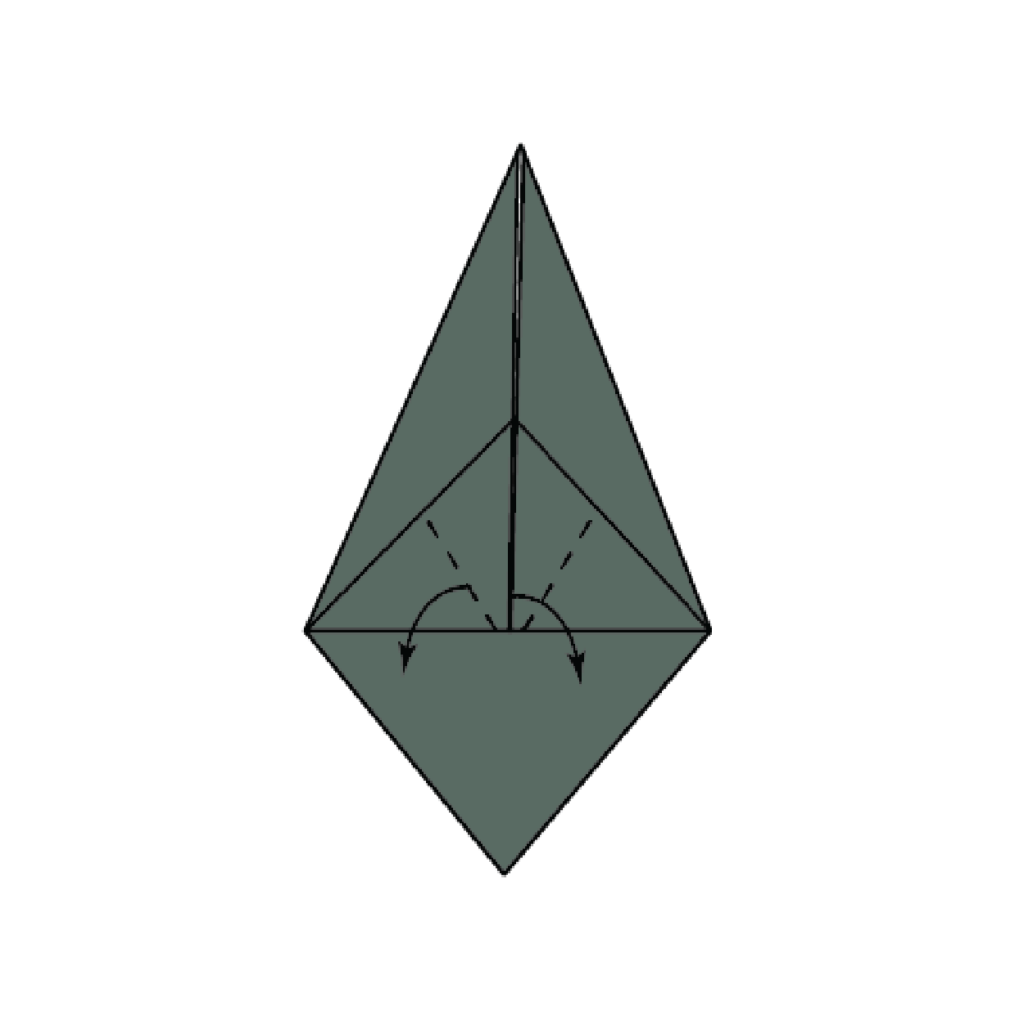
2. Folding Along the Dotted Lines

Fold in the dotted lines.
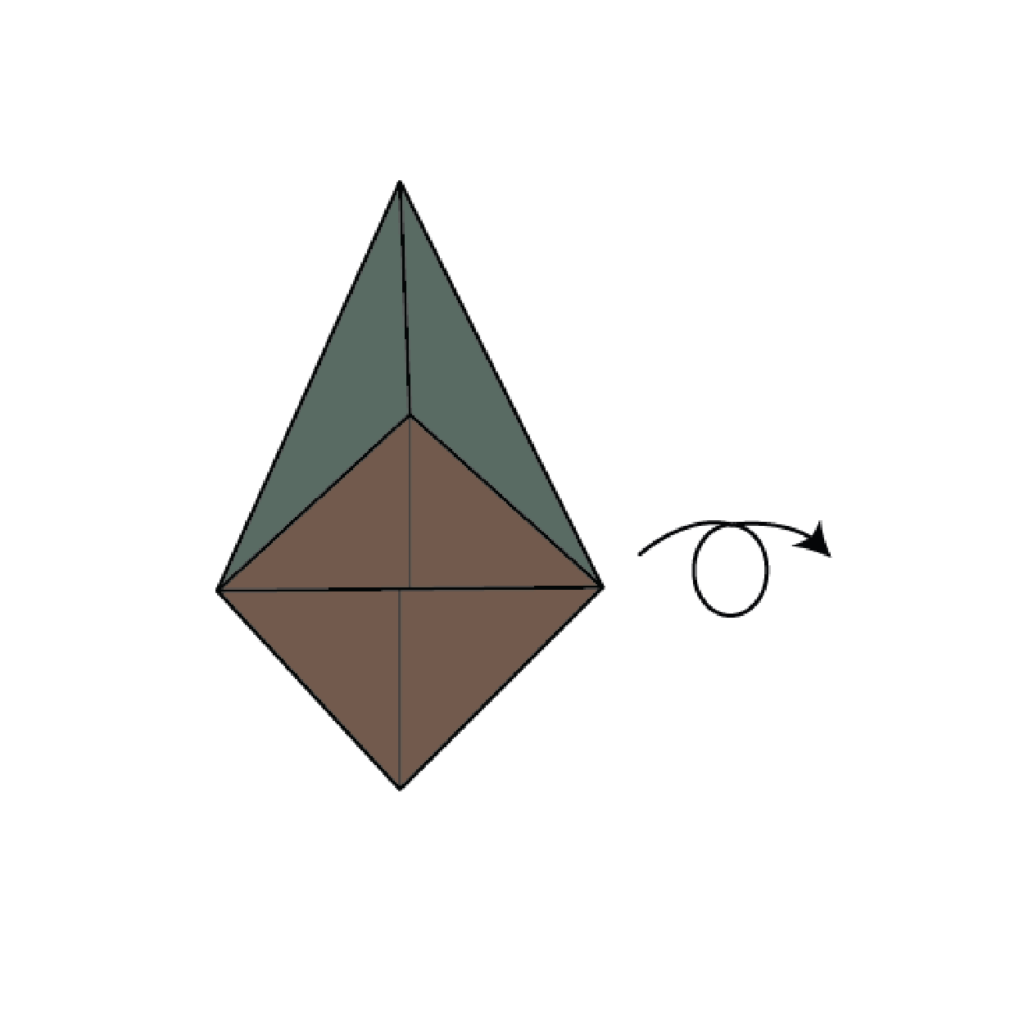
3. Flipping the Paper Over

Flip the paper over.
4. Folding Along the Dotted Lines on the Other Side

Fold in the dotted lines.
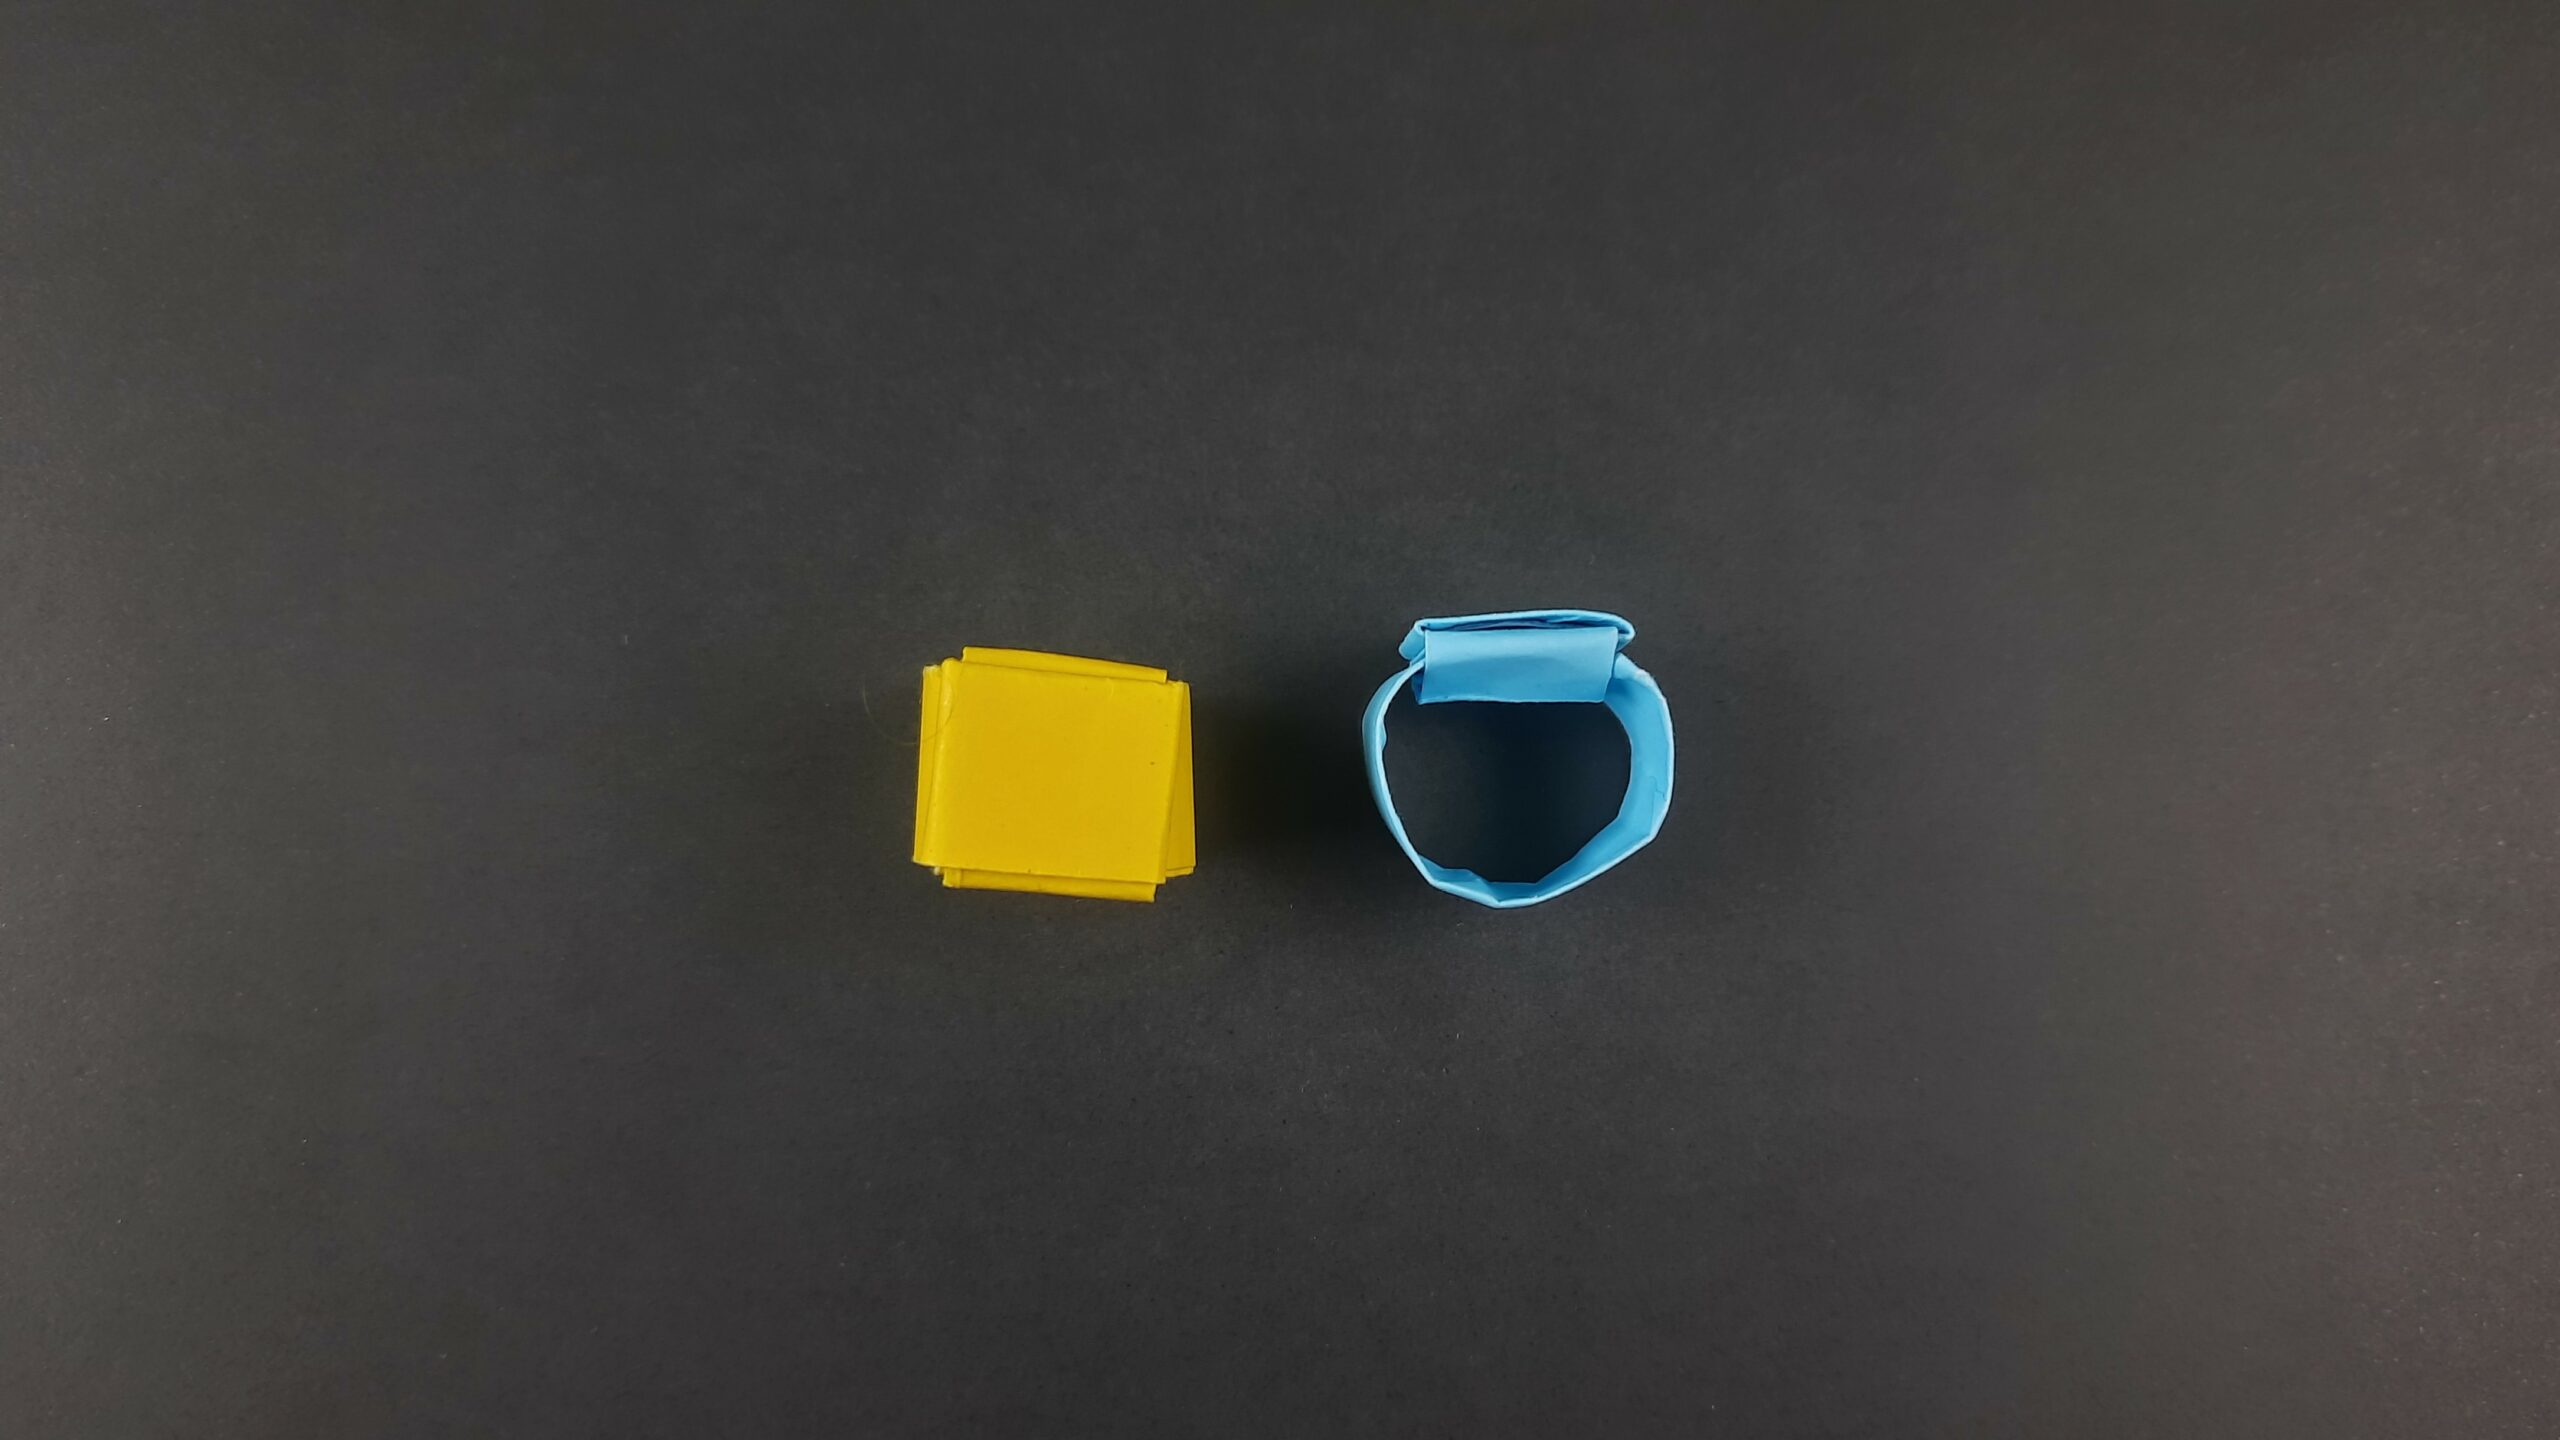
5. Folding the Flap Over the Dotted Line

Grab the flap on the upper layer and fold it over the dotted line, as shown in the reference image.
6. Turning the Paper Over Again
Flip the paper over once more to work on the opposite side.
7. Folding the Flap Over the Dotted Line on the Other Side

Repeat step 5, folding the flap over the dotted line on this side of the paper.
8. Folding in the Dotted Lines
Fold the paper along the dotted lines as indicated in the reference image.
9. Folding the Flap Over the Dotted Line

Fold the flap over the dotted line.
10. Folding the Point Down Along the Dotted Line

Fold the point of the paper down along the dotted line, creating a new crease.
11. Folding the Point Back Over the Dotted Line
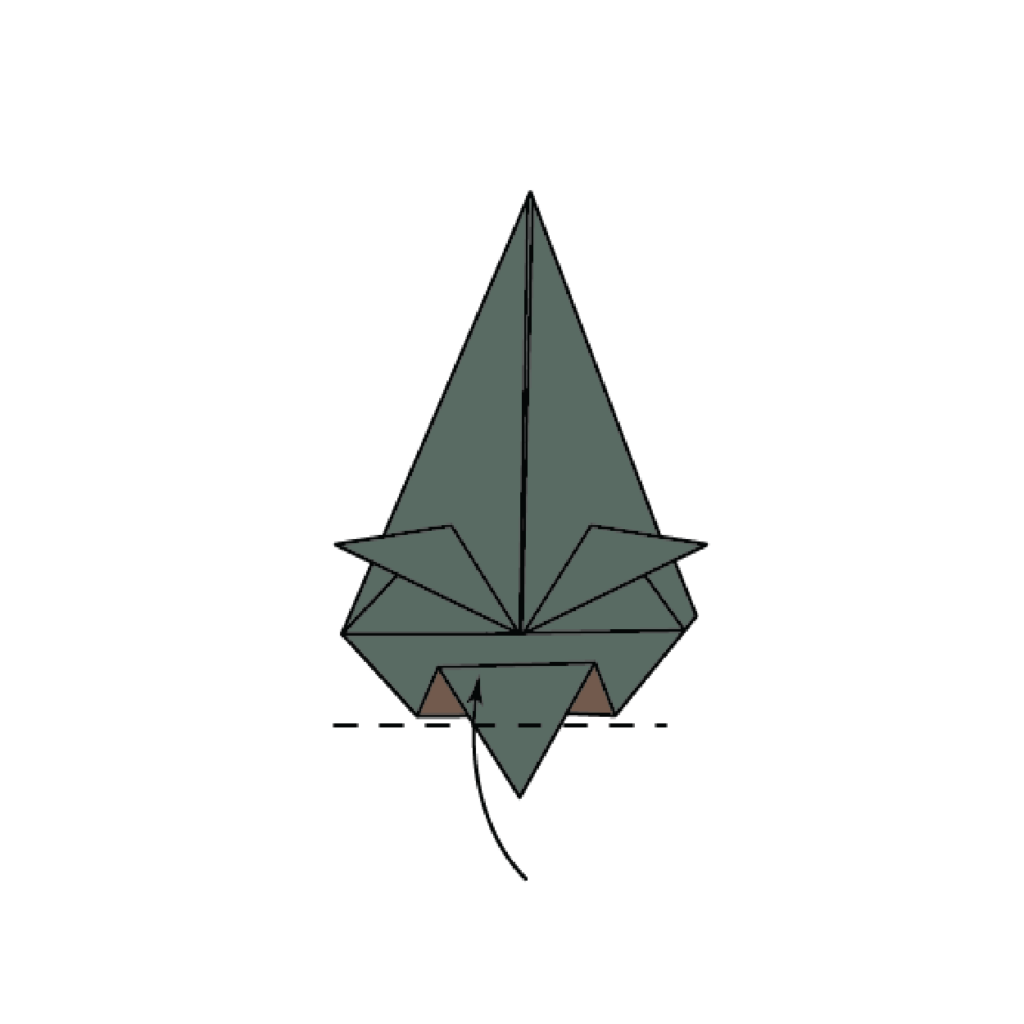
Fold point back over the dotted line.
12. Opening the Design to the Desired Shape

Carefully open the design and adjust it until you achieve the desired shape.
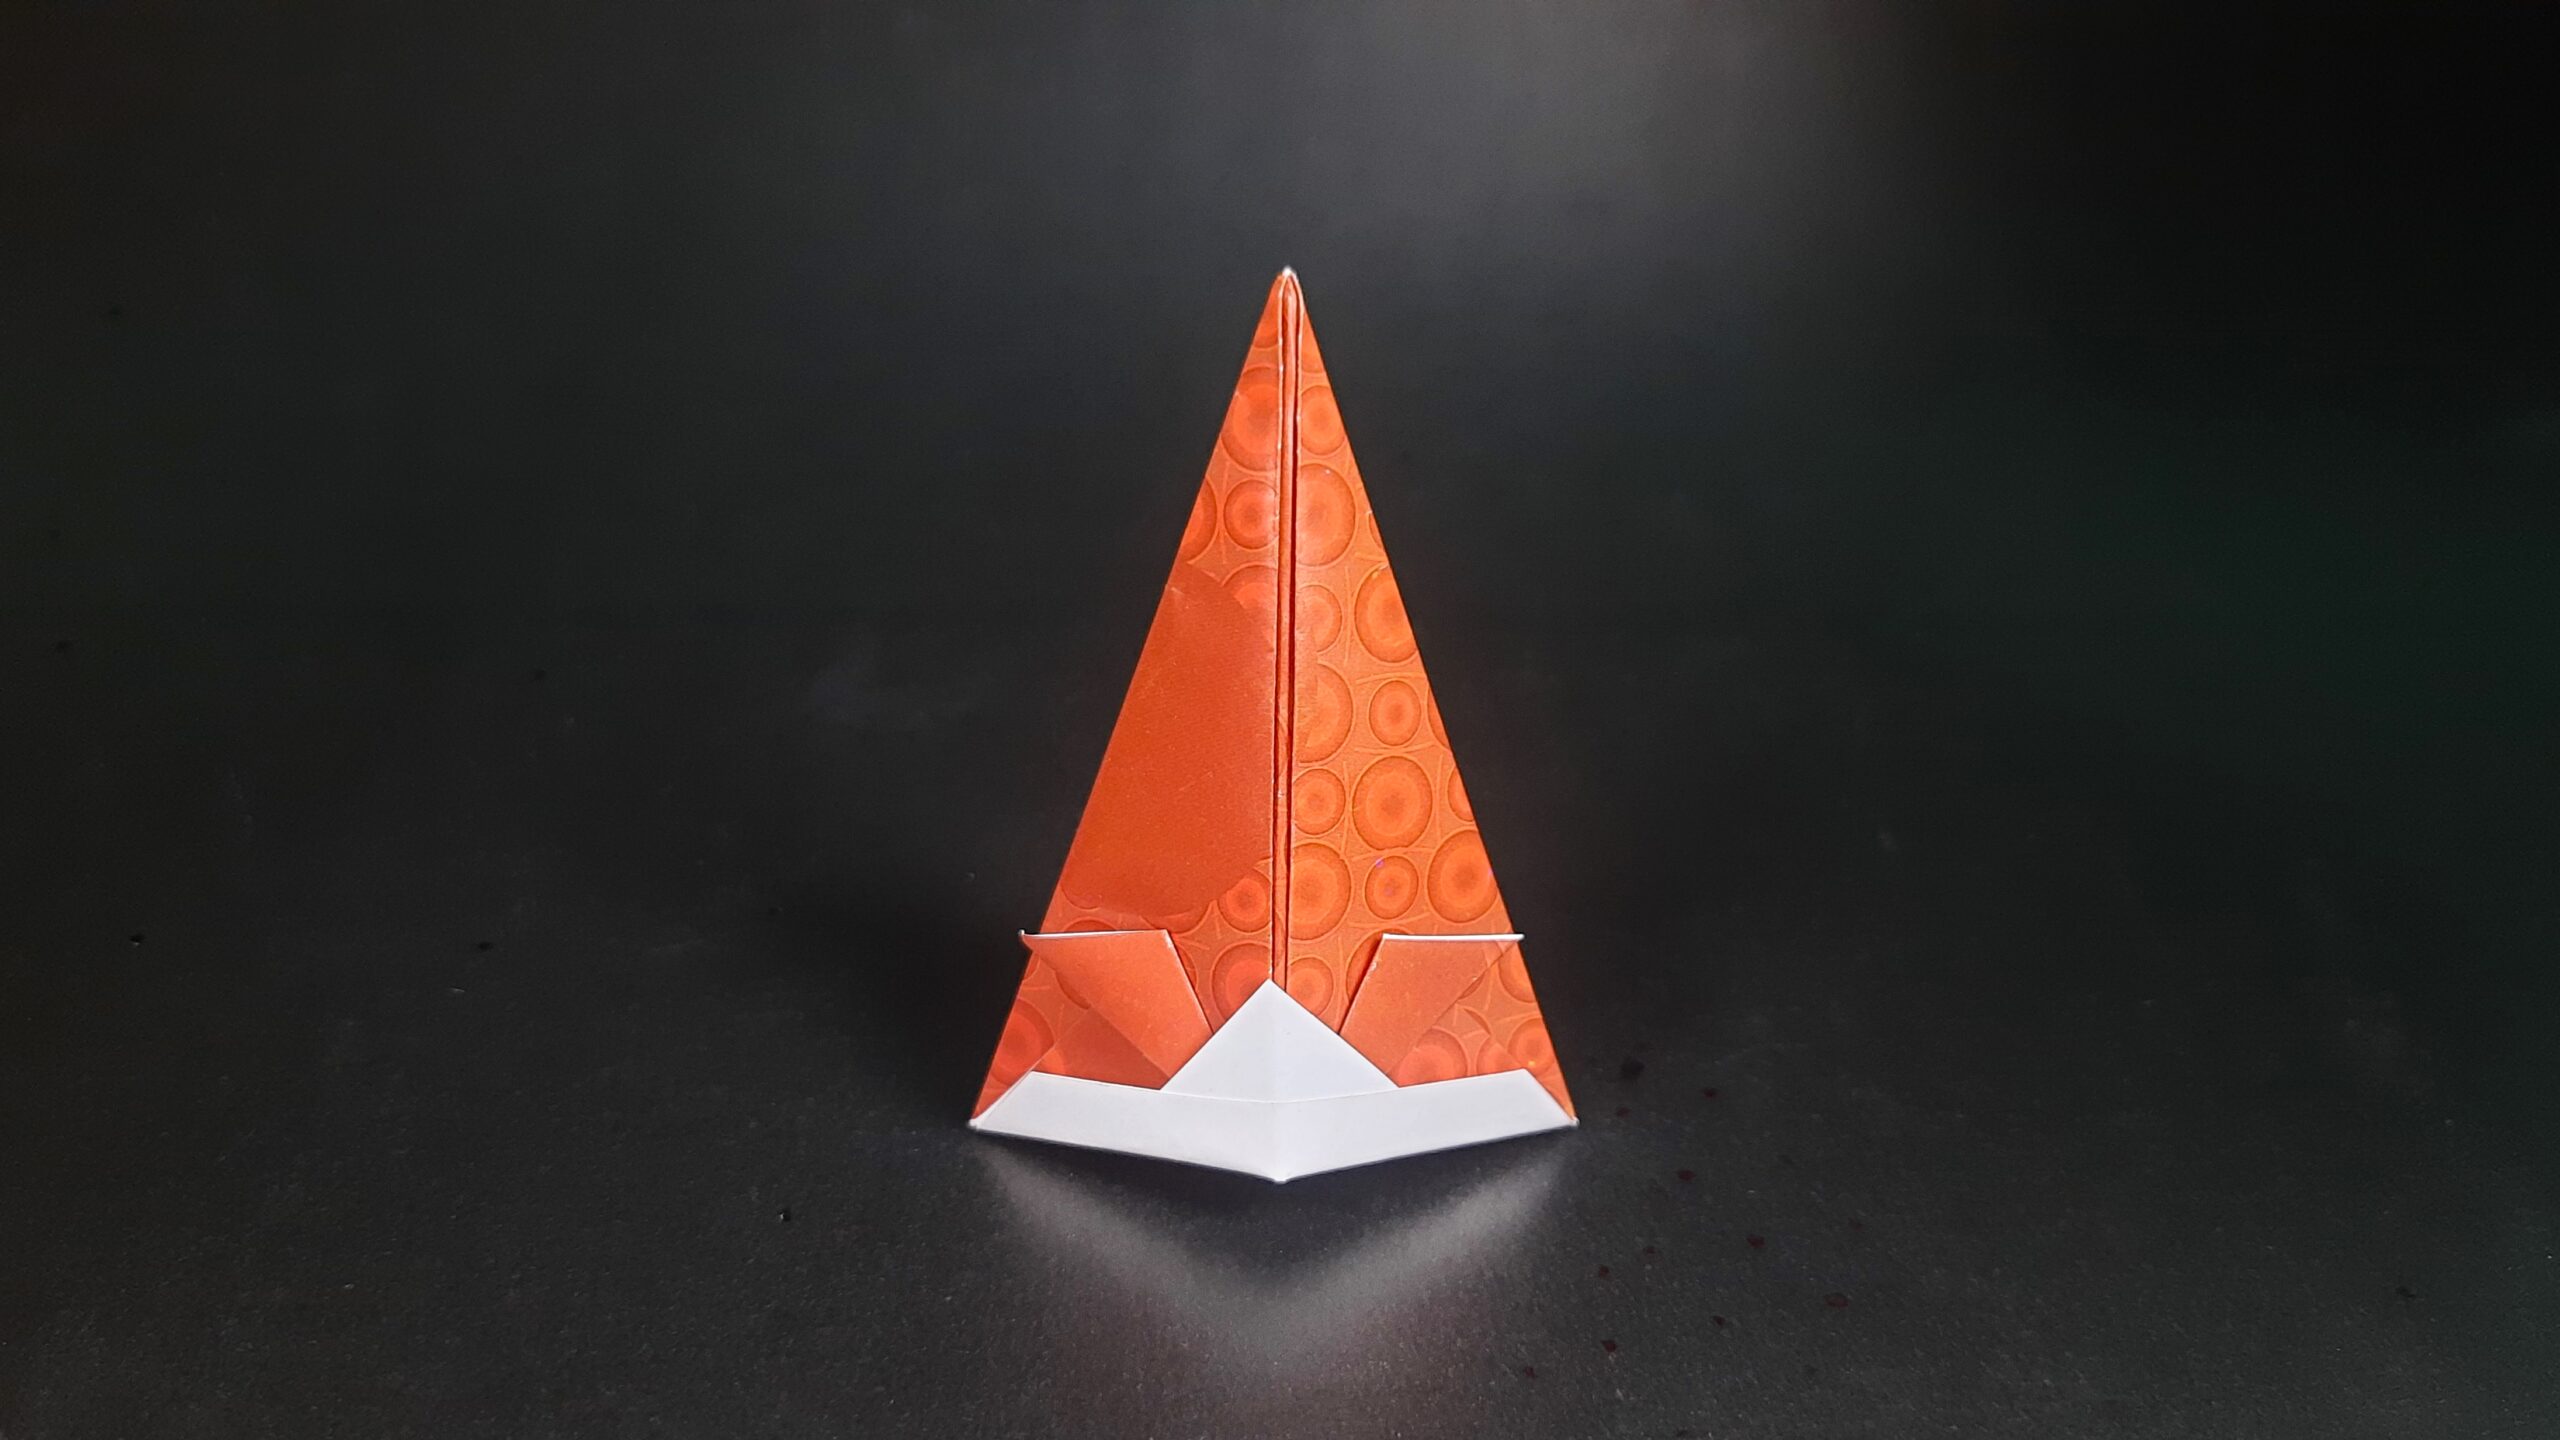
13. The Completed Origami Model

Congratulations! Your origami model is now complete. Enjoy your final result!
Now you have both the video and the graphic illustrations to help you create this beautiful paper folding design! You should nearly be a pro at this now! To really master this design you should probably do it a few times just to practice and get it down perfectly. The good thing about all that practice is that you’ll have a bunch of other paper party hats that you can hand out to other people! Lastly, down below you’ll find a downloadable/printable set of instructions on how to make a paper party hat!
How To Make A Paper Party Hat Printable Instructions
Well, I hope you enjoyed this quick and easy guide on making origami party hats! There is simply so much you can do in the world of origami and the possibilities are endless! Once you’ve mastered the paper party hat you should go and check out all the other designs I have put out on the site for you to learn! I hope you continue on your epic journey in the world of paper folding and create some beautiful designs along the way!