Origami has been around for centuries, and while the art form has evolved over time, the premise remains the same: to create something beautiful out of a piece of paper. In this guide, I will show you how to make an origami umbrella using a simple yet elegant design. This is a great project for beginners, and with a little practice, you’ll be able to create beautiful origami umbrellas in no time!
How To Make An Origami Umbrella Video Walkthrough
There you have it! Now you know how to make an origami umbrella if you watched and followed this video. You can get as creative as you want and use any colored paper you want. You can even decorate your origami umbrella and use whatever you want as a stick to hold it! Now, if you prefer to learn in a different way other than through a video, down below you’ll find a step-by-step illustrated guide that you can follow along too.
How To Make An Origami Umbrella Step-By-Step Instructions
1. Creating the First Fold Line
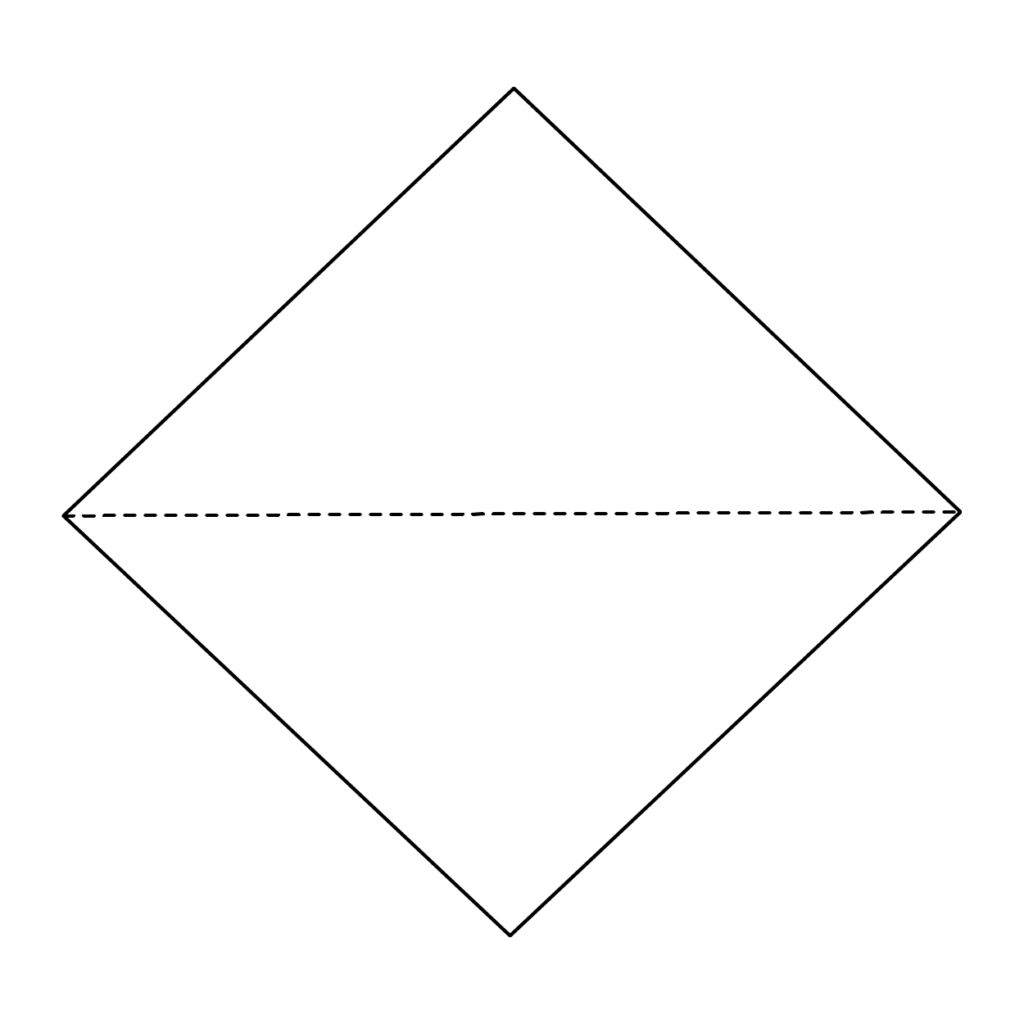
Fold the paper in half and then unfold.
2. Creating the Second Fold Line
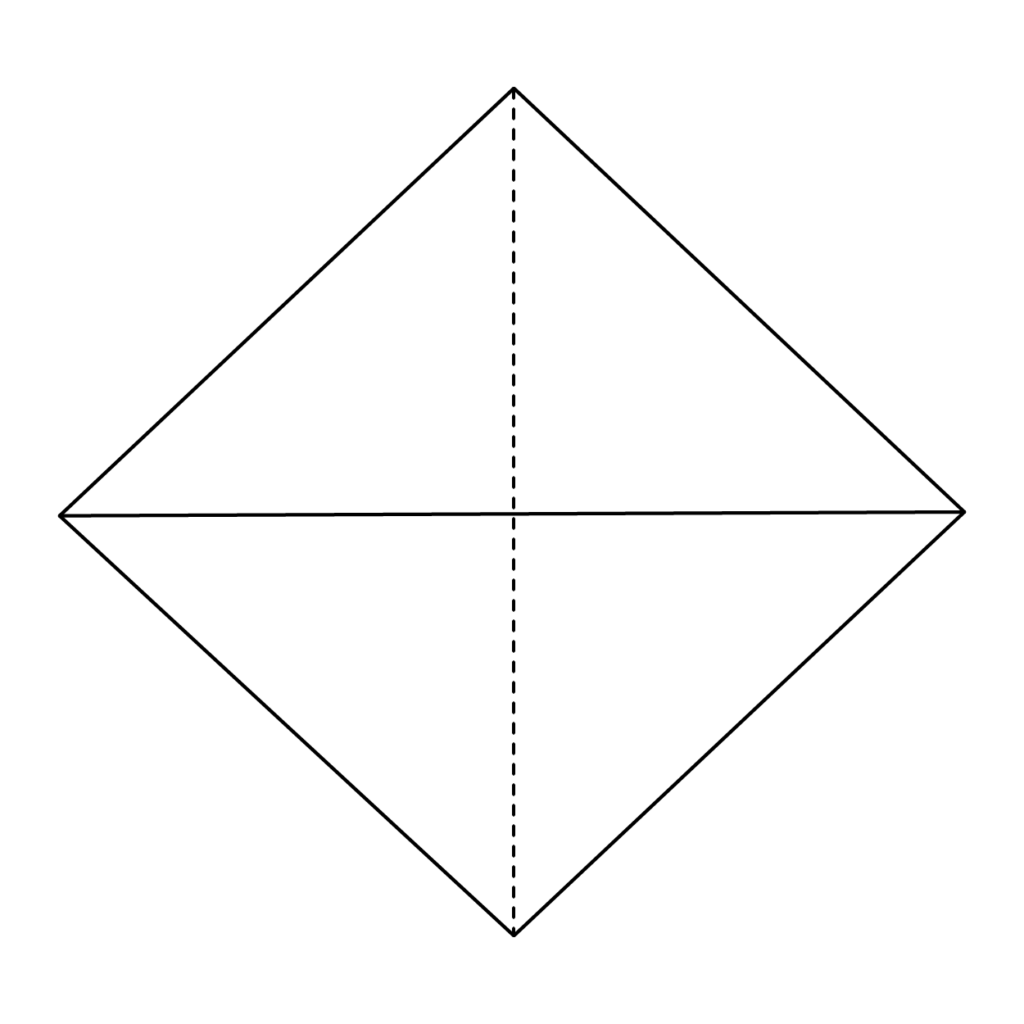
Turn the paper, fold it in half again and unfold it.
3. Forming a Rectangle
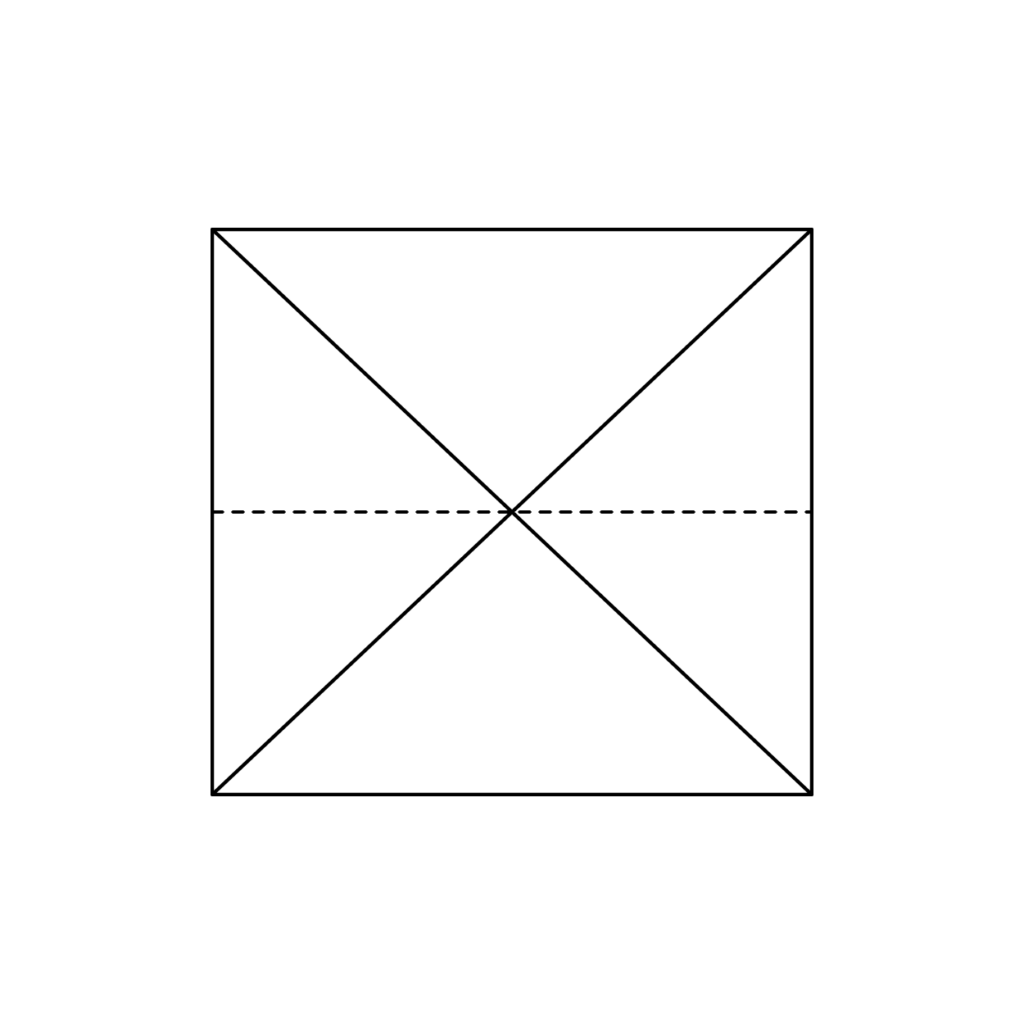
Turn the paper, and fold it in half.
4. Squashing the Right Corner

Open the right corner and flatten it. You should end up with something that looks like the next step.
5. Aligning the Right Triangle
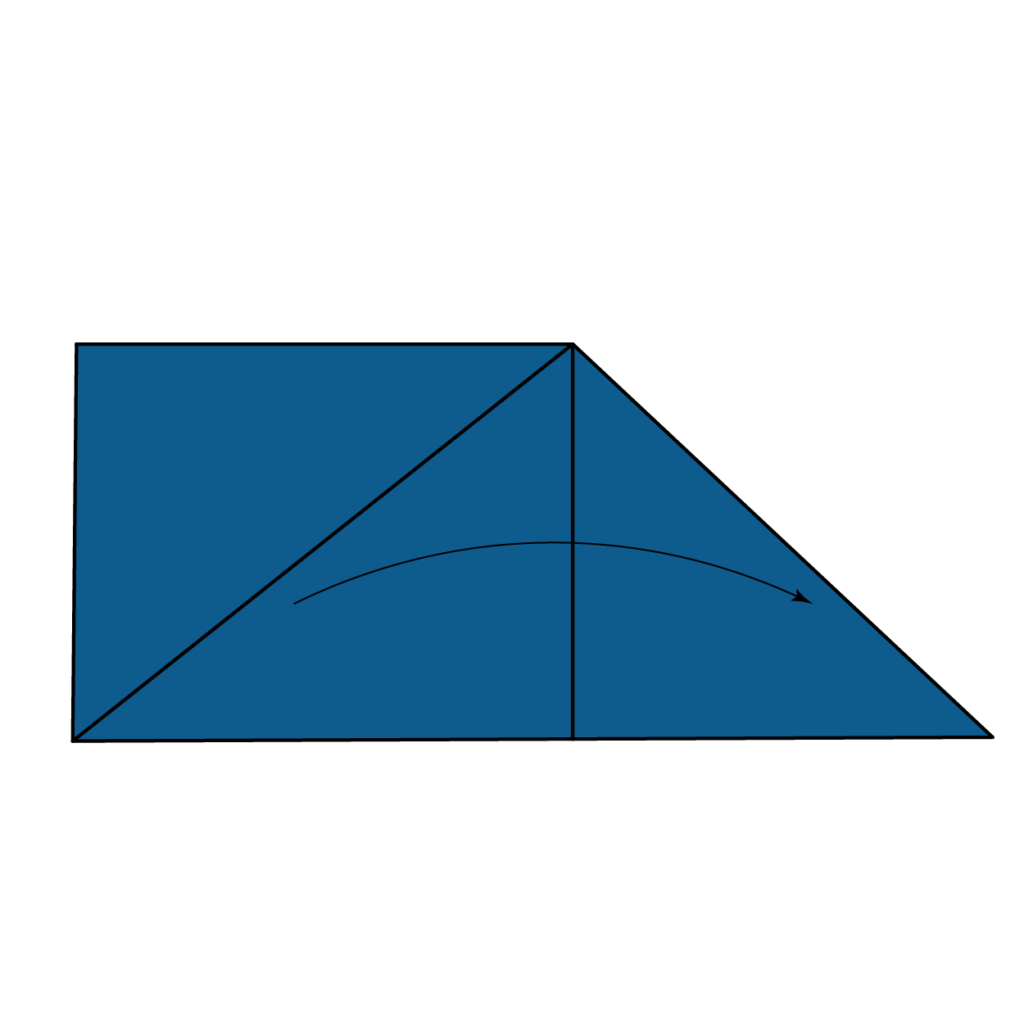
Take the right side of the triangle to the left side.
6. Squashing and Aligning the Left Corner

Repeat both steps 4 and 5 on the left side.
7. Creating an Inner Fold
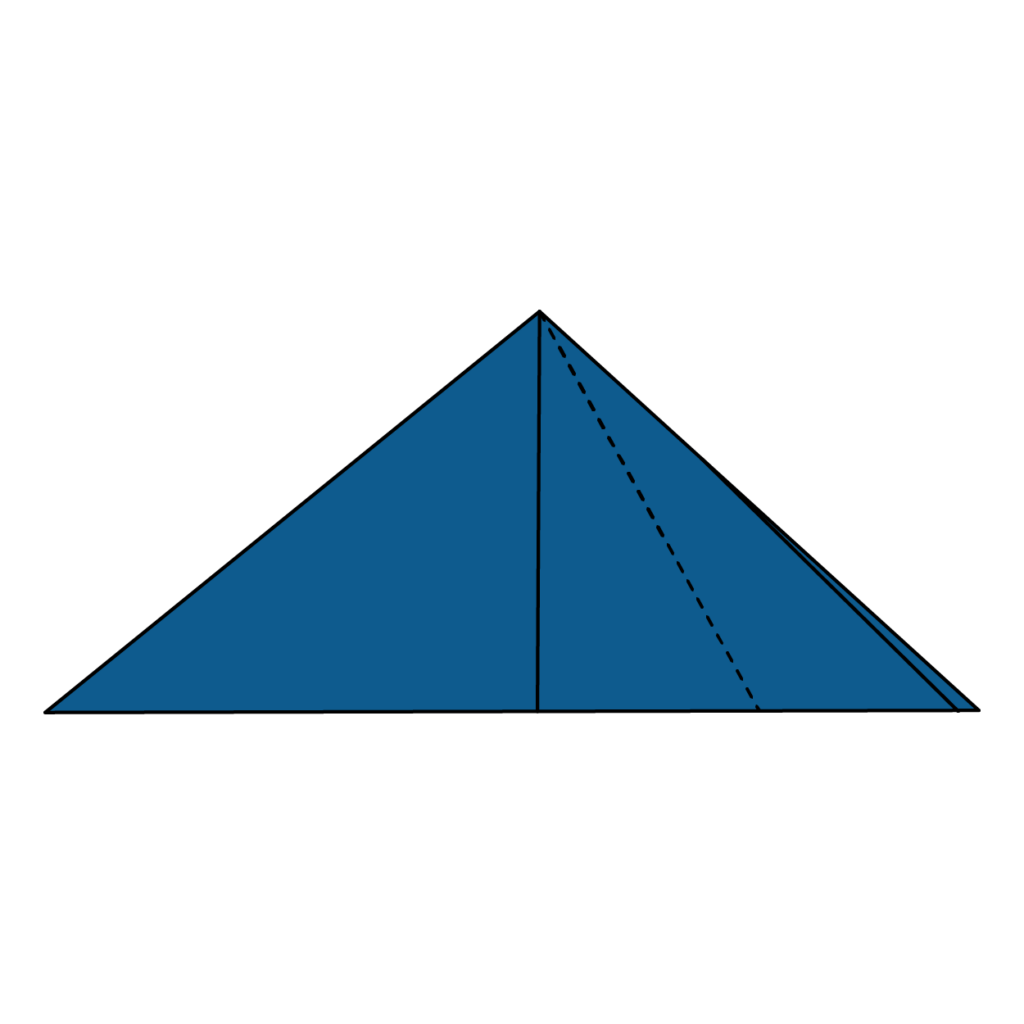
Fold the front flap in over the dotted line.
8. Flattening the Center Triangle

Open up the center triangle that was just created and flatten it.
9. Aligning the Right Triangle’s Base

Take the right side of the triangle to the left side.
10. Folding the Left Side

Repeat steps 7 and 9 for the left side.
11. Opening and Flattening the Sides

Open and flatten both sides and you should end up with something like the figure in step 12.
12. Preparing for Cutting

Open the model up.
13. Cutting the bottom Section

Use scissors to cut along the dotted line.
14. Folding the Top Section
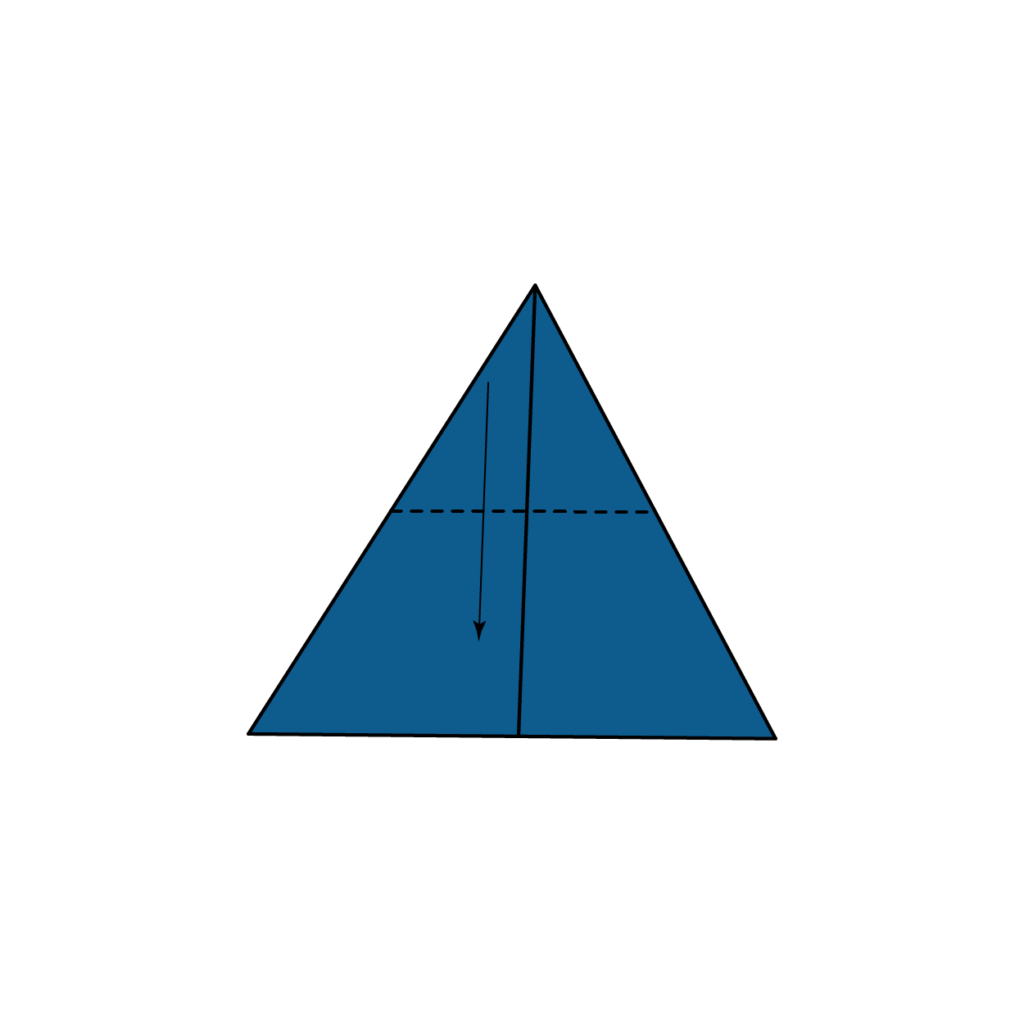
Fold the top down over the dotted line.
15. Cutting the Top Corner Sections
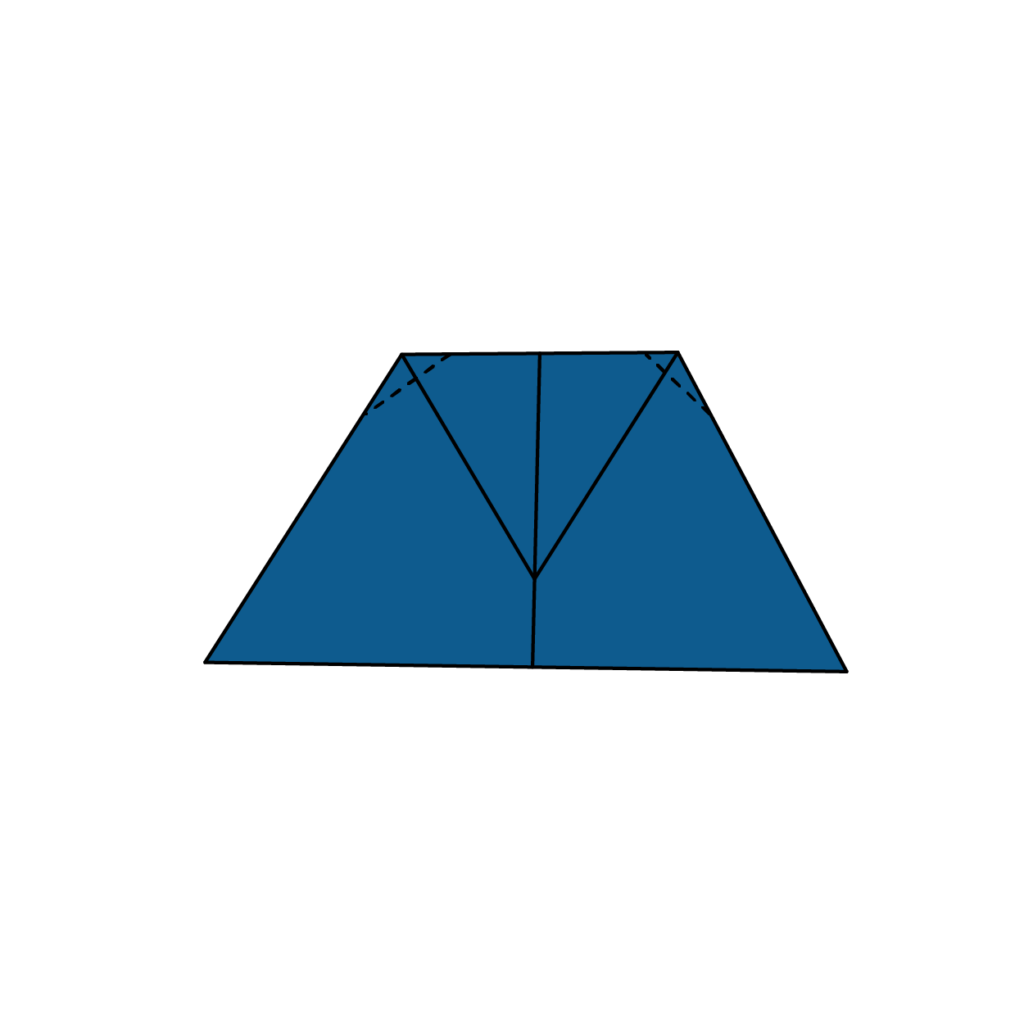
Use scissors to cut along the dotted lines.
16. Examining Your Progress

This is what you should have so far.
17. Crafting the Second Model

Make another similar model.
18. Joining the Models

Glue the two models together.
19. Shaping the Umbrella Tip

Cut the tip of the umbrella in a half-circle motion.
20. Attaching the Handle

Now attach a small stick or rod to the hole you just made and glue it on tightly.
21. Admiring the Finished Origami Umbrella
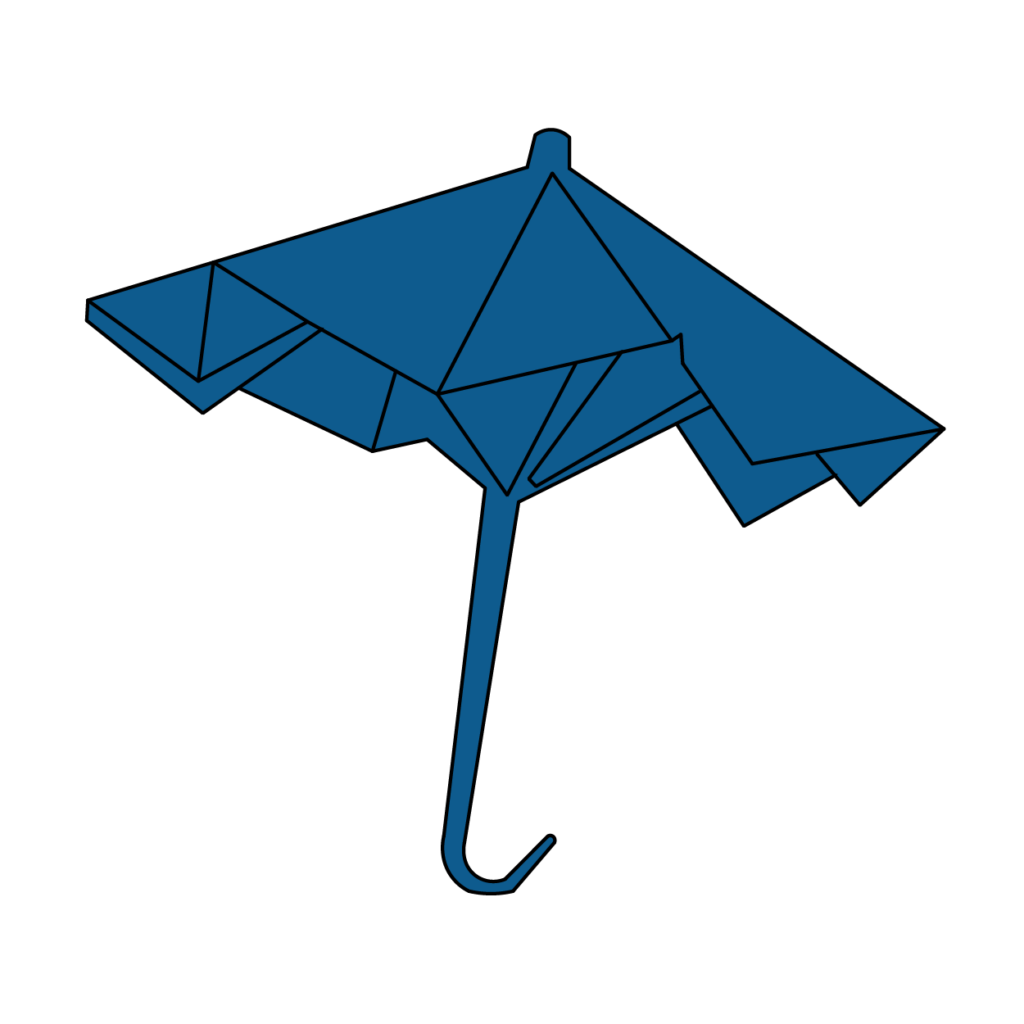
Allow the glue to dry completely and admire your completed origami umbrella!
You should be a near pro at making origami umbrellas now! You have both a video and illustrated instructions. Make sure you practice this design a few times as it can be a little complicated! You have to master it! I have put the same instructions you see above down below but in a downloadable and printable format just in case you need it for future reference!
How To Make An Origami Umbrella Printable Instructions
The origami umbrella is a great beginner project that can be completed in minutes. Once you have mastered this easy origami project, be sure to check out my other tutorials for more advanced creations. Stay tuned for upcoming posts! In the meantime, keep folding paper and learning the art of origami. Happy folding!


