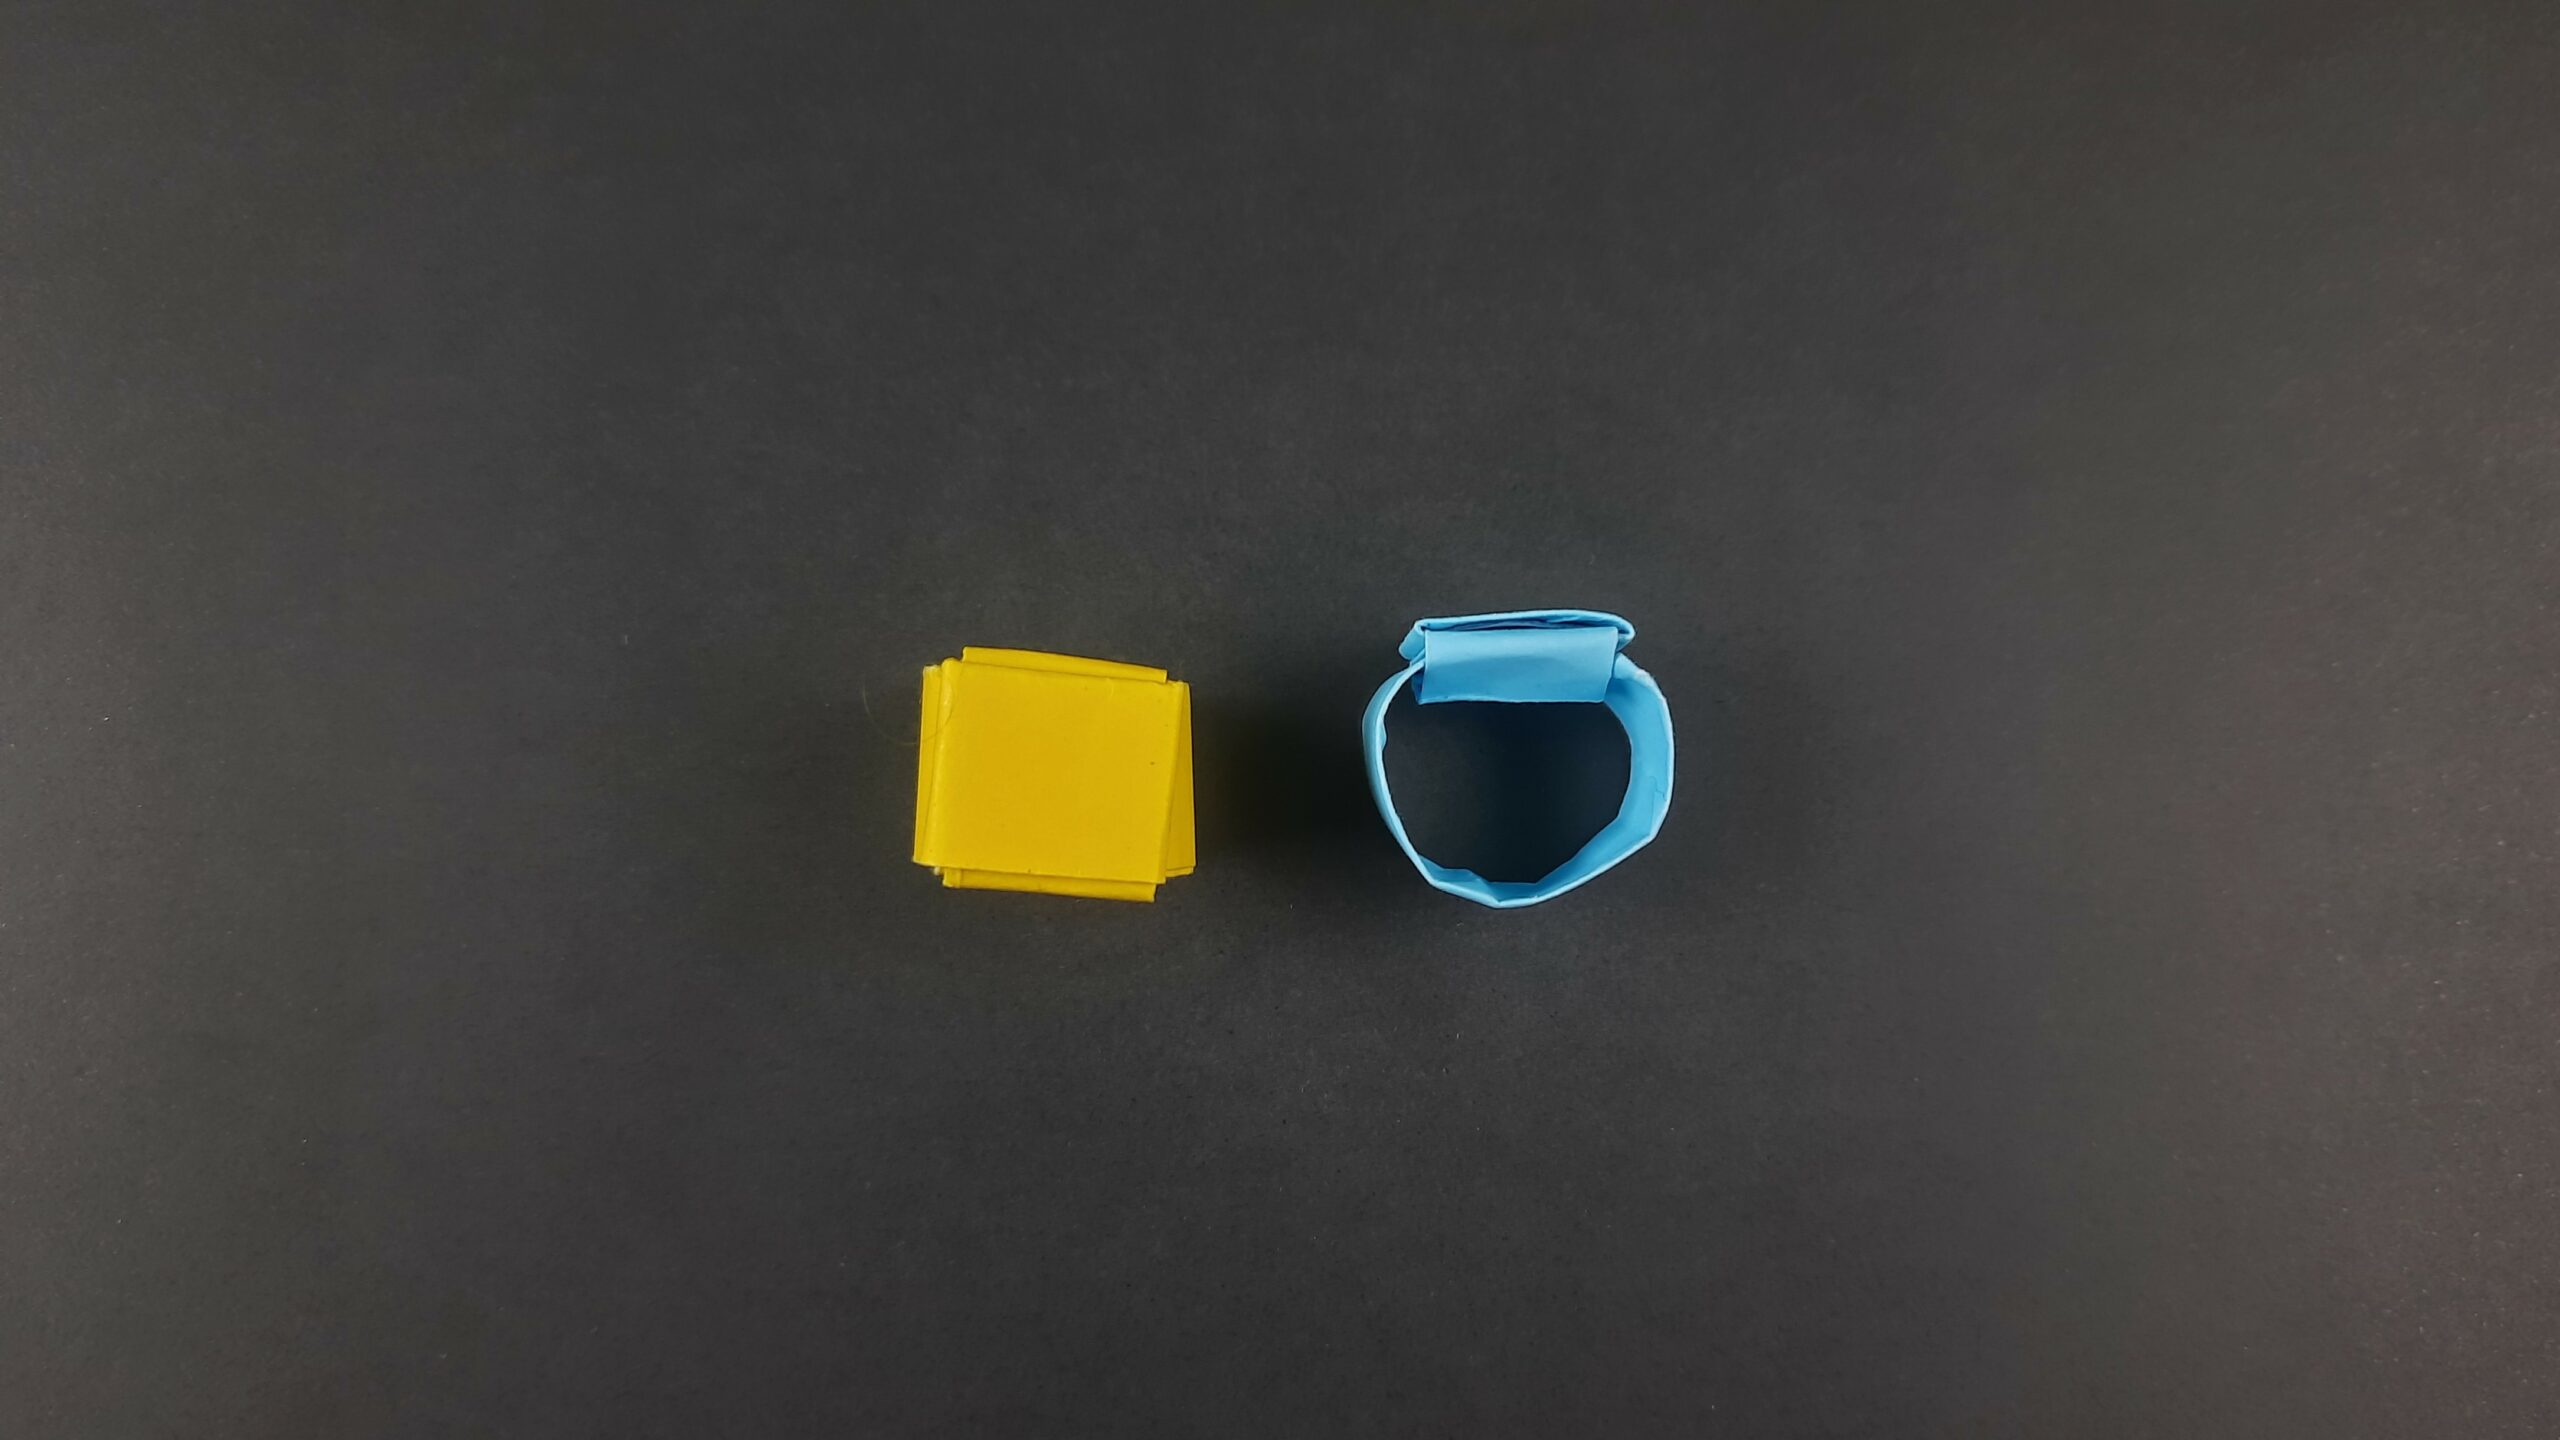
Football season is in full swing, and you’re on the search for how to make a simple paper football. I mean, what better way is there to show your team spirit than by making your very own paper football!? This easy DIY project is perfect for tailgates, watch parties, or any time you want to show your love for the game.
All you need is a sheet of paper and a little bit of patience. Follow these simple instructions and you’ll be flicking field goals in no time!
How To Make A Simple Paper Football Video Walkthrough
There you have it! This video I have made should have made it more than easy enough for you to get your very first paper football done and ready for your flicking match! As always, get as creative as you’d like with this.
Use whatever colored paper you’d like and go ahead and decorate your football to make it look as cool as possible! Now, if you’d rather learn how to make a paper football a different way, I have also prepared easy-to-follow illustrated instructions down below.
If you enjoy this design then make sure to check out all my other Origami Items!
How To Make A Simple Paper Football Step-By-Step Instructions
1. Selecting and Preparing the Paper Strip: Choose Thickness and Create Initial Fold
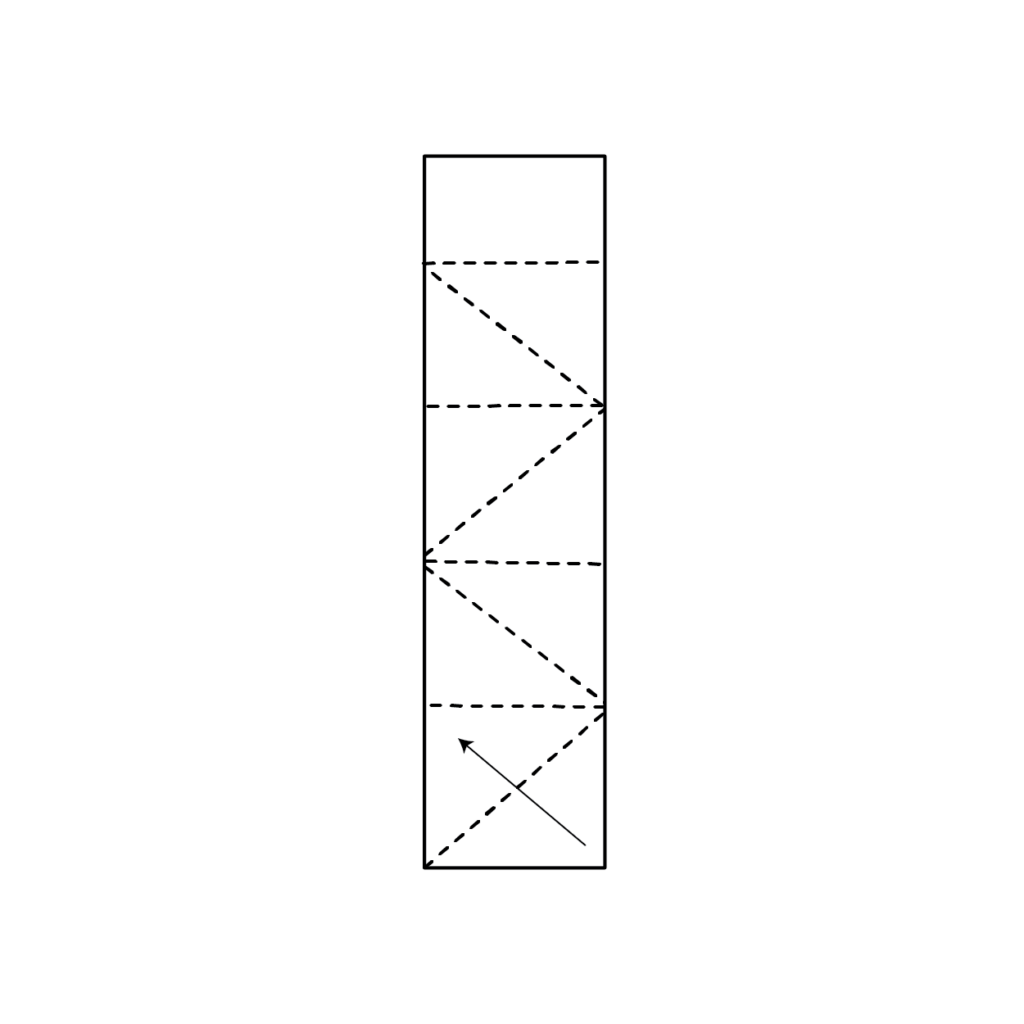
To begin, you’ll need one strip of paper. If you prefer a thinner paper football, cut a standard sheet of printer paper into thirds and use one of those strips. For a thicker football, fold a full sheet of printer paper into thirds and keep it folded as shown in the image. Start by taking the bottom right corner of your strip and folding it upward to form a triangle at the bottom, as depicted in the provided example.
2. Folding the Triangle Upward: Proceed with the Next Fold
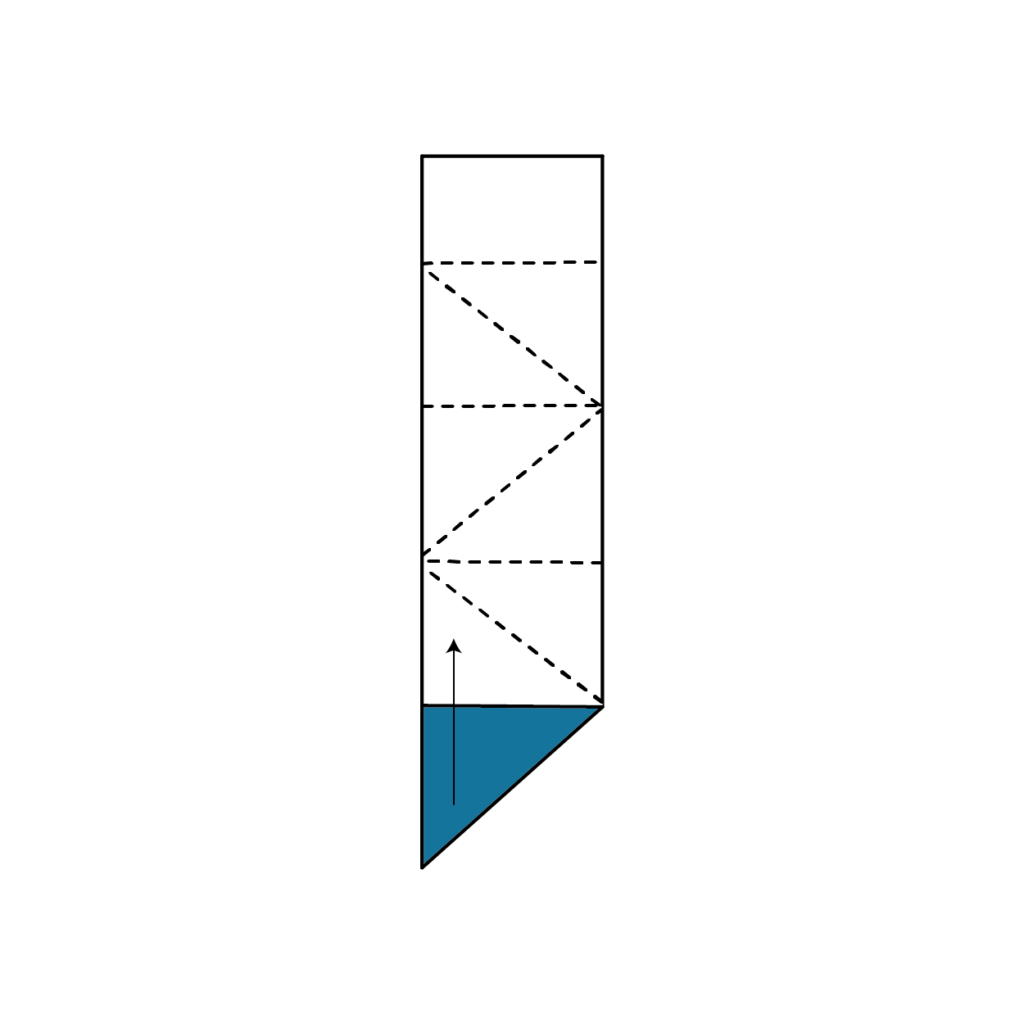
Next, fold the triangle you just created upward, following the example provided.
3. Alternating Folds: Continue Folding Until the Strip is Fully Utilized
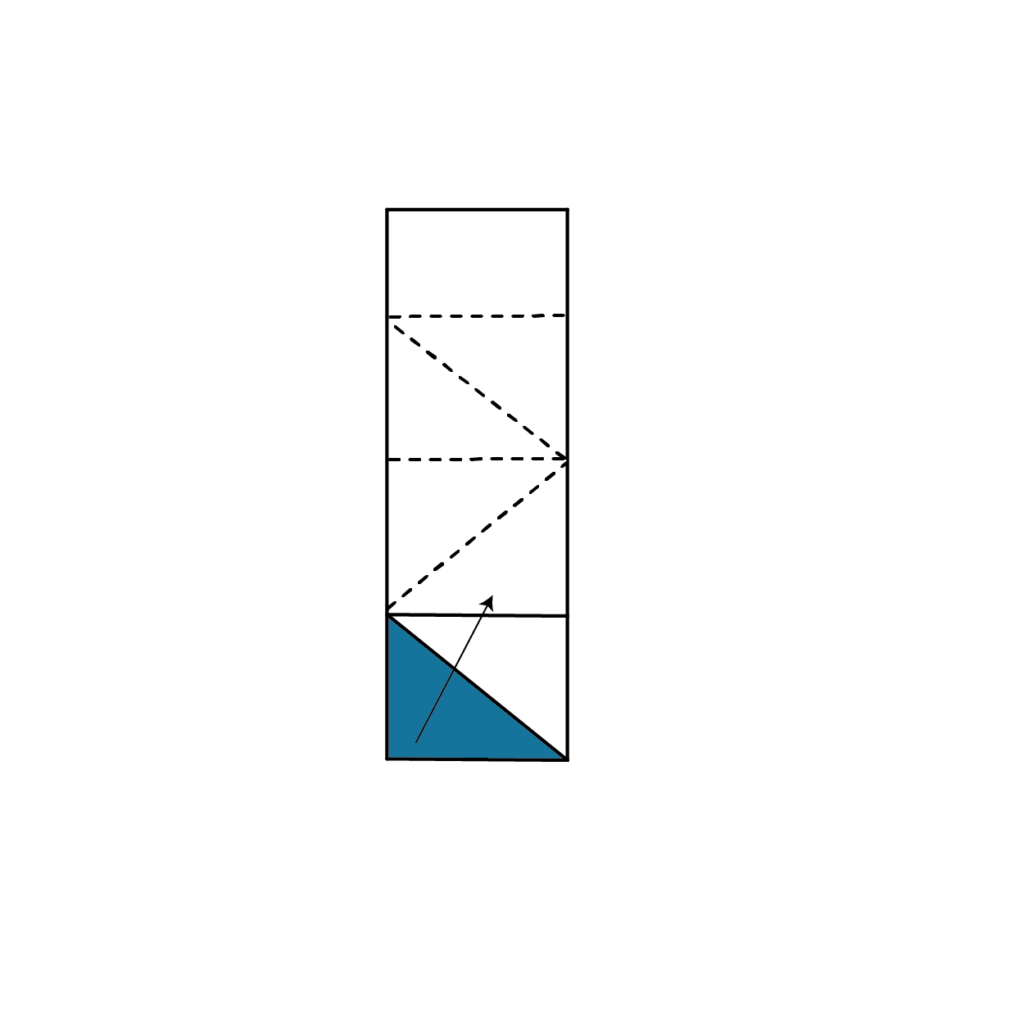
Keep alternating between the two types of folds (forming a triangle and folding it upward) until you can no longer continue folding.
4. Final Triangle Fold: Manage the Remaining Length of Paper

Once you reach the top of the strip and have a length of paper that is just a little too small to continue folding, take the top left corner and fold it down into a triangle, as shown in the provided example.
5. Tucking the Excess Paper: Secure the Final Fold
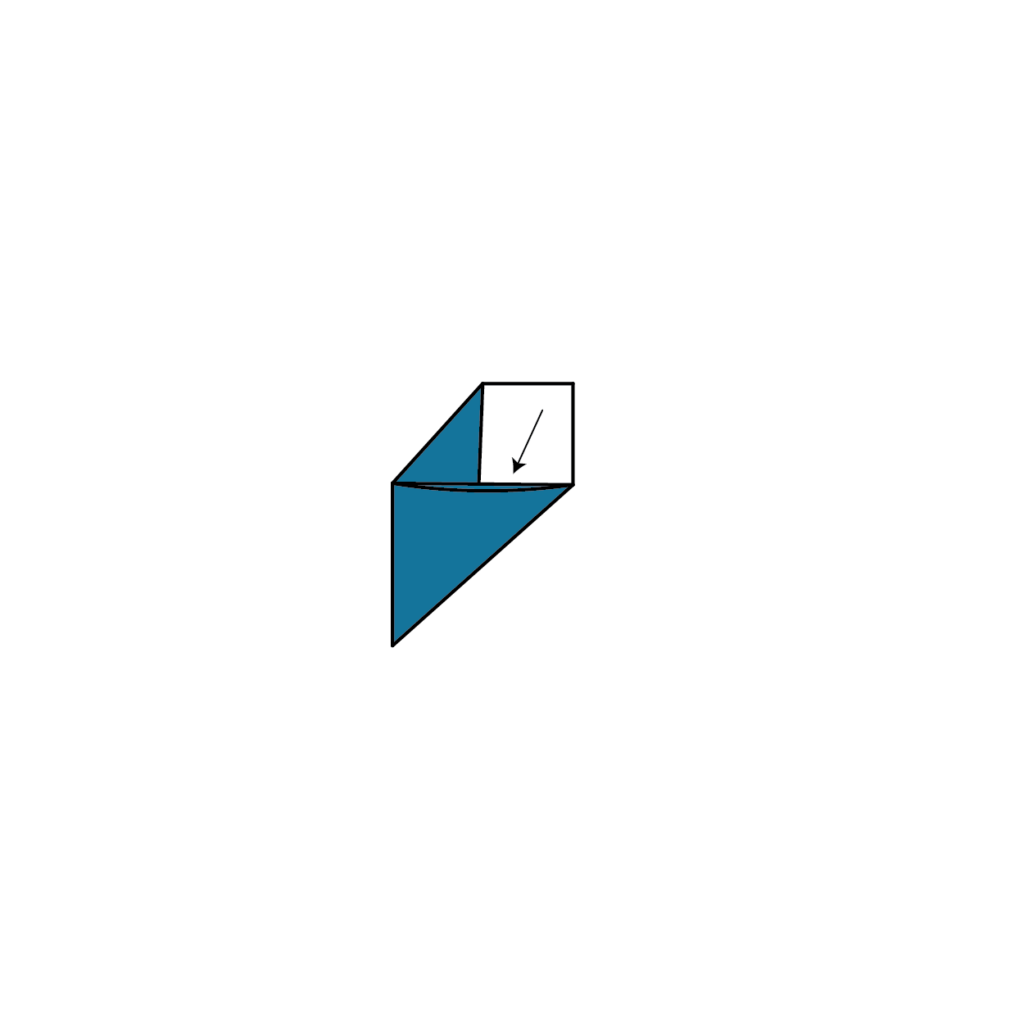
Now, take the top piece of paper from the final fold and tuck it into the pocket created by your previous folds, as shown in the example. If you chose to make a thicker football, this step may be a bit more challenging. If necessary, use a pencil to help push the paper into the pocket.
6. Admiring Your Completed Paper Football: Enjoy Your New Game Piece

Following these steps, you should now have a perfect paper football, as shown in the provided image. Enjoy playing with your new homemade game piece!
You should have at least a couple of paper footballs laying around at this point. As you can see, this really is a pretty simple and easy project to take on! You should have no problem completing this and it should also be relatively easy to memorize all the steps quickly.
But, if you need future help, these easy instructions will always be here! Not only that, but I have put the same instructions as above, below, but in a downloadable and printable format just in case you need them for future reference!
How To Make A Simple Paper Football Printable Instructions
Congratulations! You have now learned how to make a simple paper football. This easy-to-follow process can be completed in just a few minutes, and it’s a great way to show off your creative side!
Who knows, you may even end up being the next Paper Football Champion. Once you master this origami design, make sure to check out my other designs as well! Thanks for reading, and happy folding!

