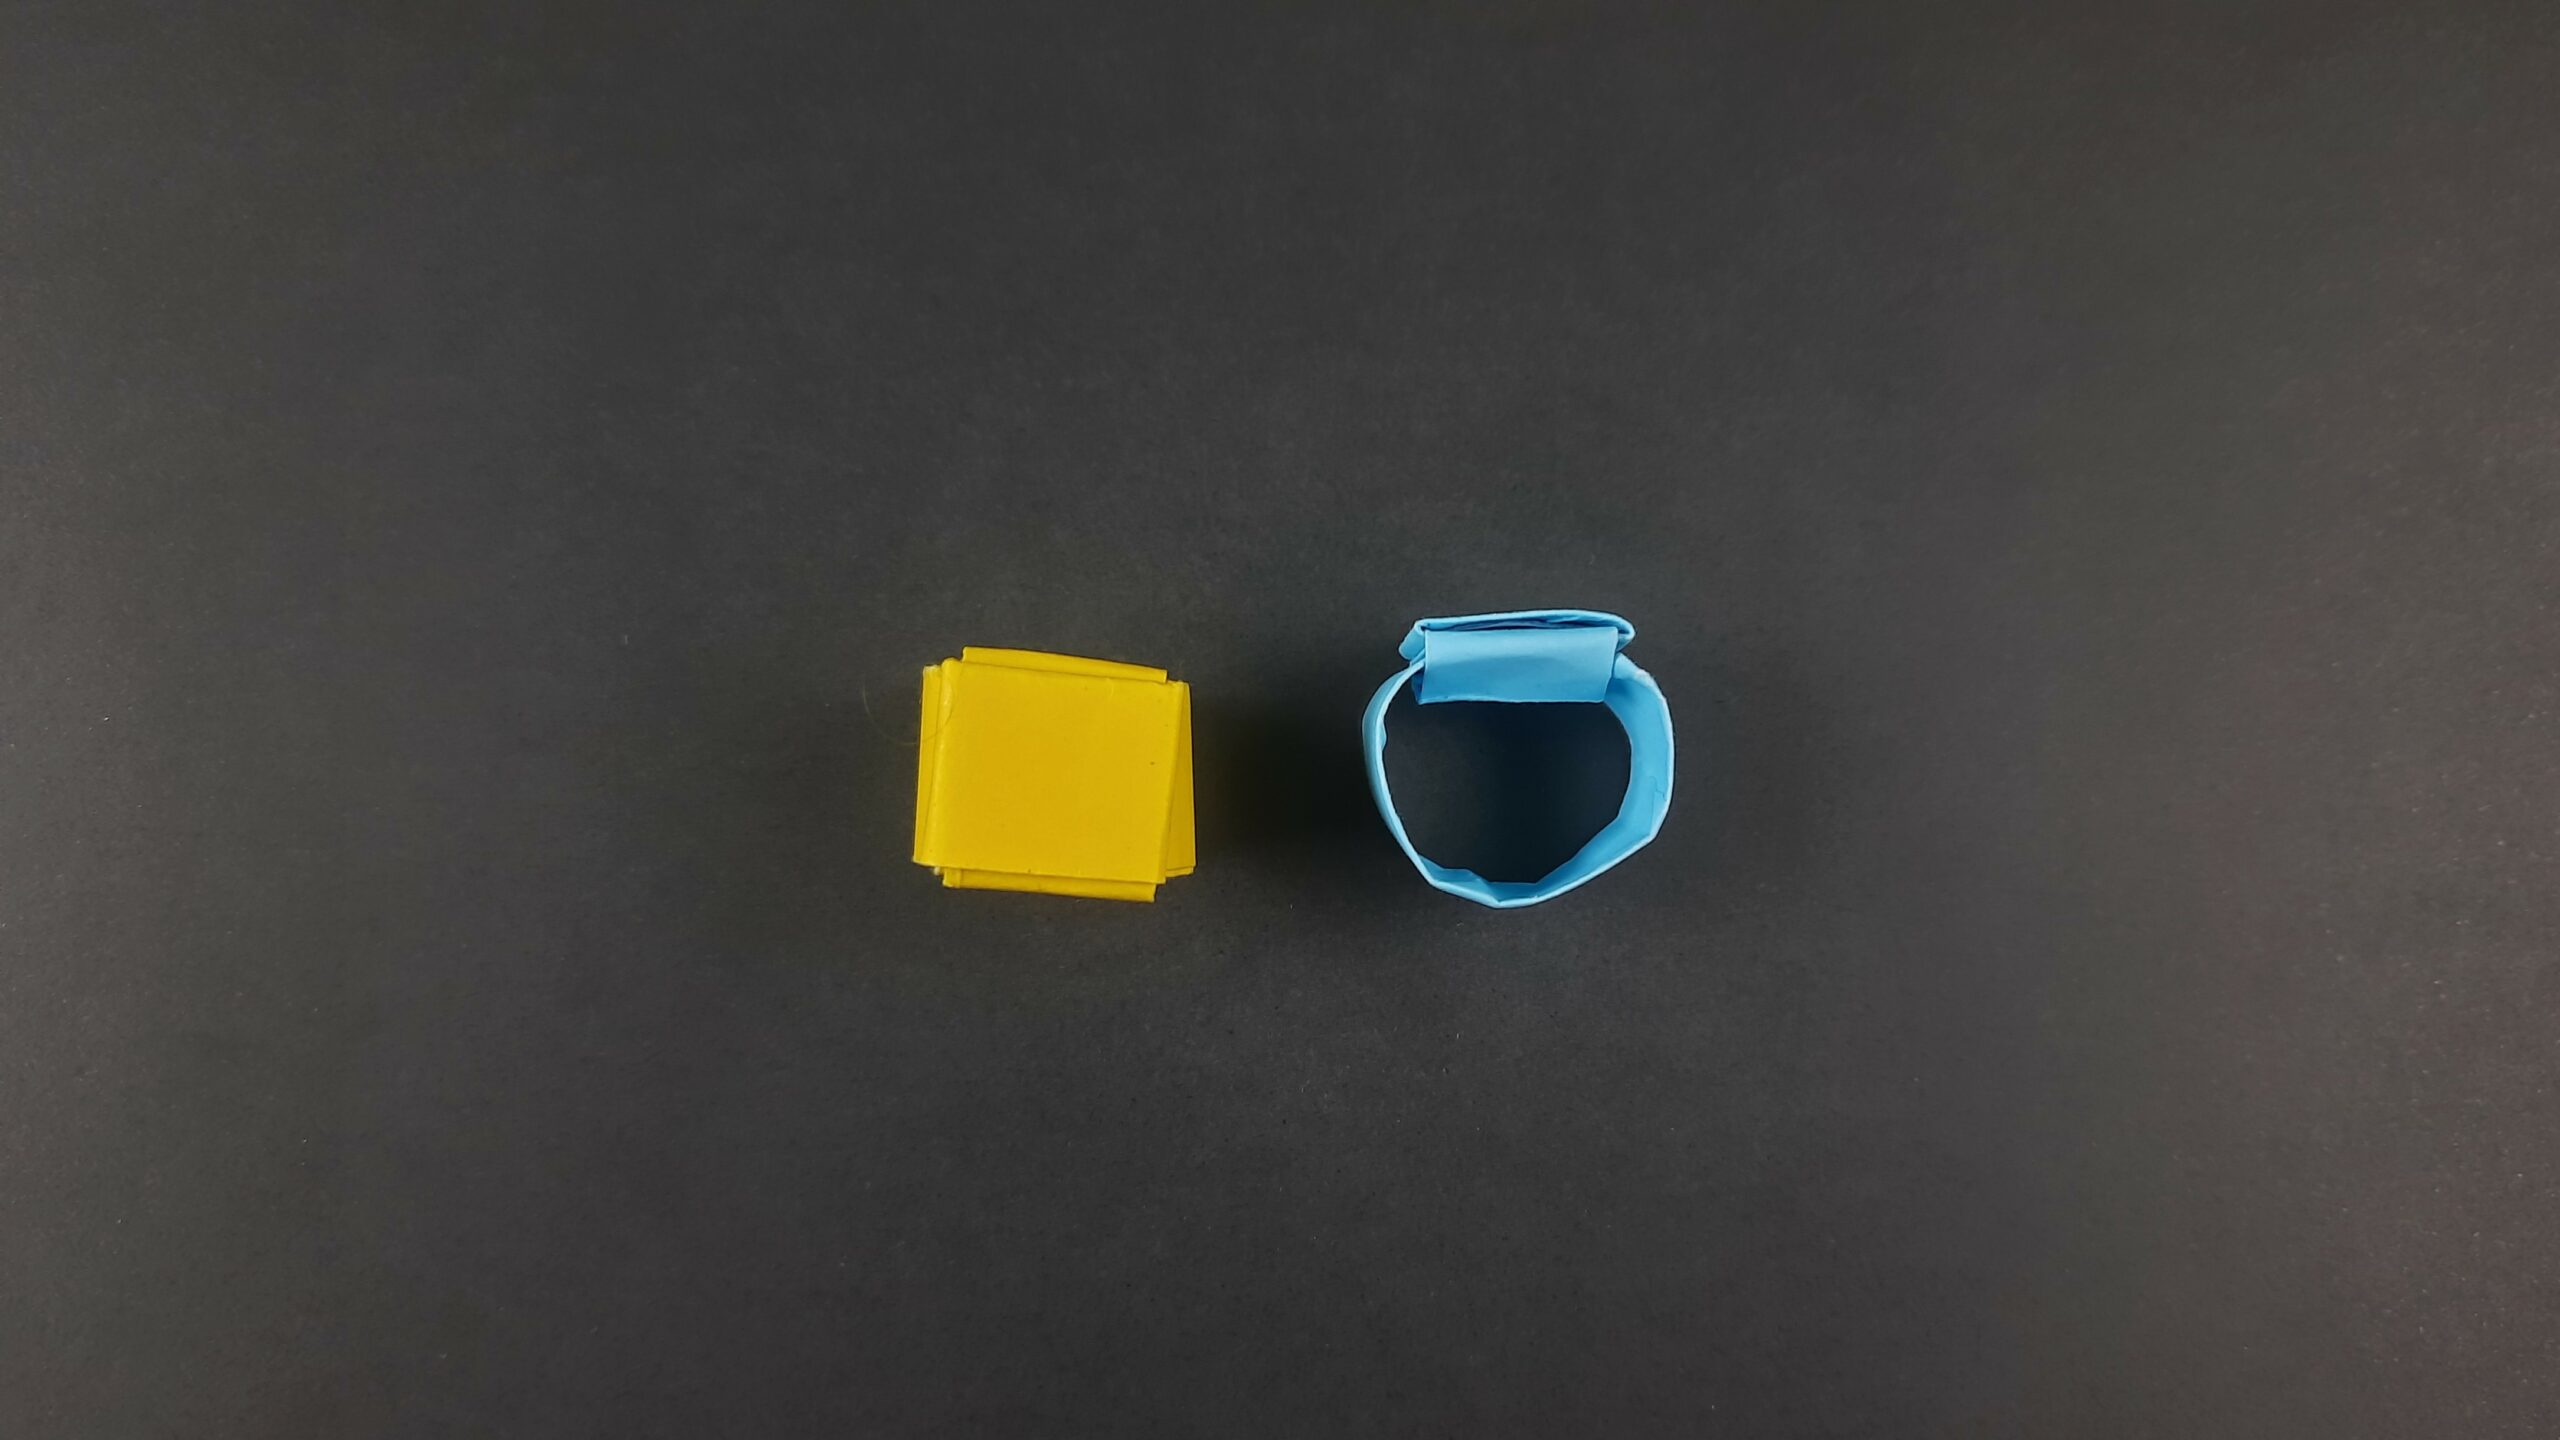
Do you need to mail something but don’t have an envelope? Or maybe you just want to try your hand at origami? Either way, learning how to make an envelope out of paper is a skill that everyone should know.
It’s surprisingly easy, and once you get the hang of it, you can make envelopes in all different shapes and sizes. So grab some paper and let’s get started!
How To Make An Envelope Out Of Paper Video Walkthrough
There you go! If you watch and follow along with my video then you should have your very first origami envelope! This is a fast and relatively easy design to create. Now you are more than ready to send out those letters you’ve been wanting to send! Get as creative as you want with this design and use any colors you want. You can also decorate the envelope and really personalize it to your heart’s content.
Now, if you prefer a different method of learning instead of a video I’ve got you covered. Down below you’ll find an easy step-by-step illustrated guide that you can also follow to create your first envelope. However, there are a couple of steps that are difficult to illustrate so I have referenced what times in the video you would need to watch to help you understand if you need the help!
- If you enjoy this design make sure to check out all my other Origami Items!
How To Make An Envelope Out Of Paper: Step-By-Step Instructions
1. Positioning the Paper and Folding the Left and Right Corners
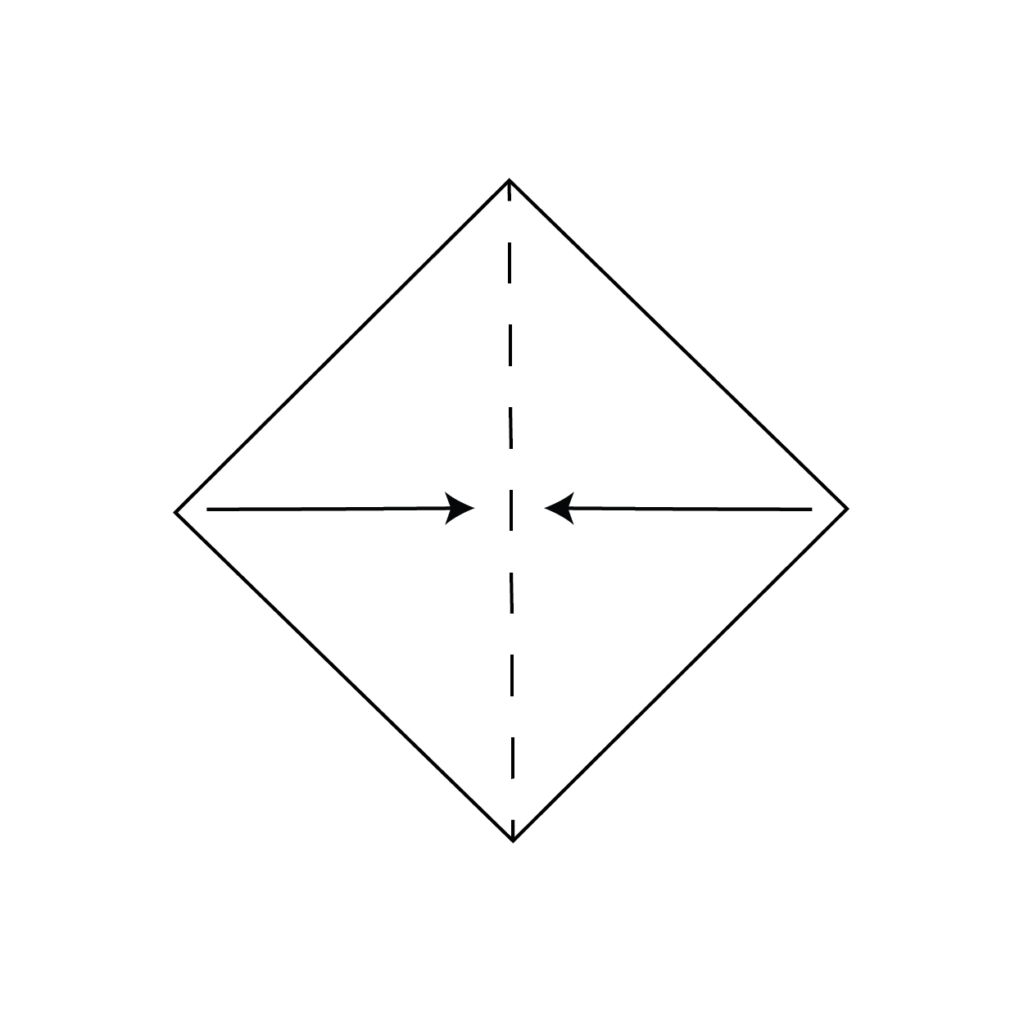
Start with a square piece of paper and place it down in front of you. Turn the paper so that it looks like a diamond when you look down at it. Take the left and right corners of your square sheet of paper and fold them towards the center to meet each other as shown above.
2. Folding the Bottom Corner Upward

Take the bottom corner of your paper and fold it up but not to meet the other corners in the center as depicted above. You should leave a small amount of space between this fold and your previous folds. Refer to the next image to see this more clearly.
3. Folding and Inverting the Left and Right Bottom Corners

If your paper looks like this you can now take the left and right bottom corners and fold them upwards diagonally over the dotted lines. You’re going to take that fold and invert it under the entire bottom flap you made in step 2. You can refer to minute 2 of the video if you need help understanding.
4. Tucking the Corners and Creating the Envelope Shape

Fold the bottom part of your paper up and tuck the left and right corners into the pockets created by your previous fold. Refer to minute 3 of the video if you need a clearer visual representation.
5. Sealing the Envelope
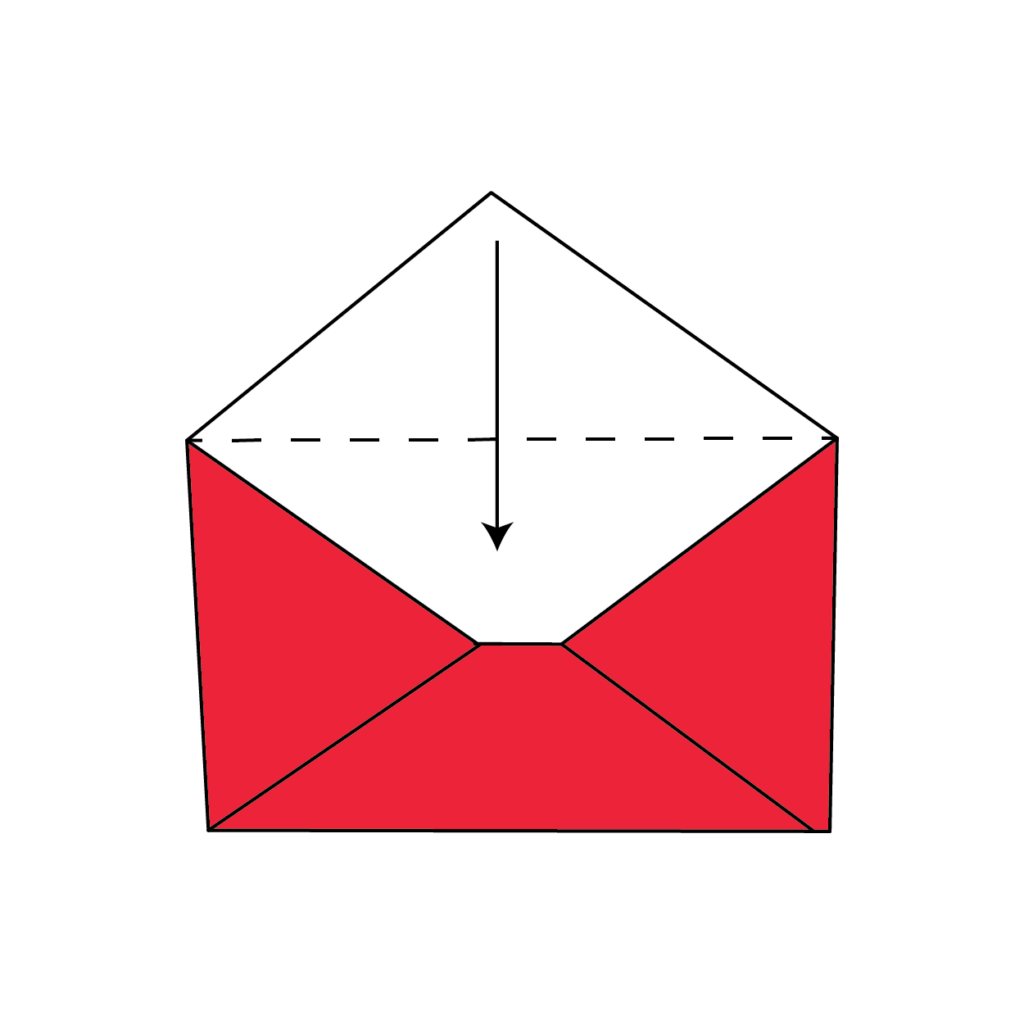
As you can see, your paper is getting closer to that envelope shape! Now, take the top piece of the paper and fold it down to seal the envelope.
6. Revealing the Final Product

Congratulations! Your origami envelope is now complete. Enjoy your beautifully crafted creation!
There you go! If you enjoy instructions more than videos I hope that these were simple and easy to follow! As you can see, steps 4 and 5 may be a little tricky to understand without the video but I’m sure you figured it out quick enough!
Now you should be a pro at making envelopes with both a video and graphic instructions at your disposal! Below, you’ll find the same instructions but in one large printable graphic!
How To Make An Envelope Out Of Paper Printable Instructions
So there you have it! Your very own envelope, made from a single sheet of paper. If you’re feeling adventurous, why not try some of the other origami projects I’ve shared?
There are all sorts of things you can make with a little bit of practice – and once you get the hang of it, origami is a really relaxing way to spend an afternoon. Who knows – maybe your next project will be an origami owl or swan! Thanks for reading, and happy folding!


