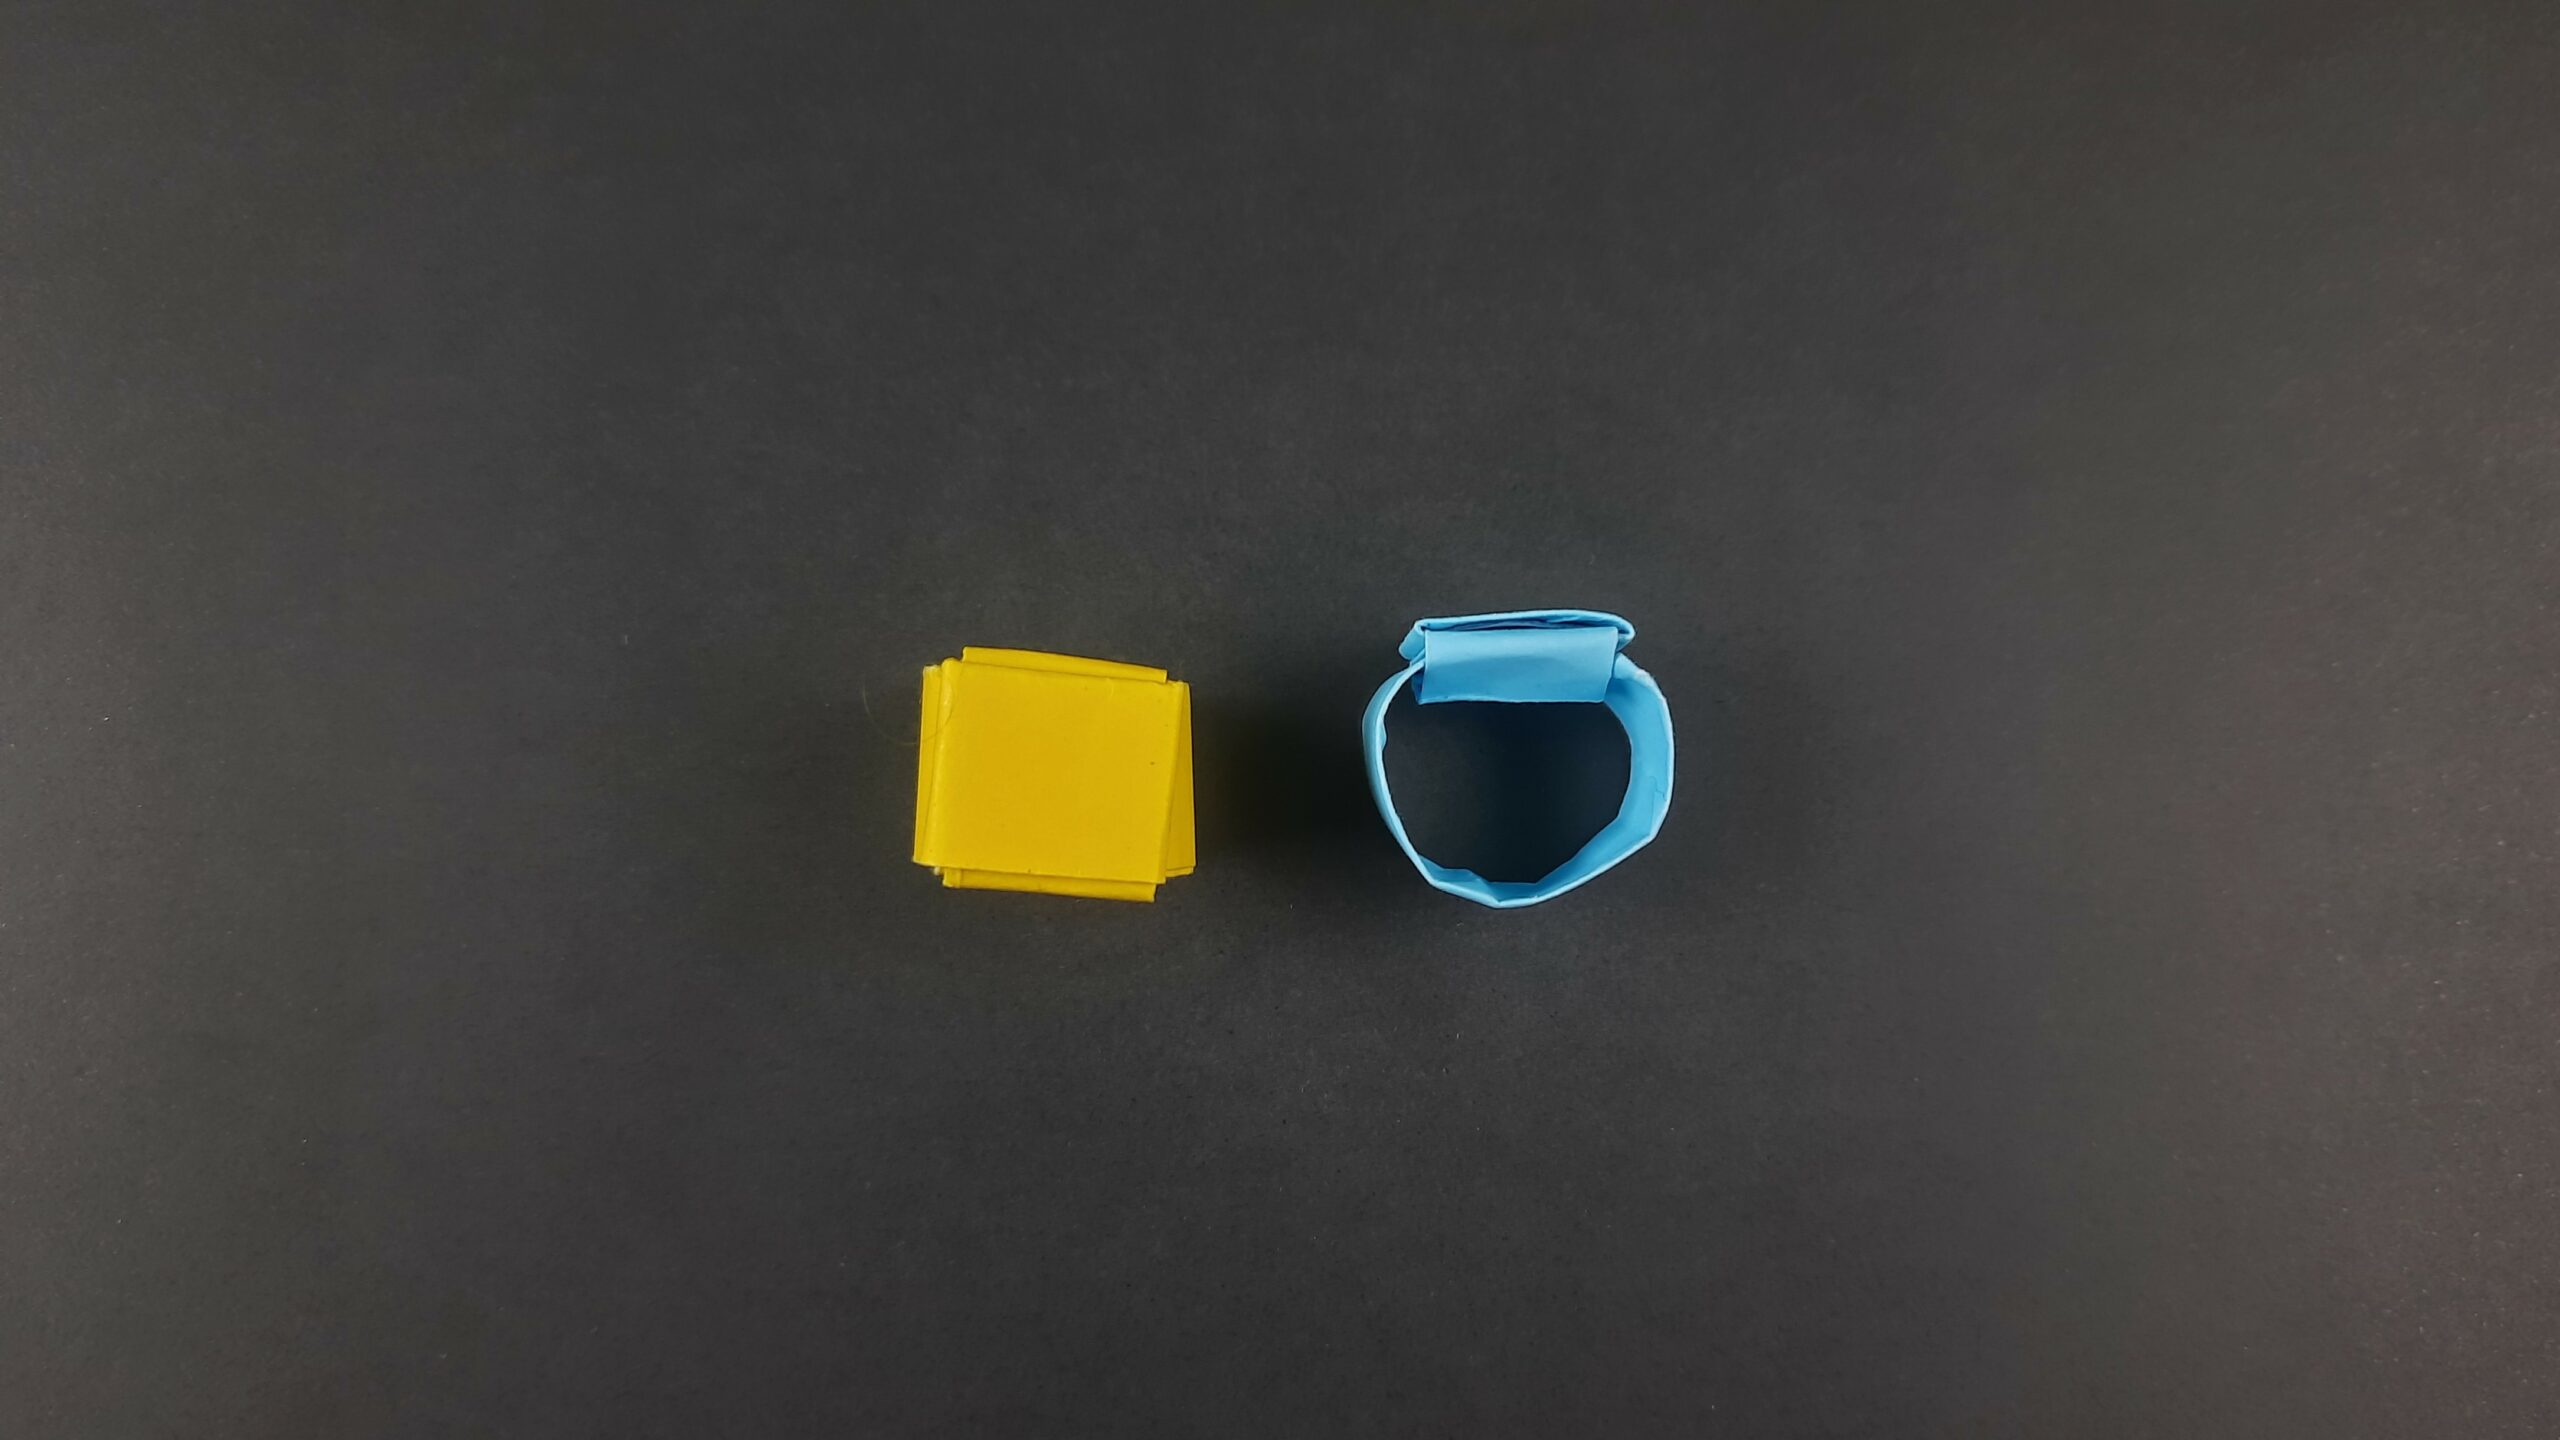
Looking for a fun and unique way to celebrate a birthday or special occasion? Why not make an origami balloon?! This step-by-step guide will show you exactly how to make an origami balloon that can serve as an awesome and festive decoration among other fun things! All you need is some paper, a few simple folds, and a little bit of imagination. Let’s get started!
How To Make An Origami Balloon Video Walkthrough
If you are a good video learner then the video I’ve made above should make it more than easy enough for you to create your first origami balloon! Feel free to be as creative as you want with this origami creation! Use any colored paper you want and even decorate the balloon once you are done with it. I want you to have as much fun as possible with this creation! Now, if you prefer a different learning method than a video then just keep scrolling as I have also put together a step-by-step illustrated guide on how to make the perfect paper balloon!
How To Make An Origami Balloon Step-By-Step Instructions
1. Folding the Paper Horizontally
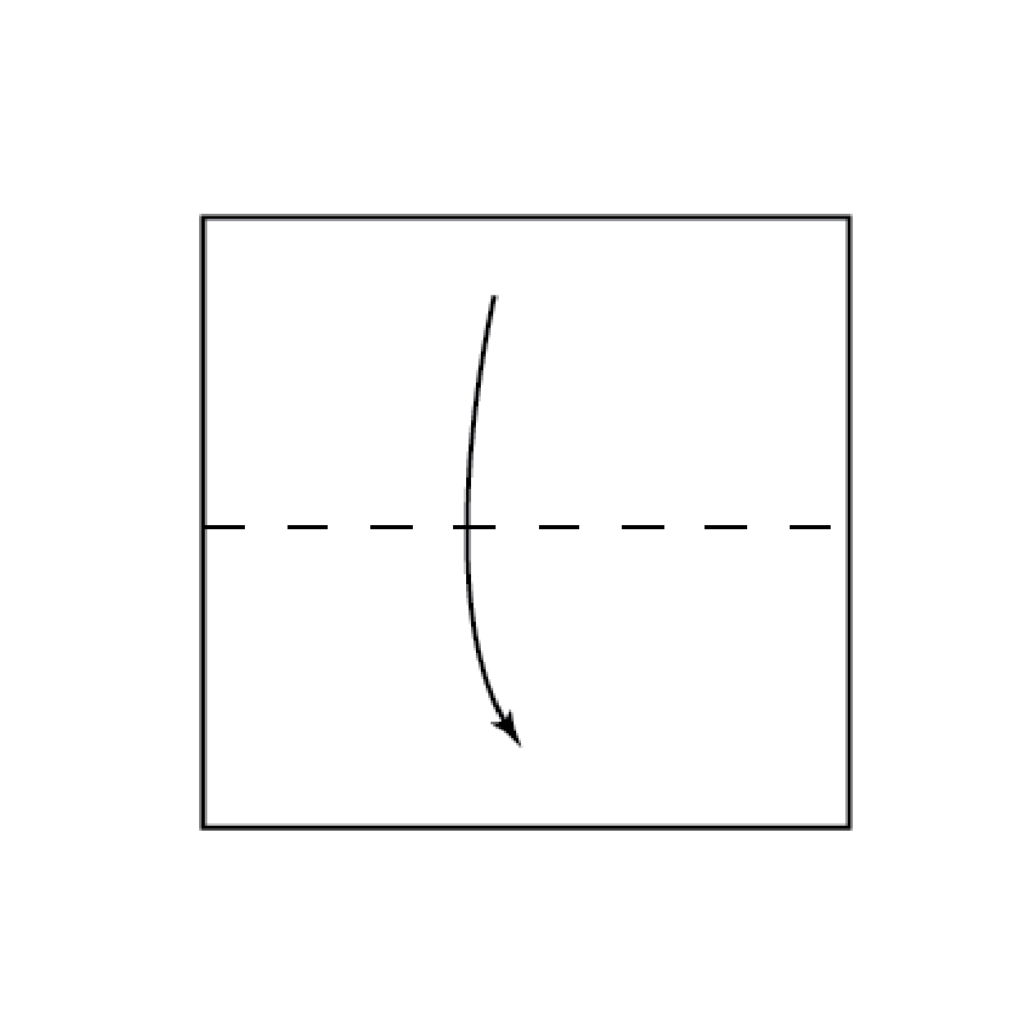
Begin by folding the paper in half horizontally, creating a crease in the middle.
2. Folding the Paper in Half Again
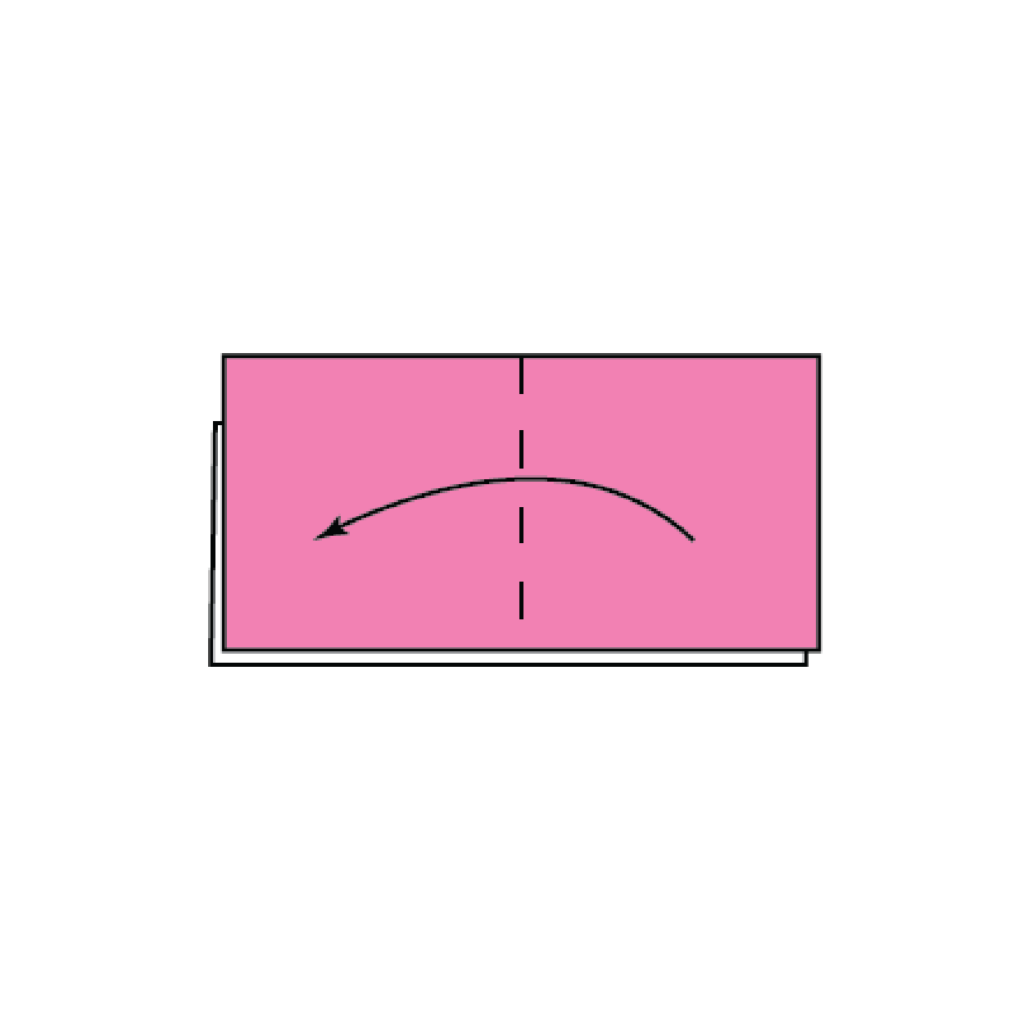
Fold paper in half once again.
3. Opening the Indicated Flap
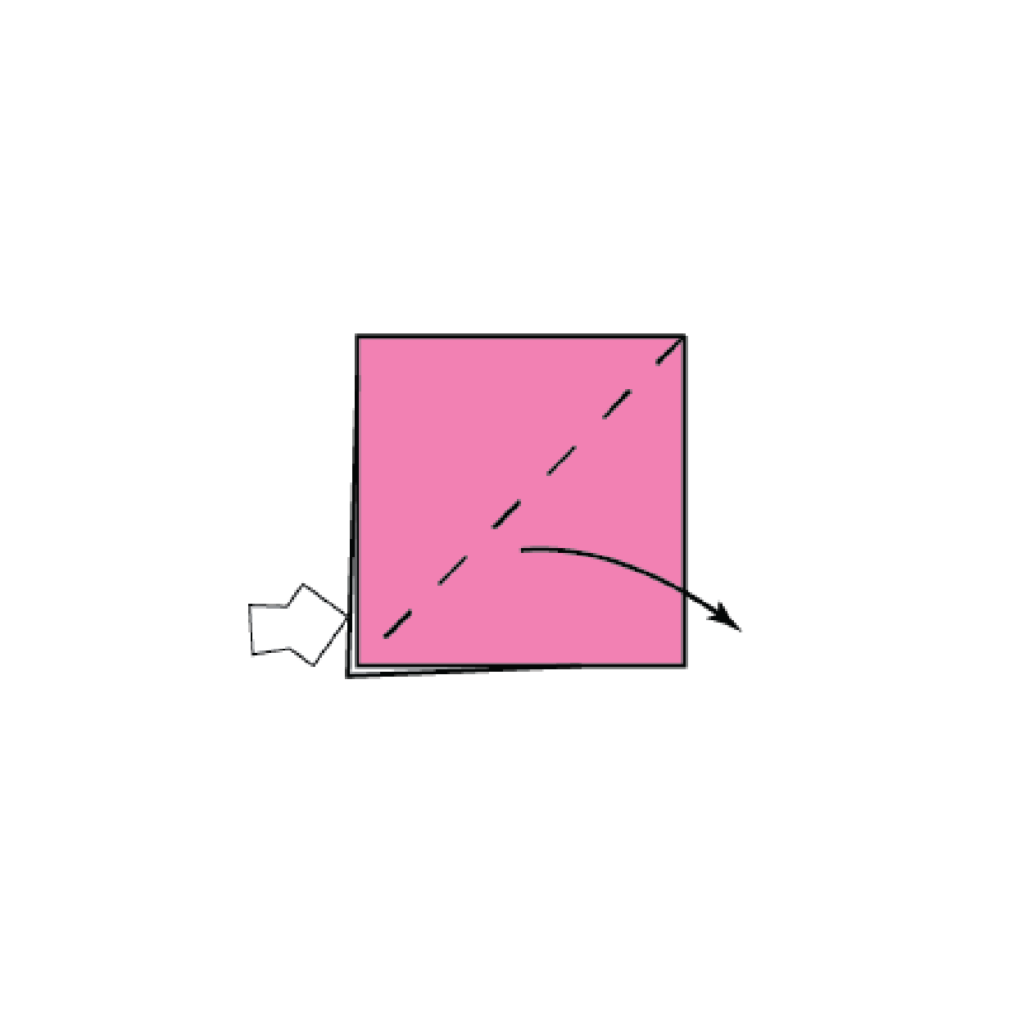
Open the flap with the clear arrow pointing at it.
4. Flattening the Opened Space
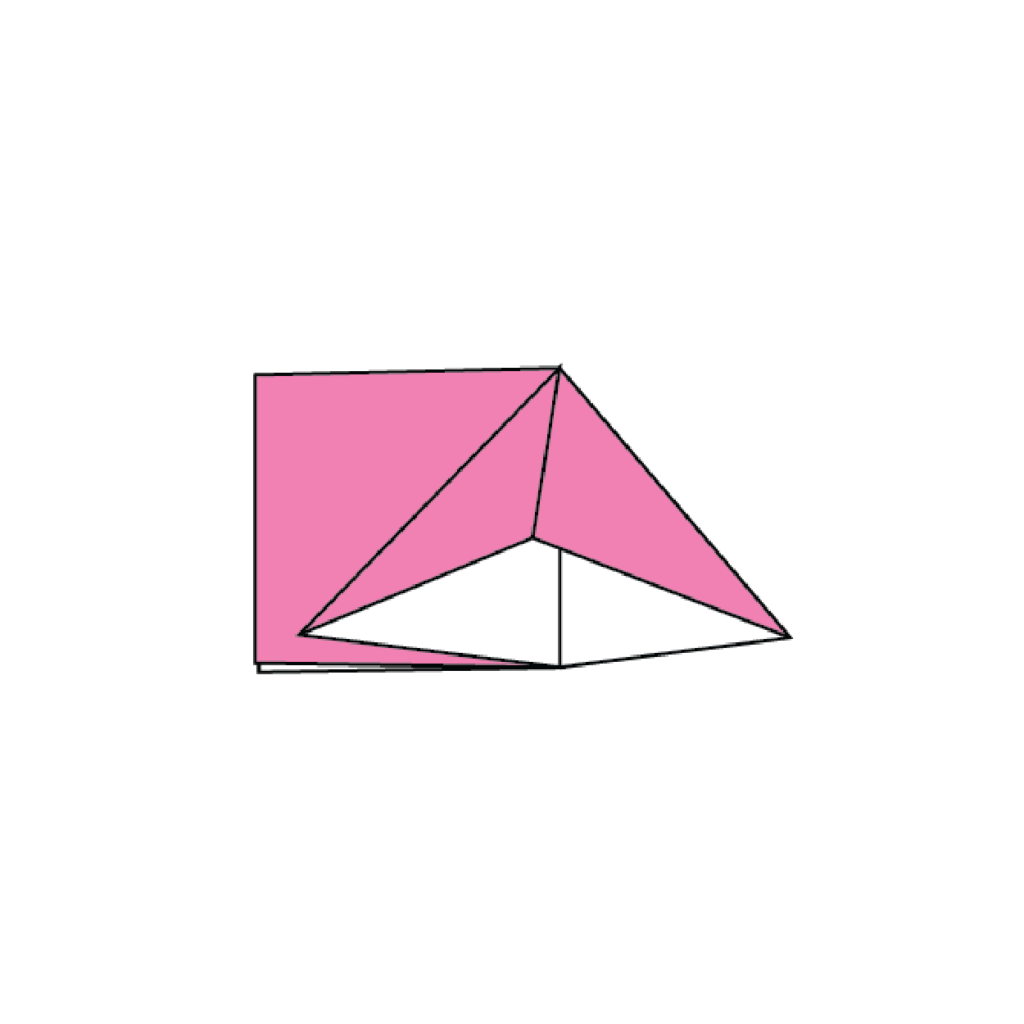
Flatten the space created as seen in the image.
5. Turning the Paper Over
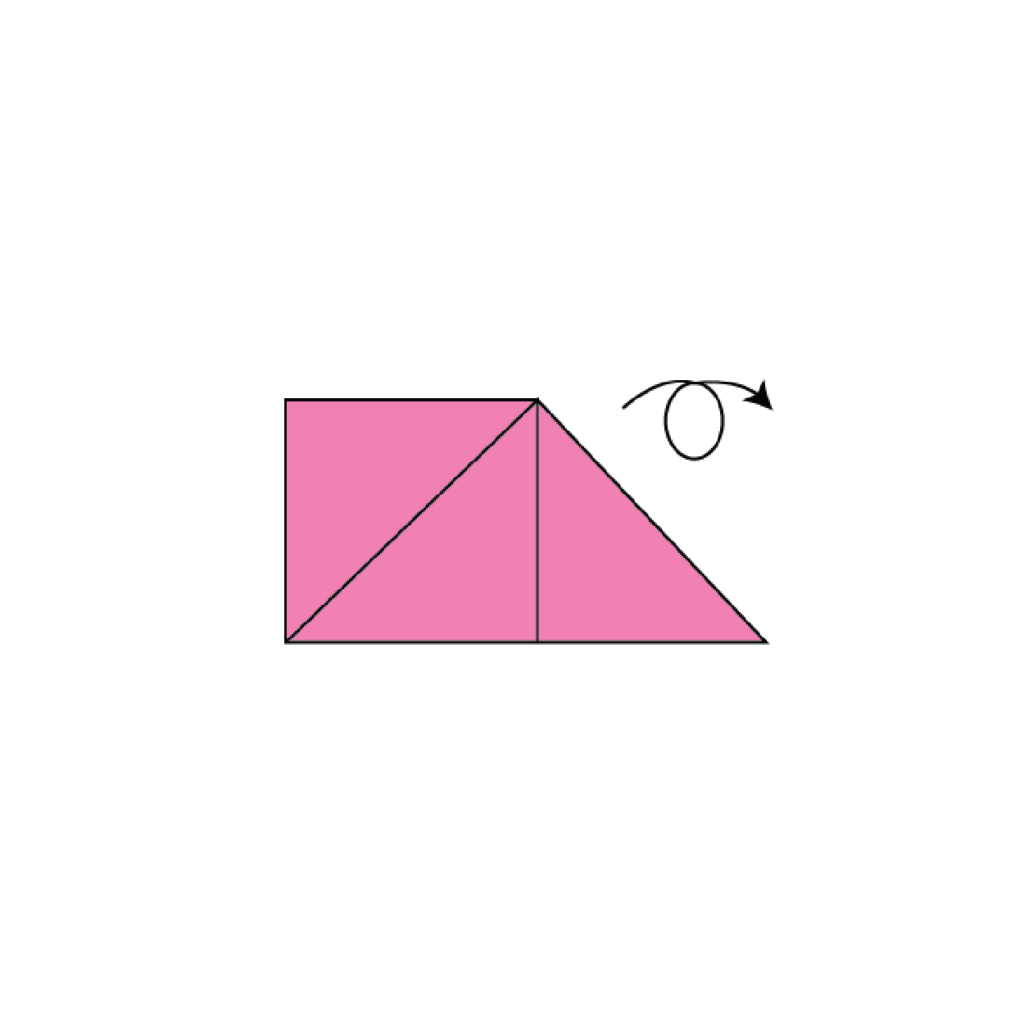
Turn the paper over.
6. Opening and Flattening the Other Flap
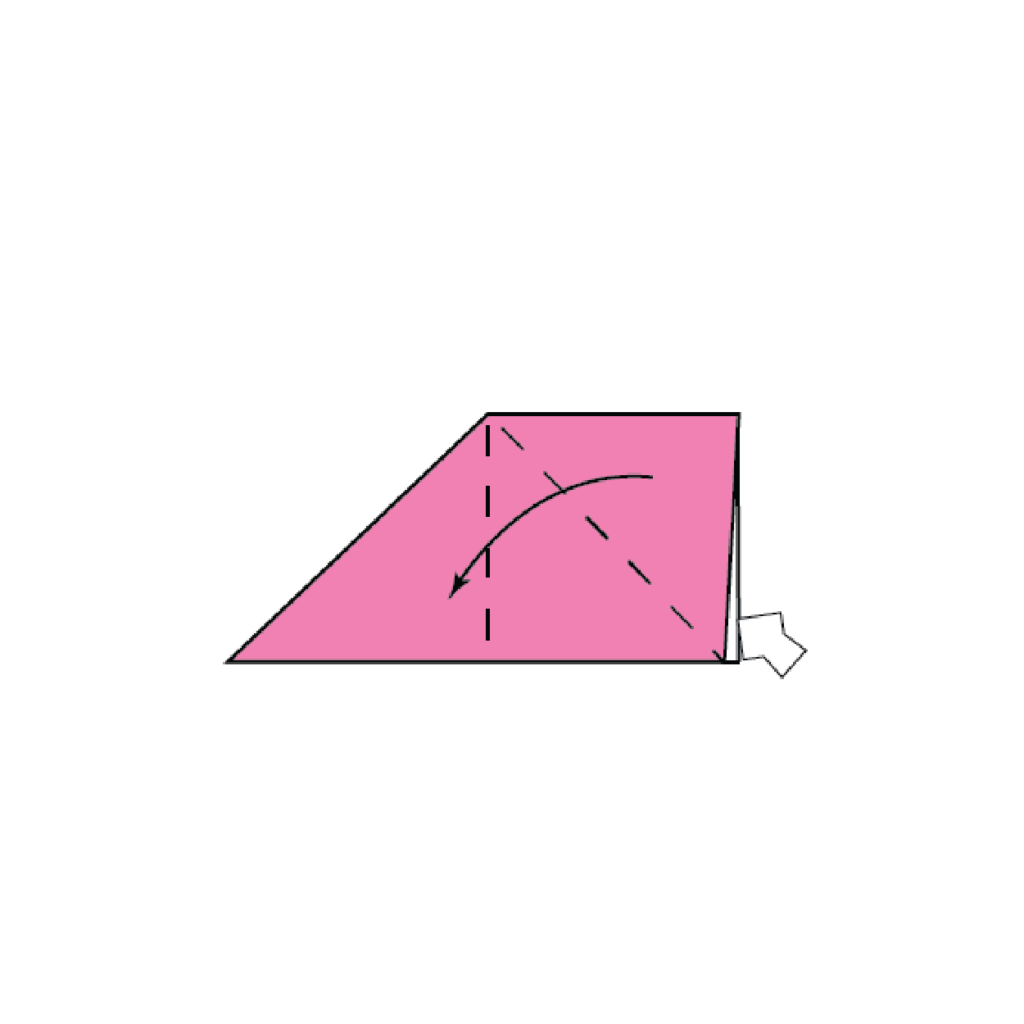
Open the flap with the clear arrow pointing to it and flatten like you did on the previous side.
7. Folding Along the Dotted Lines
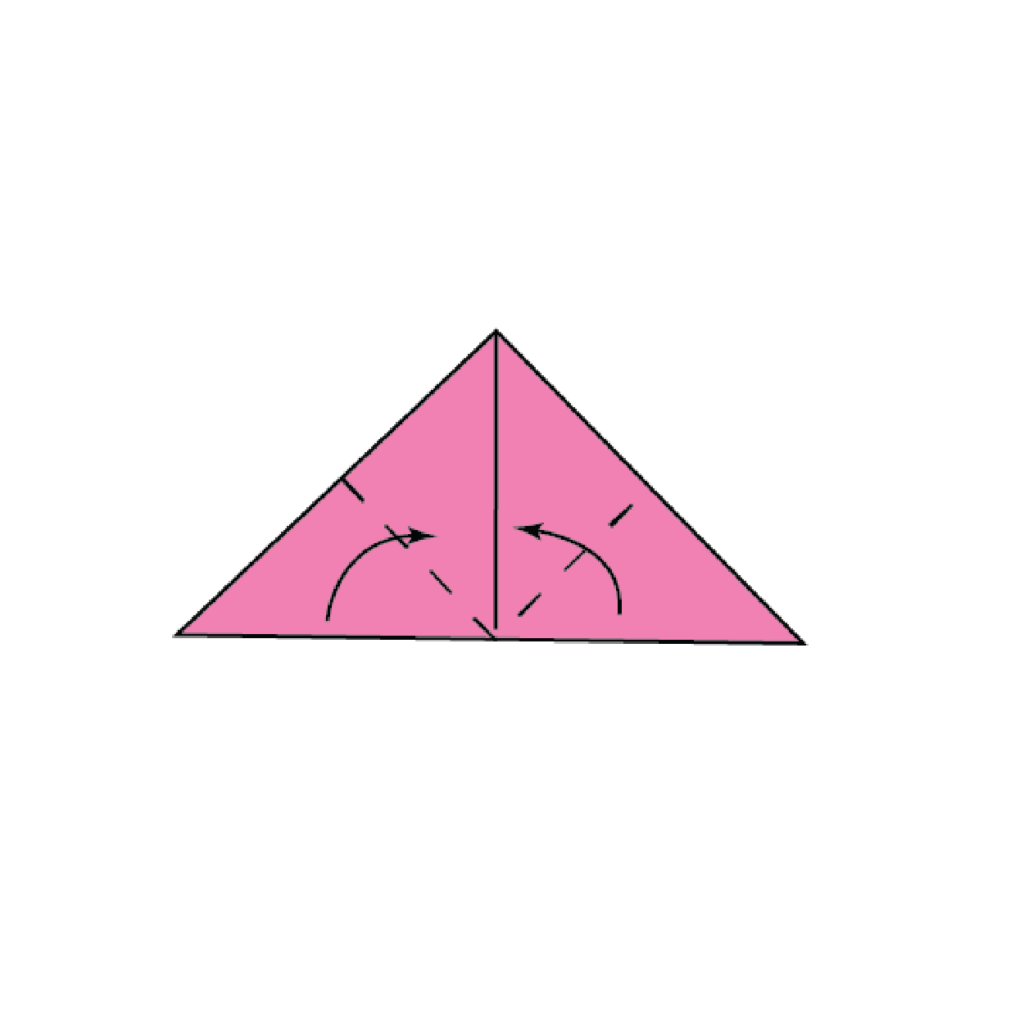
Fold in the dotted lines.
8. Folding the Dotted Lines Backwards
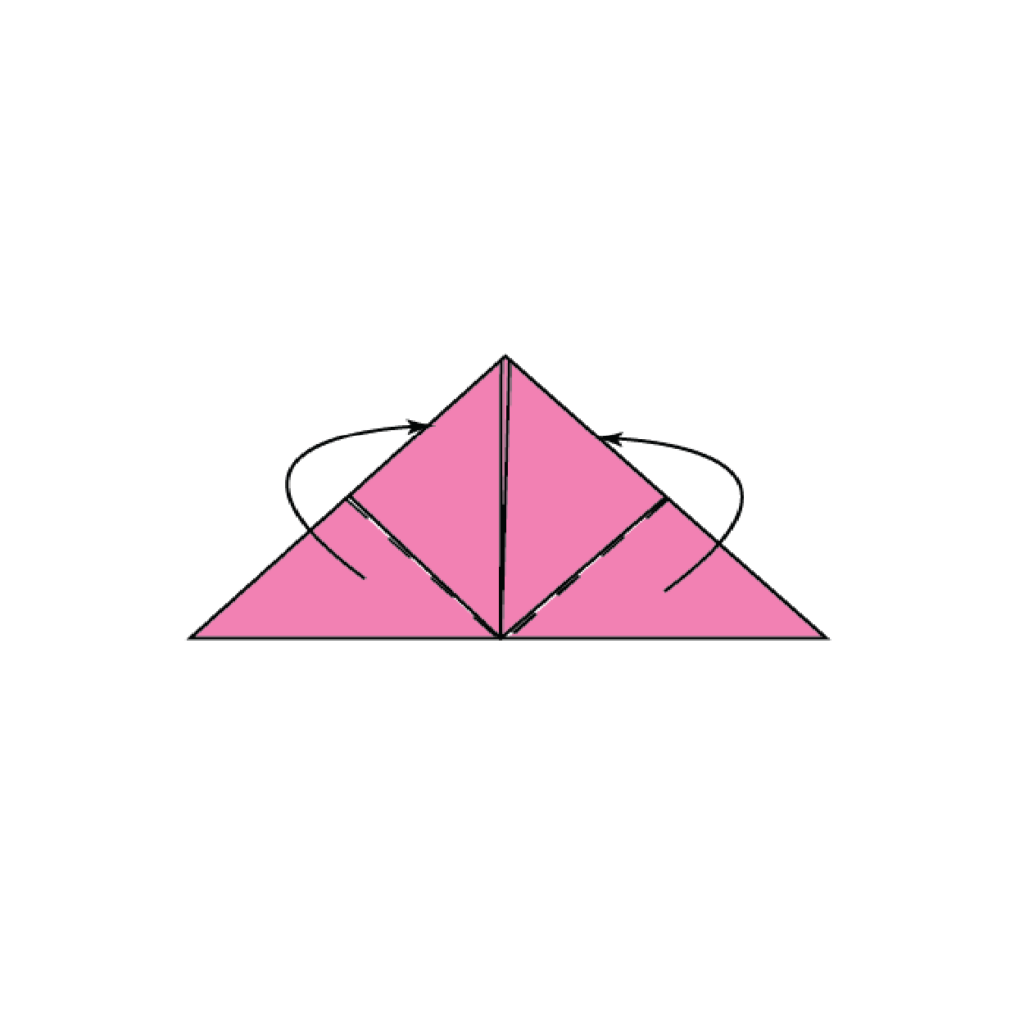
Fold the dotted lines towards the back.
9. Folding the Dotted Lines Inward

Now, fold the dotted lines inward, creating a new set of creases.
10. Folding the Dotted Lines Backward Again

Once more, fold the sections along the dotted lines towards the back of the paper.
11. Tucking the Flaps into the Pockets

Carefully tuck the flaps down into the pockets created by the folds.
12. Inflating the Origami Balloon

Blow air into the balloon through the opening indicated by the clear arrow in the reference image.
13. The Completed Origami Balloon
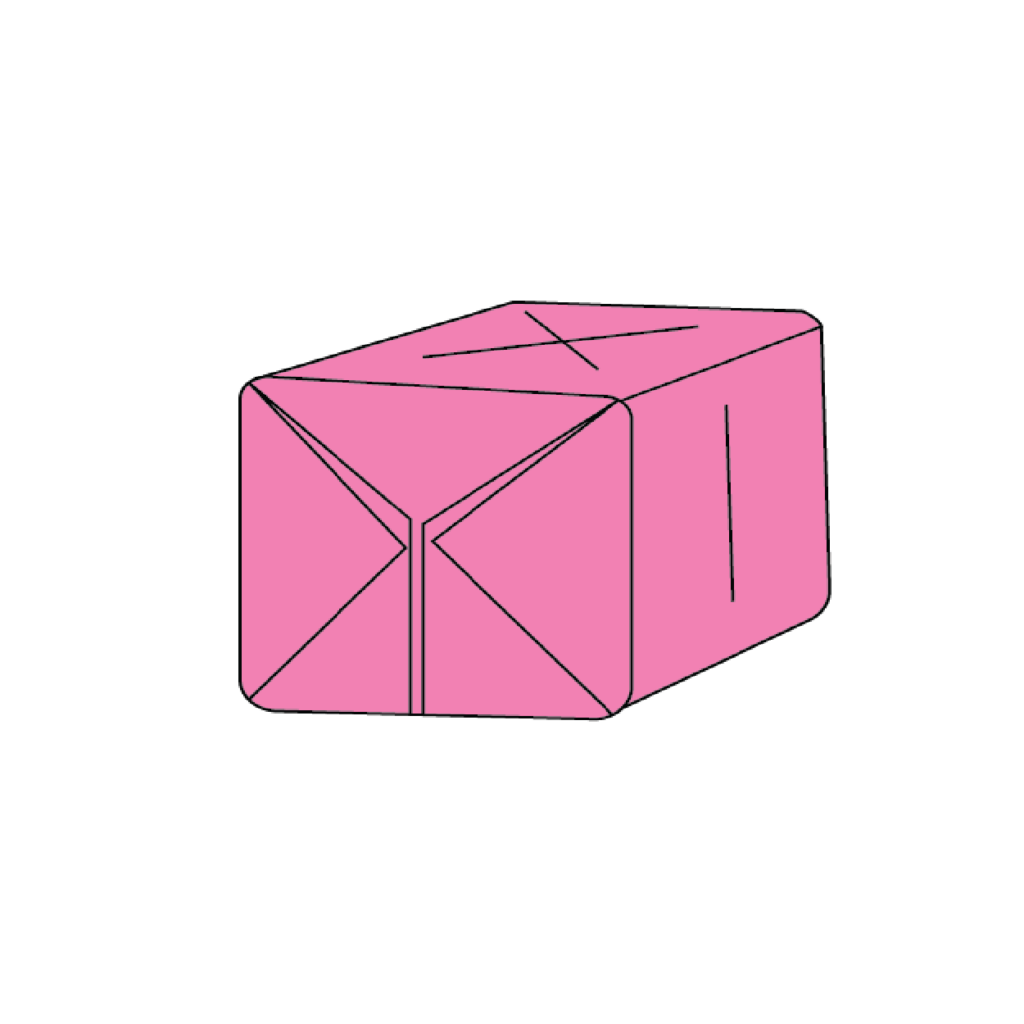
Congratulations! You have successfully created an origami balloon. Enjoy your final product!
You should be nothing short of a pro at making origami balloons now! I’ve provided you with two very simple and easy-to-follow guides on making this paper creation! Down below you’ll find the same instructions but in a downloadable and printable format just in case you want to keep it on hand to share with friends!
How To Make An Origami Balloon Printable Instructions
Now that you have mastered the origami balloon, why not check out some of my other origami creations? Keep learning the art of origami by following along with my tutorials! If you keep at it, you’ll definitely be able to create an even more impressive origami masterpiece than the origami balloon! Thanks for reading and I hope you enjoy this fun paper craft project.
